It’s Technique Tuesday! Today I want to show you a quick and easy technique called spotlighting.
Grab a die, stencil, or punched out piece of scrap card stock and place it on your card front after stamping an image (basic gray used). Then color only inside the stencil (with gray watercolor pencil and then blender pen). This is called spotlighting.
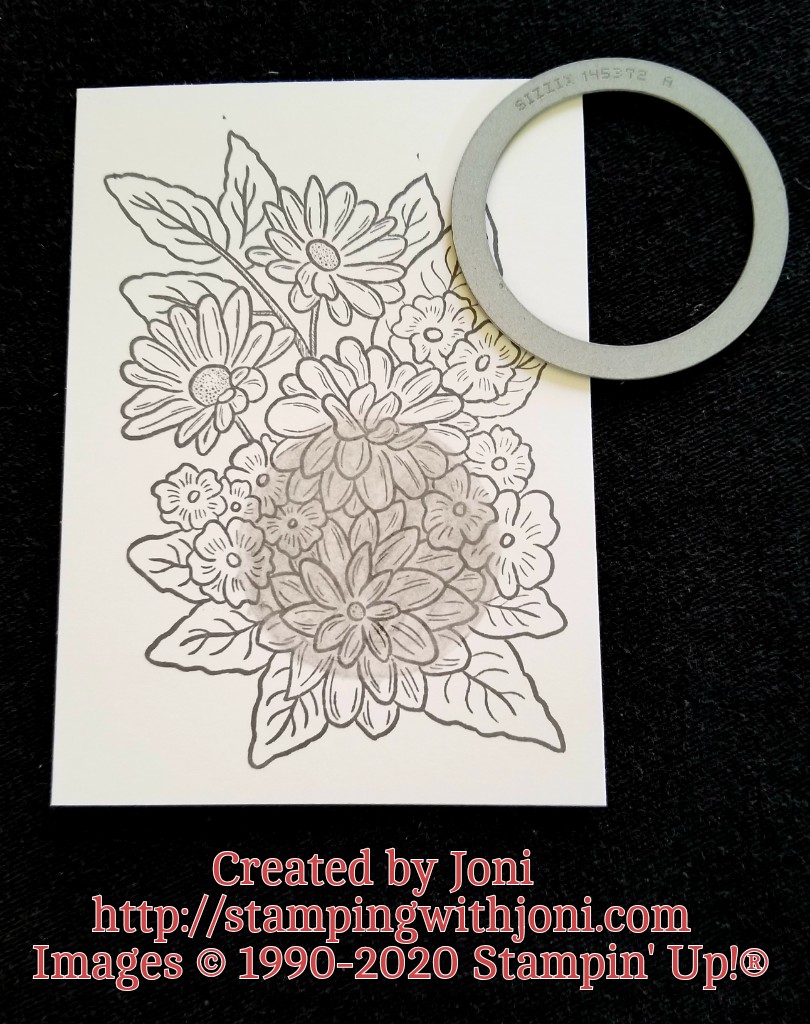
This reminds me of those photos that are all black and white with only one spot of color. I remember there was a girl holding a rose and only the rose was in color.
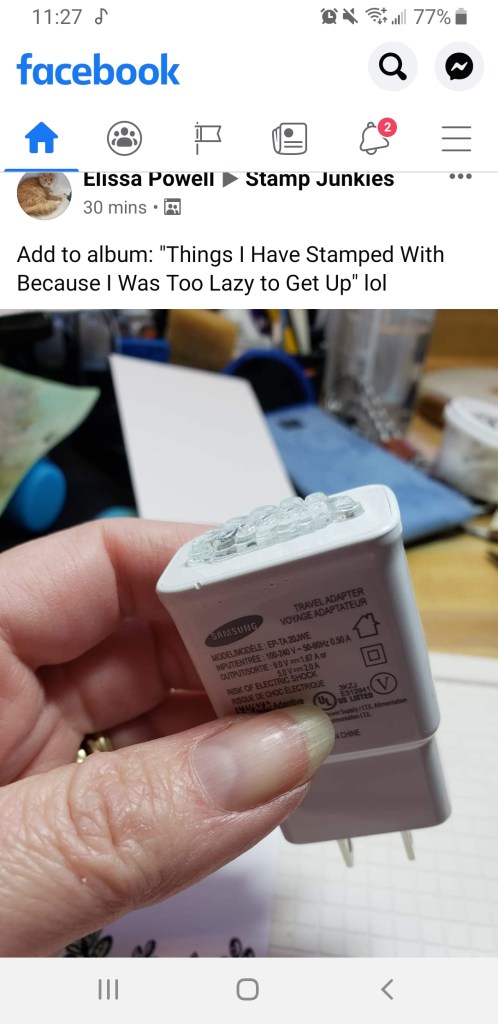
Give this technique a try and post to my page, http://facebook.com/StampingWithJoni.
Happy Crafting!
With inky fingers,
Joni 🙂