
Please enjoy the highlights and holidays for this next month! Hope to see you soon!
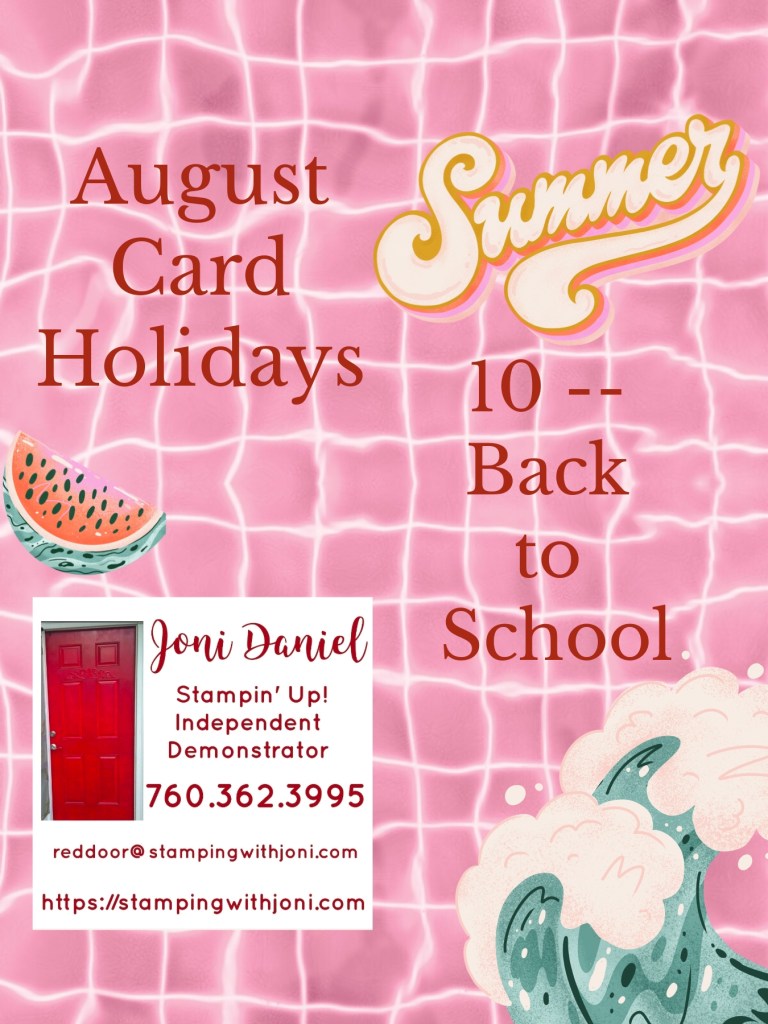
Happy Crafting!
With inky fingers,
Joni 🙂
Please enjoy the highlights and holidays for this next month! Hope to see you soon!
Happy Crafting!
With inky fingers,
Joni 🙂
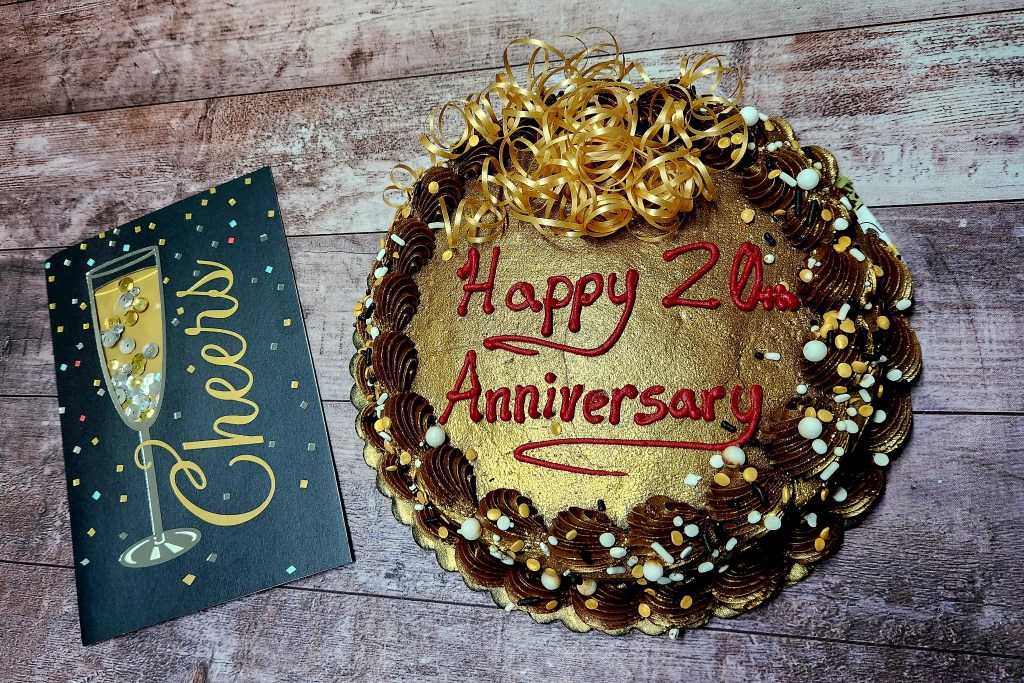
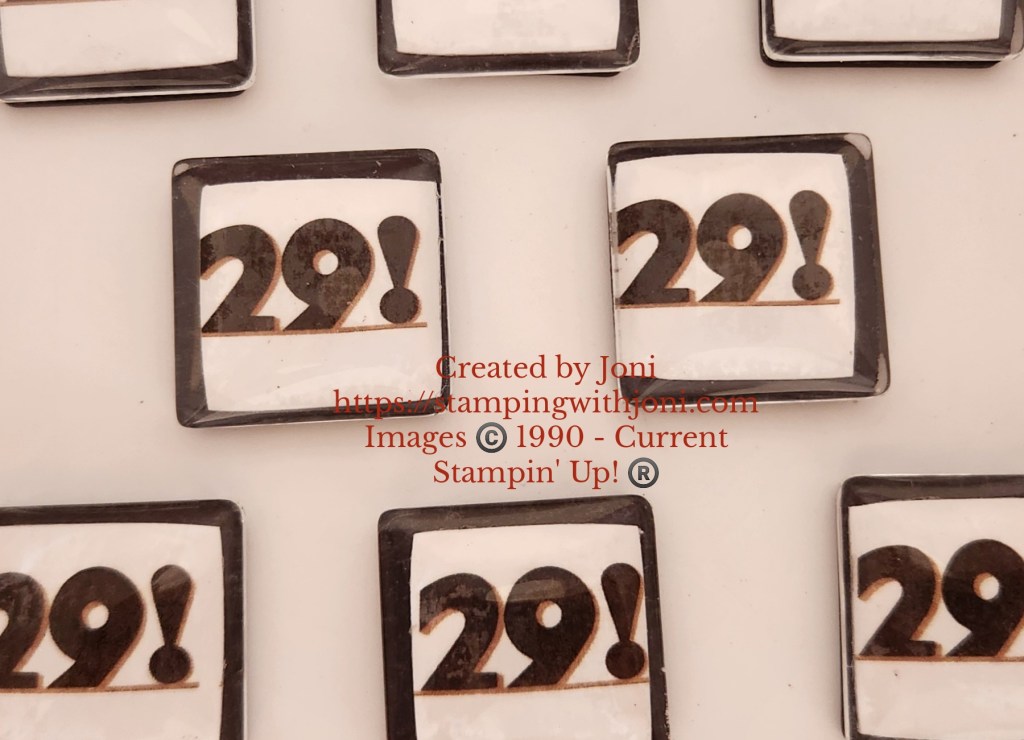
This week is one of celebration for me. Monday was officially my 20th anniversary with Stampin’ Up! I will be finishing up the week with a magnet for my first 20 customers at both the Thursday and Saturday Farmers’ Markets.
One thing I love about this job is that it changes with you. I’ve done events, parties, open houses, and sometimes even nothing to celebrate. This year felt a bit different but still celebratory. It was a quiet night at home with some time in the studio followed by a welcome break from the normal routine. A movie on the couch with some cheesy popcorn. A perfect evening.
Then Joel, hubby, brings out a cake and a card. He explains it should be celebrated. 20 years is a milestone to remember. So, here’s to 20 with a card, a glittery chocolate cake, a hubby that appreciates what I do, and hopefully a few more years to go.
Happy Crafting!
With inky fingers,
Joni 🙂
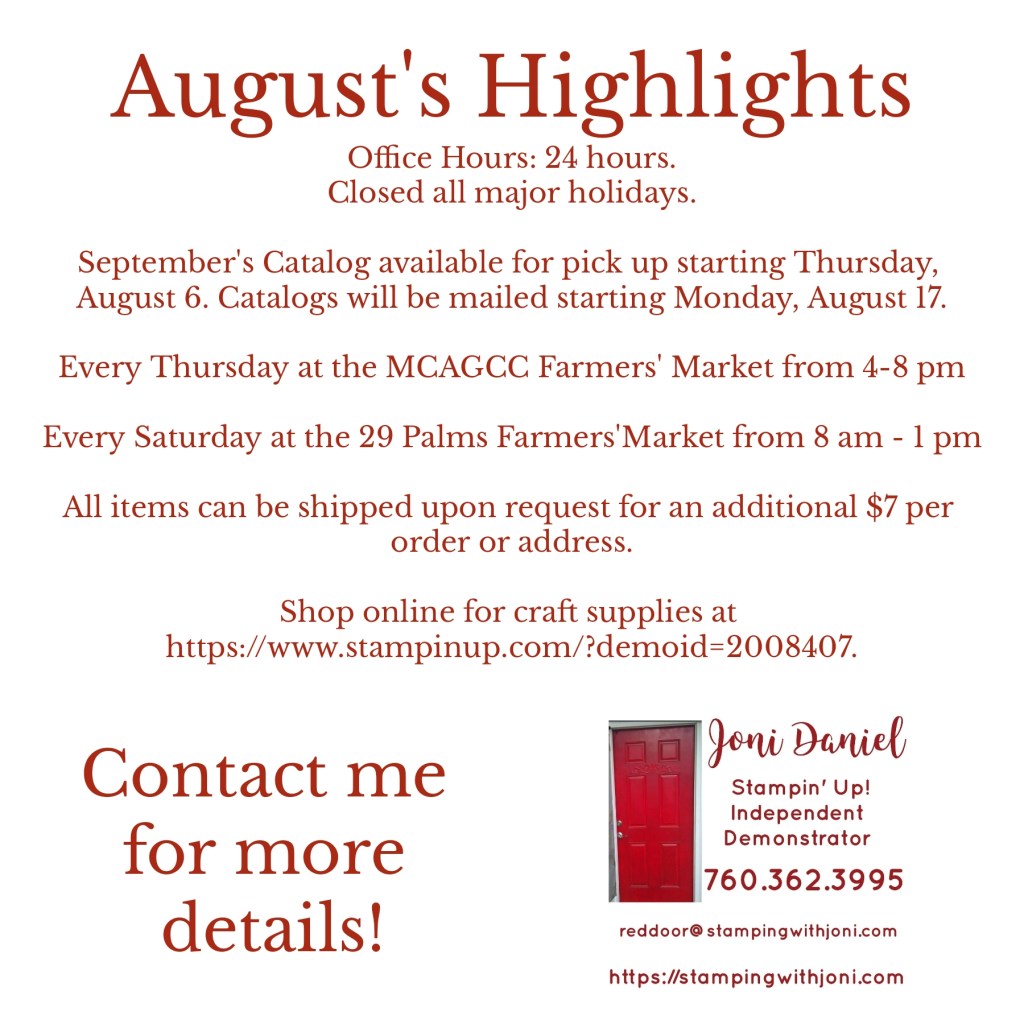
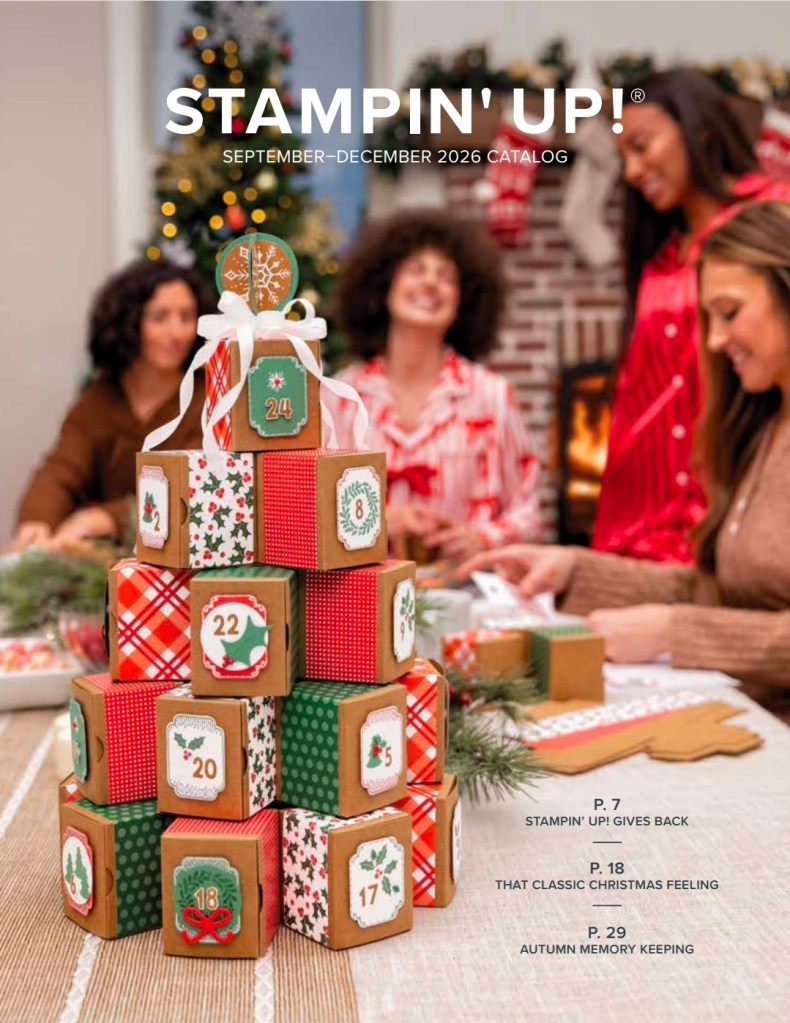
New Catalogs are coming soon!!!
If you have ordered with me since May 2026 (this Catalog) you will get a copy mailed to you automatically. Otherwise, please request your free copy.
All catalogs will be mailed starting Monday, August 17th and will be available for pick up starting Thursday, August 6th at the MCAGCC Farmers’ Market and Saturday, August 8th at the 29 Palms Farmers’ Market in downtown 29 Palms.
If you’d like a catalog, you can request one at https://stampingwithjoni.com/catalogrequest/.
Happy Crafting!
With inky fingers,
Joni 🙂
Announcing…!!! I am celebrating 20 years of business and 18 years of markets and fairs! Come on out and get a one-of-a-kind magnet with postcard free with any purchase. I am making 20 of these to celebrate 20 years. These are available to the first 20 customers.

I have opened and started an online shop. If you miss the Farmers’ Market or can’t make it out, you can shop online! Go to https://my-site-105335-102817.square.site/ to shop! I will be adding more daily so bookmark this link to come back to periodically.
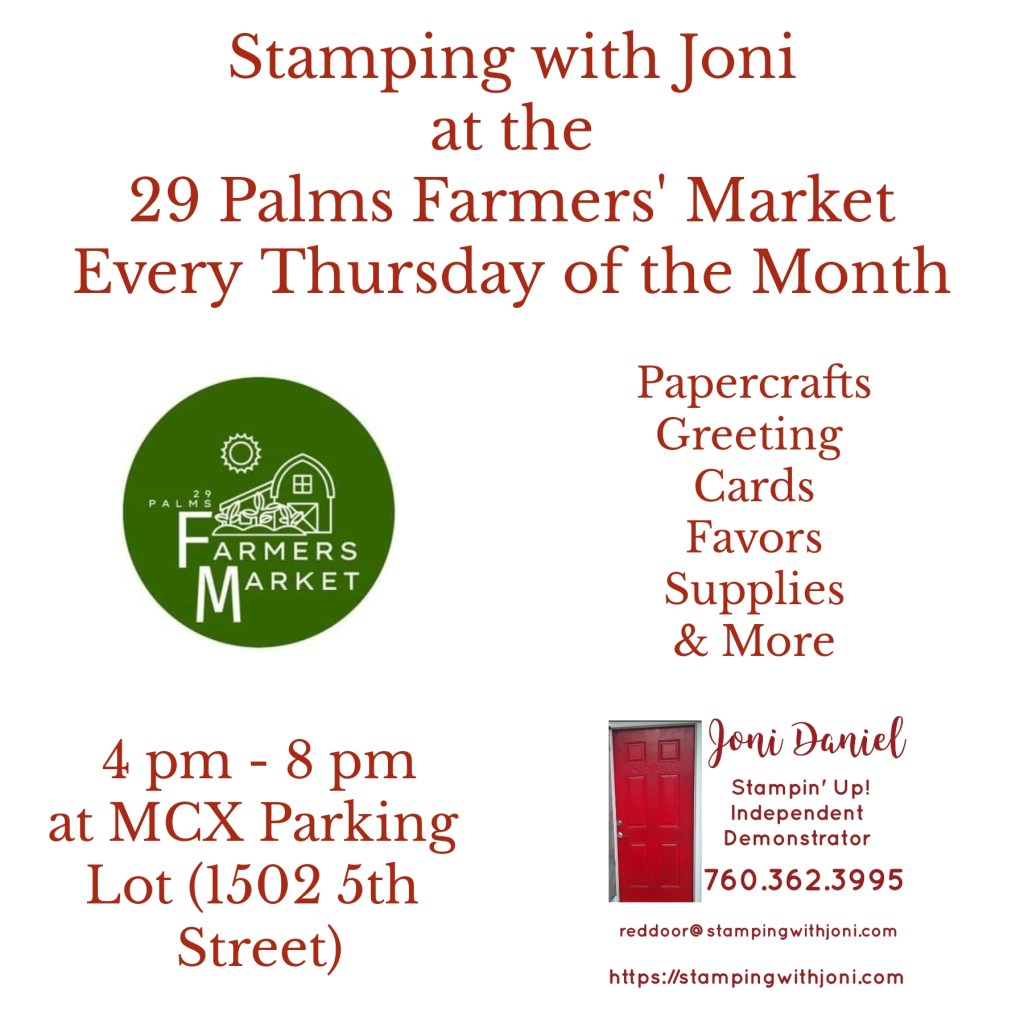
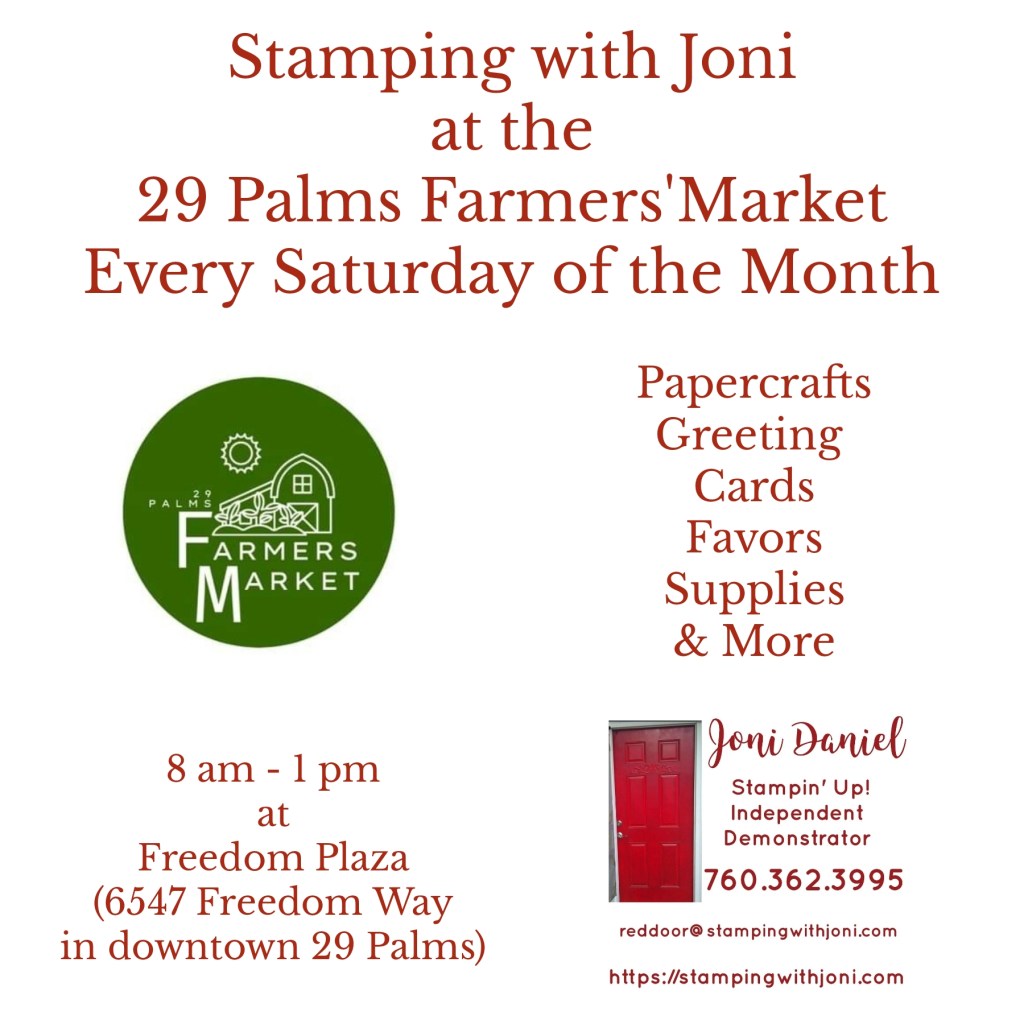
Here are the events for this week’s Farmers’ Markets in 29 Palms on Thursday and Saturday!
Thursday’s Event — https://www.facebook.com/events/1025045457006188/
Saturday’s Event — https://www.facebook.com/events/1672051673850902/
Follow the events for what’s new this week! Remember that if you’re not able to make it, I do ship for an additional $7 per order or address.
#stampinup #reddoorcrafters #inkyfingers #29palms #29palmsfarmersmarket #freedomplaza #gifts #mcagcc #mcx
Announcing…!!! I have just opened and started an online shop. If you miss the Farmers’ Market or can’t make it out, you can shop online! Go to https://my-site-105335-102817.square.site/ to shop! I will be adding more daily so bookmark this link to come back to periodically.
Here are the events for this week’s Farmers’ Markets in 29 Palms on Thursday and Saturday!
Thursday’s Event — https://www.facebook.com/events/1585793046237375/
Saturday’s Event — https://www.facebook.com/events/4505275863081397/
Follow the event for what’s new this week! Remember that if you’re not able to make it, I do ship for an additional $7 per order or address.
#stampinup #reddoorcrafters #inkyfingers #29palms #29palmsfarmersmarket #freedomplaza #gifts #mcagcc #mcx
Bikes & Blooms is now available! Each kit is all inclusive and has everything to create 9 cards: 3 each of 3 designs with coordinating envelopes. These kits are while supplies last and are $30 each!
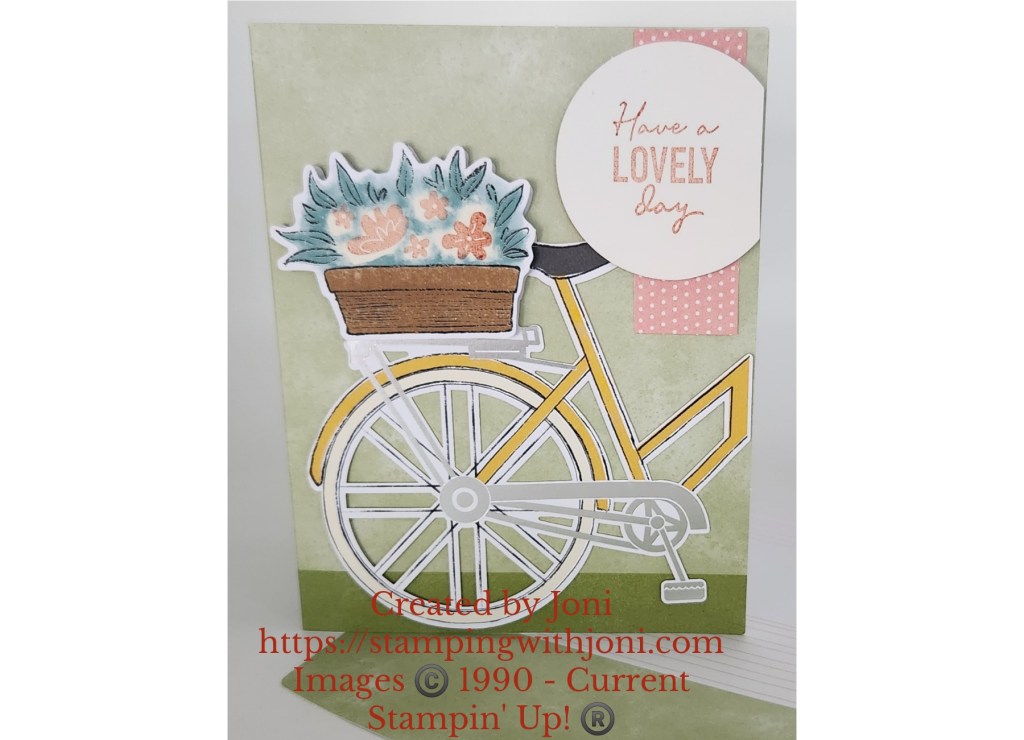
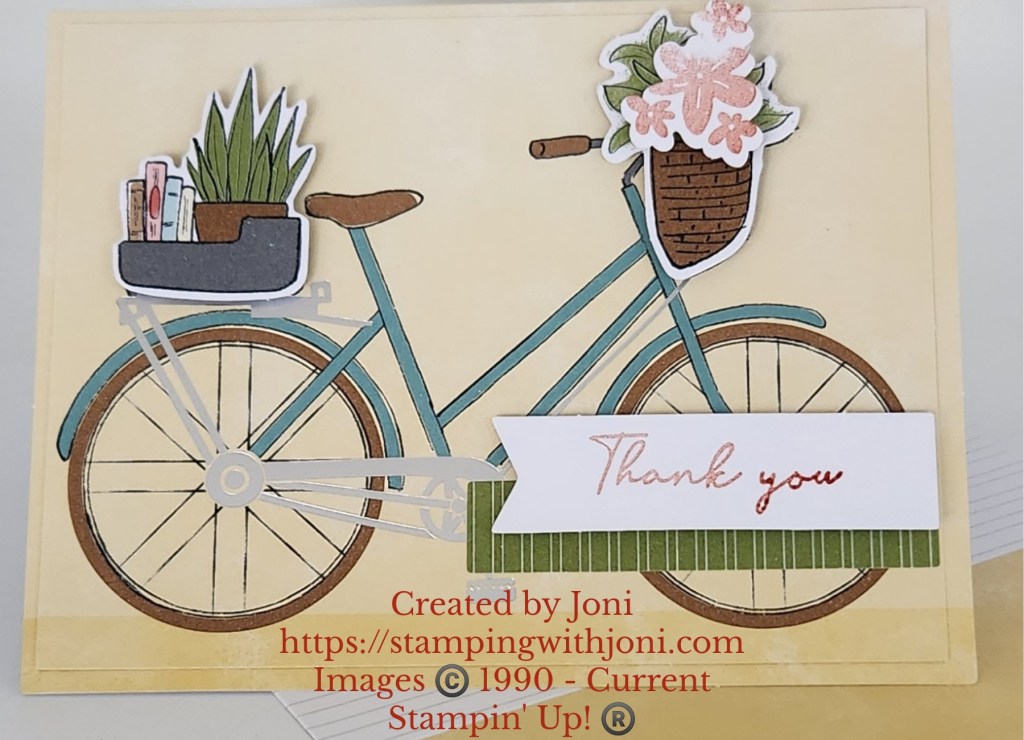
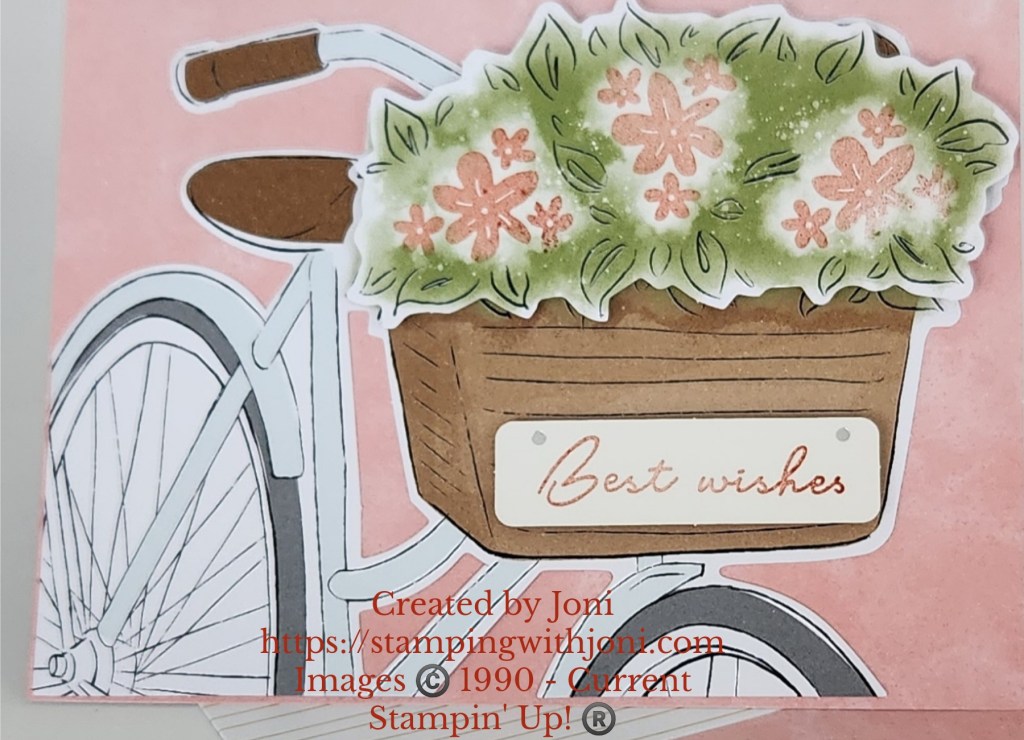
To see how these cards are created please go to https://youtu.be/25_jAIVnCMg.
Happy Crafting!
With inky fingers,
Joni 🙂
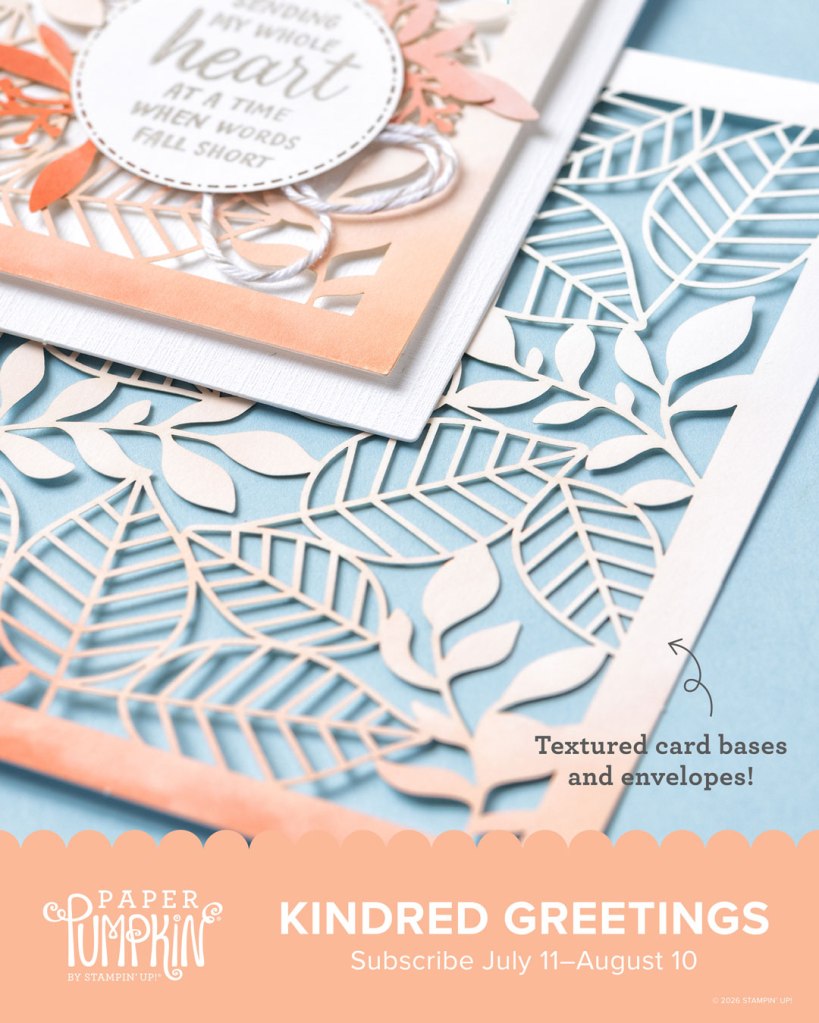
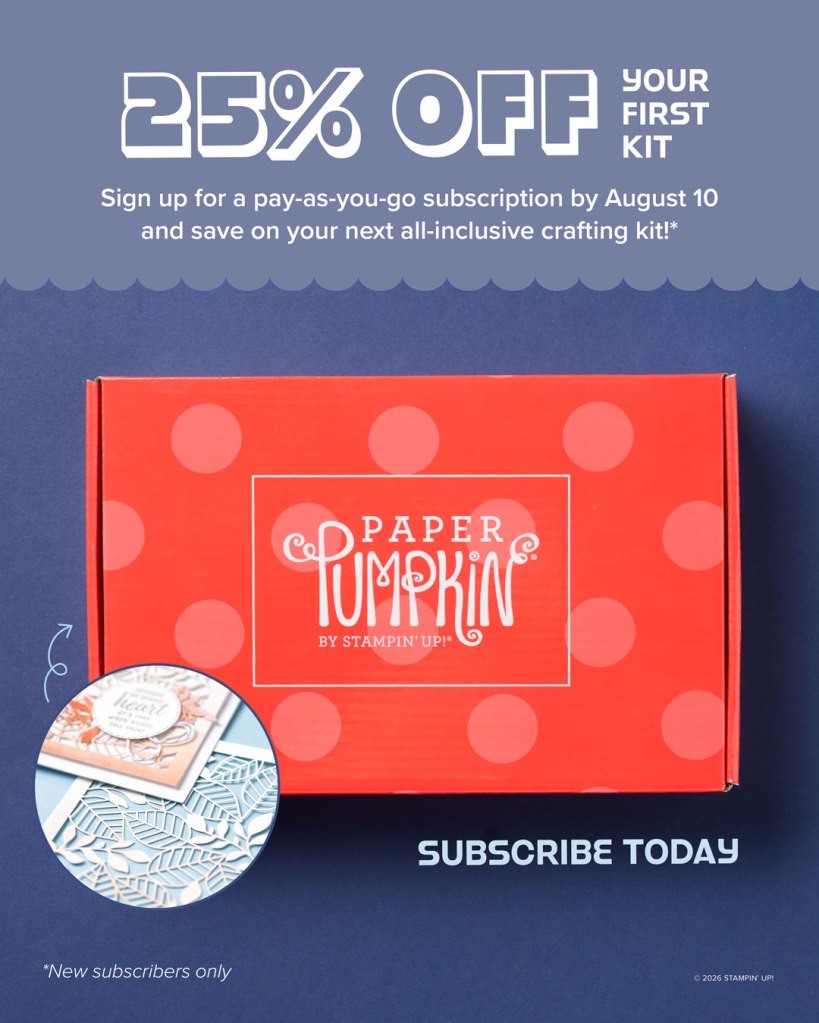
There’s a new Paper Pumpkin Kit ready for you to sign up and create called Kindred Greetings!
This kit makes 9 cards, 3 each of 3 designs.
To subscribe to get this kit please go to https://www.stampinup.com/products/paper-pumpkin-subscription/?demoid=2008407.
And don’t forget to get the coordinating add-on dies called Detailed Flora Dies.
Hint…hint…there is 25% off your subscription for all new subscribers.
If you prefer a pre-paid code, please contact me.
Happy Crafting!
With inky fingers,
Joni 🙂
Here are the events for this week’s Farmers’ Markets in 29 Palms on Thursday and Saturday!
Thursday’s Event — https://www.facebook.com/events/1755527612127576/
Saturday’s Event — https://www.facebook.com/events/1509599200338526/
Follow the event for what’s new this week! Remember that if you’re not able to make it, I do ship for an additional $5 per order or address.
#stampinup #reddoorcrafters #inkyfingers #29palms #29palmsfarmersmarket #freedomplaza #gifts #mcagcc #mcx
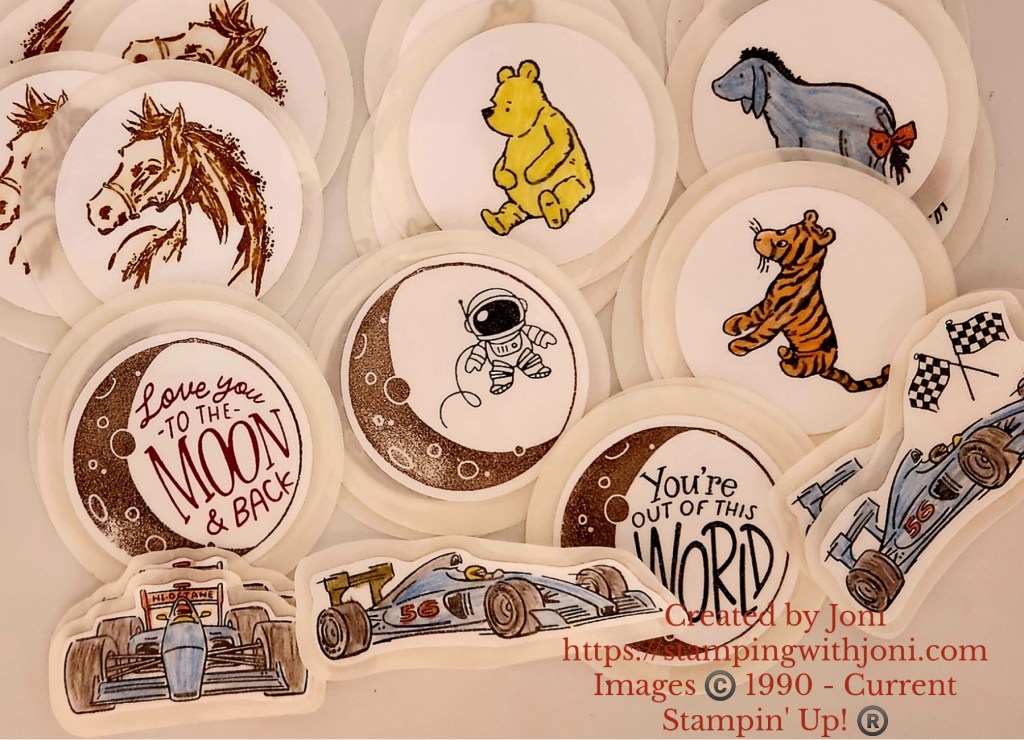
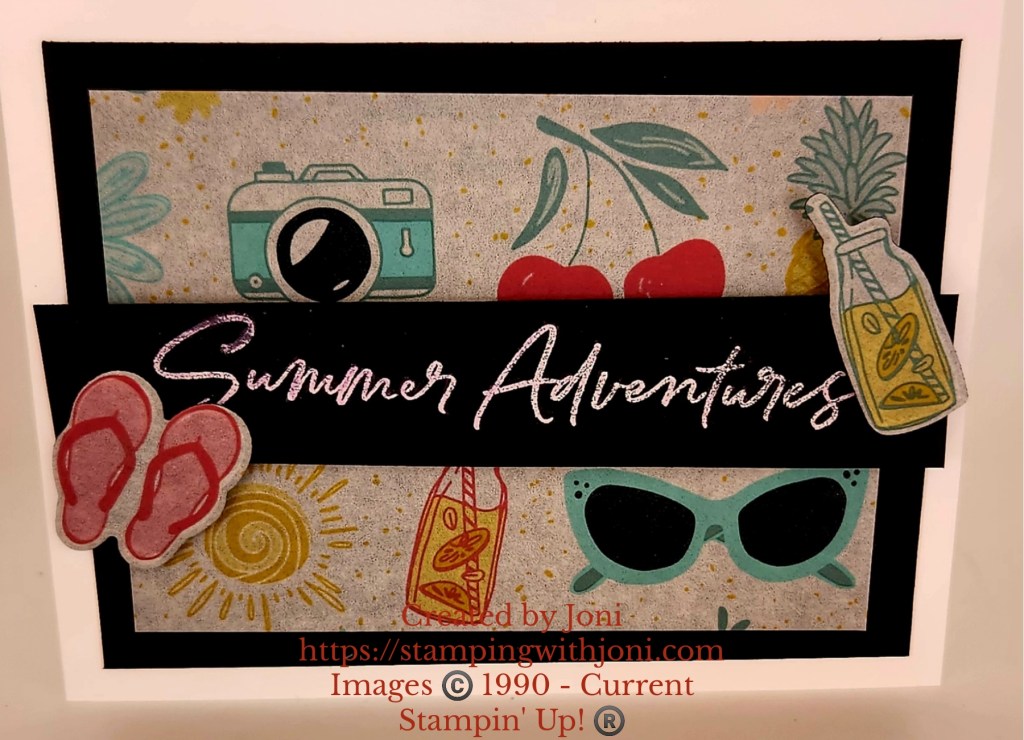
Here’s what’s new and re-stocked this week at the Stamping with Joni booth at the 29 Palms Farmers’ Market! See you from 4-8 tonight and from 8-1 on Saturday!
All the new things for this week in one place for Stamping with Joni! Come see the new stickers, cards, earrings, rings, necklaces, charms, bracelets and so much more tomorrow!


Take a look at https://youtu.be/btuSQ-YLEcM.
Happy Crafting!
With inky fingers,
Joni 🙂
I have to say a most sincere thank you to Randy from Deibert’s Laser Engraving & Imaging (https://www.facebook.com/profile.php?id=100063505571662). He made my day on Saturday by completing my booth with a sign. And not just any sign, but my sign. He meticulously matched the fonts, colors, and images so my branding stayed on point. Every detail is amazing. Thank you!
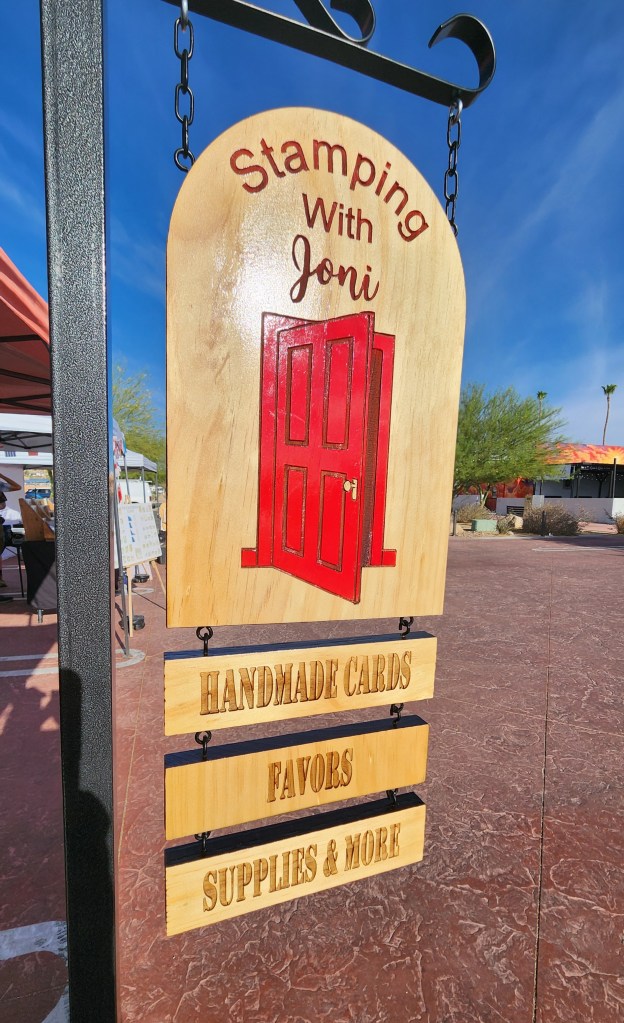
So now you have one more way to find me quickly at the 29 Palms Farmers Market on Thursdays and Saturdays! Thank you, Randy!
Happy Crafting!
With inky fingers,
Joni 🙂
