It’s Management Monday! Here’s what’s happening this week.
There’s still not much going on, unfortunately.
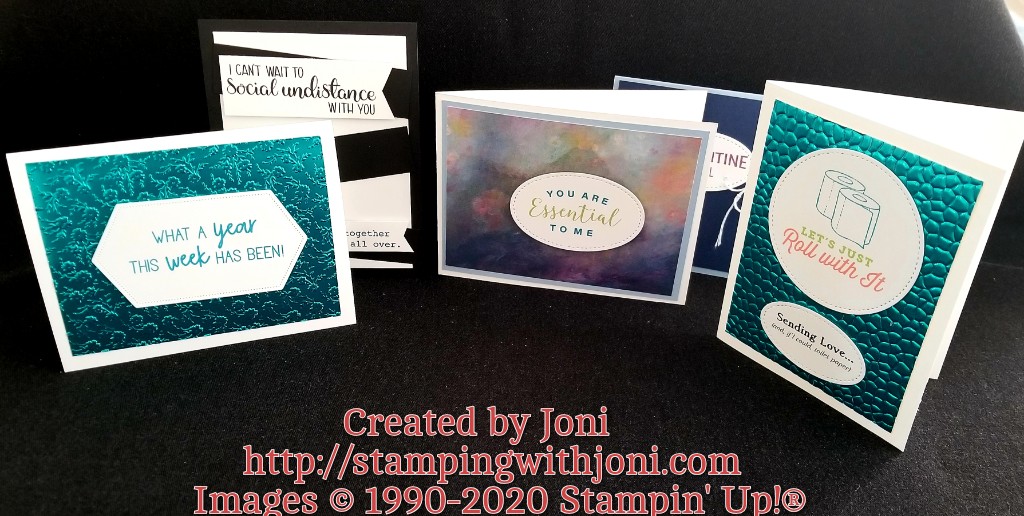
Thank you to those that have ordered from the retiring list. Please remember that these items are while supplies last. If you would like to order please go to http://jonidaniel.stampinup.net and use host code 46RWXMRH. This host code will only be up until tonight and a new one will be announced tomorrow on the weekly highlights.
The Stamp of the Week will be announced later today! The invitation will go live on Monday, May 4 (next week) and will run through Saturday, May 9. I promise it won’t be Star Wars themed.
Happy Crafting!
With inky fingers,
Joni 🙂