It’s Wacky Wednesday where a product is used in a way it not intended!
So I posted a card yesterday for the technique post. I talked about how to make monochromatic cards pop. And then I realized I had Wednesday’s post done also. I had cut the sunflower in such a way to look very similar to a badminton shuttlecock.
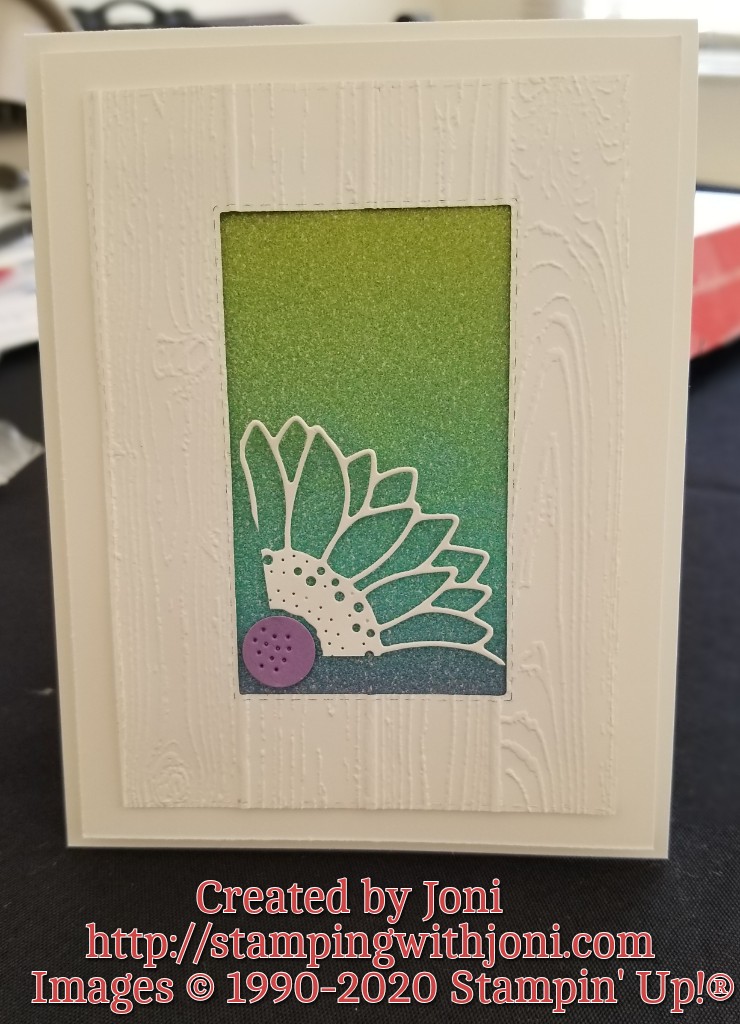
I also see a mane for a lion or the feathers for a peacock. What do you see?
Remember to look upside down, sideways, backwards, and sometimes break the whole image apart.
Happy Crafting!
With inky fingers,
Joni 🙂