It’s Management Monday! Here’s what’s happening this week.
Lisa’s Class is happening this Saturday. Let me know by Wednesday that you want to come.

The invitation for the Christmas party is out! It will be run a little differently this year so let me know when you would like to come. Here is the invitation.
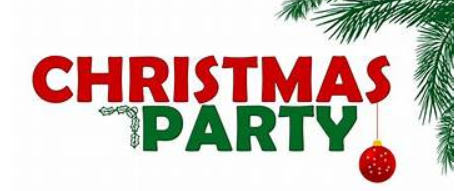
Come on out on Saturday, December 19 from 10-4 to enjoy a Christmas party! There will be raffles, projects, Christmas cookies, the new catalogs, and (of course) Christmas presents. As always all in attendance need to be Crafters, over the age of 16 years old, and will have no mess to clean up. This is not a true Open House style as I will need you to reserve your hour and a half block that you will attend. Each block will have no more than four in attendance at a time.Below are the block times to choose from:
10:00 am – 11:30 am
12:00 pm (noon) – 1:30 pm
2:00 pm – 3:30 pmYou can reply to this event, the Facebook one, message, text, email, or call to reserve your time block. If you miss your time block please contact me to schedule another time.Thanks for being flexible this year! See you on Saturday!
Save the date for Card Class which I am working on finishing in the next few days. Card Class is Thursday, December 10 from 10-1 in Yucca Valley and on Saturday, December 12 from 10-1 (note the change) and from 3-6 in 29 Palms.
Oh, and just a reminder, that the promotion through me finishes today. Here’s the link to check it out. https://stampingwithjoni.wordpress.com/2020/11/28/black-friday-small-business-saturday-and-cyber-monday-all-rolled-into-one/
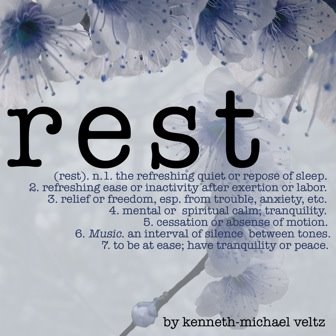
Happy Crafting!
With inky fingers,
Joni 🙂