Dies are for more than paper.

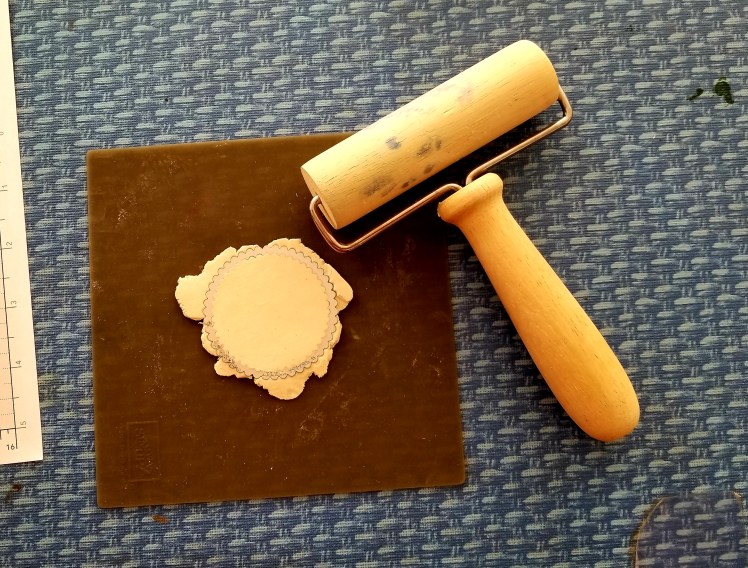
It’s Wacky Wednesday where a product is used in a way it is not intended! Did you know that our dies for the Big Shot can be used for more than paper? They can also be used to stencil or help cut clay.

In this case I used Paperclay and rolled it out pretty thin. Once it got down to about a quarter of an inch I placed my die on top of the clay and proceeded to gently roll the clay. The die first left an impression and then cut enough so I could peel the clay away.
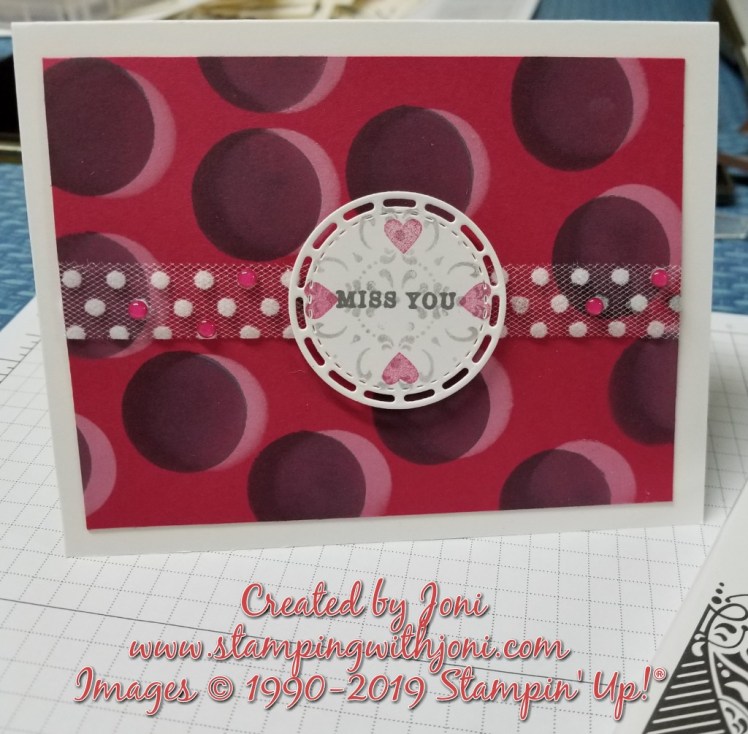
Happy Crafting!

With inky fingers,

Joni 🙂

Protecting your foil.

It’s Technique Tuesday! I wanted to give you a tip on how to protect your foil paper from being marred when being run through the Big Shot.

Take a piece of waxed paper and stack on top of the foil paper. Then run through the Big Shot with a die, framelit, thinlit, or embossing folder. This will give another layer so your foil will not get scratched. (If your cutting or clear plates look like mine and are not so clear this will give a little protection.)

Happy Crafting!

With inky fingers,

Joni 🙂

It’s a three event week.

It’s Management Monday! There are three events happening this week and two that you can still reserve your seat for.

On Tuesday afternoon is Cherryl’s class.

On Friday afternoon I will be at Desert Rebel helping you create your tile magnet with gift pouch.

And on Saturday Betty is hosting a class in Yucca Valley (flyer coming soon).

Happy Crafting!

With inky fingers,

Joni 🙂

Not much rest here.

It’s Sabbath Sunday! There’s not much rest here today since I took yesterday off. It’s the first Saturday I didn’t have a class or fair in as long as I can remember. So yesterday I went to dinner, ran some errands, and finished the night with a movie. It felt good. So today I have projects to finish, classes to prepare for, and much, much more.

What are you working on today or are you?

Happy Crafting!

With inky fingers,

Joni 🙂

Second release for Sale-A-Bration!

It’s Sale Saturday! Do you know there is a second release for Sale-A-Bration that is now live? I have mailed out all the brochures and if you don’t have yours by Tuesday (maybe Wednesday) at the latest contact me!

There are some great new products in there! If you can’t wait to see them…here is the link. https://www.stampinup.com/ecweb/category/10100/sale-a-bration

If you would like to order please use host code 73Y6A9D3 to help Cherryl. This order will be closing out on March 1 at noon. If you prefer to order in person please contact me.

Happy Crafting!

With inky fingers,

Joni 🙂

Say thank you.

It’s Friendship Friday! This is the day to focus on giving back or paying it forward. I don’t know about you but I love when the littlest things get a thank you.

If you didn’t go to Bingo on Friday you missed out. The food was decent, the company was fun and light, and I didn’t win at all. But the 29 Community Food Pantry did and that was the point. And after all was said and done and I was back home I got a text from my beloved friend that was coordinating this event. It was simple yet elegant. “Thank you for coming. I hope you had a good time.” She always remembers.

My point is this, don’t forget the little things. The thank you makes all the difference.

Happy Crafting!

With inky fingers,

Joni 🙂

P.S. Unless you haven’t heard it from me recently…THANK YOU! Thank you for reading this blog and being an integral part of this crafty family.

3D Stenciling

It’s Tutorial Thursday! The easiest way to create a 3D stencil is to grab your white or black (depends if the paper is light or dark), create a stencil with dies or punches, grab some ink, and a sponge. Sponge your neutral color first and then shift and sponge your color second. This will create a shadow effect for you.

If you prefer to watch the instructions here’s the link for the video…https://www.youtube.com/watch?v=cbO5Dg_7Ly4.

Happy Crafting!

With inky fingers,

Joni 🙂

Anything plastic can hold your stamps.

It’s Wacky Wednesday where a product is used in a way it is not intended! In this case it is not a product being used in a way it is not intended but a lack of product. Imagine that you have gone on vacation and packed all your clothes, toothbrush, and a couple of projects to work on. You pull out your projects and get things in order. You stack your paper, glue, ink, stamps, and blocks. Blocks…where are the blocks? You have forgotten the blocks. (I don’t need to be on vacation to forget my blocks. I just need to travel.)

Don’t fret about not having your blocks. Grab anything plastic…the back of a remote for a TV, tupperware lid, anything plastic. Give a good rinse and then dry. Now you are ready to stamp.

Happy Crafting!

With inky fingers,

Joni 🙂

Make a stencil with card stock.

It’s Technique Tuesday! I am going to encourage you to create a stencil today. No, they are not in the catalog any longer. They haven’t been for a few years except for the ones with the embossing paste. But they are easy to make.

Take a piece of card stock and punch (or die cut) a pattern out. To keep it in place while using it attach with washi tape. (Tip: so the washi doesn’t tear your card stock place on your clothing once or twice before attaching.)

To get a 3D effect stamp with craft white ink first. Use the heat gun to dry the ink. Take your stencil and place just offset of the white. Now use a different color to stencil. (A bright or dark color stands out the most from the white.)

Happy Crafting!

With inky fingers,

Joni 🙂

P.S. If you want to see this technique in motion please join me for the Facebook Live on Wednesday evening at 7 pm.

One Card Class!

It’s Management Monday! I have one Card Class for Cherryl this week. If you would like to attend on Thursday from 10-1 please let me know by Tuesday evening.

And remember no more Farmers’ Market for me. I will not be there this week.

Happy Crafting!

With inky fingers,

Joni 🙂