How to create an ornament.

It’s Tutorial Thursday! Today I will show you how to create an ornament. You will need about 3 hours. This is not constant creating, but you need time for the paint to dry.

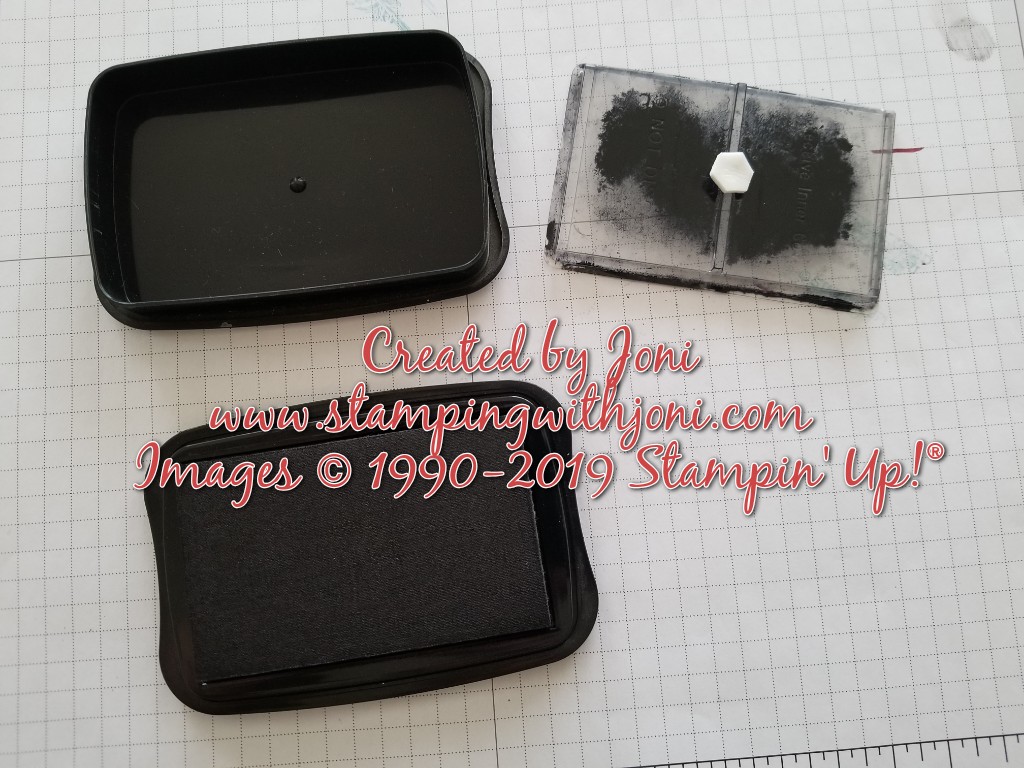
First, purchase a piece of wood and either drill a hole for the ribbon to go through or use a crop-a-dile to punch one. Grab some white acrylic paint and brush some on. Allow to dry. You will only need one thin coat. This is just so the surface does well with ink. If you don’t paint then the ink tends to bleed.

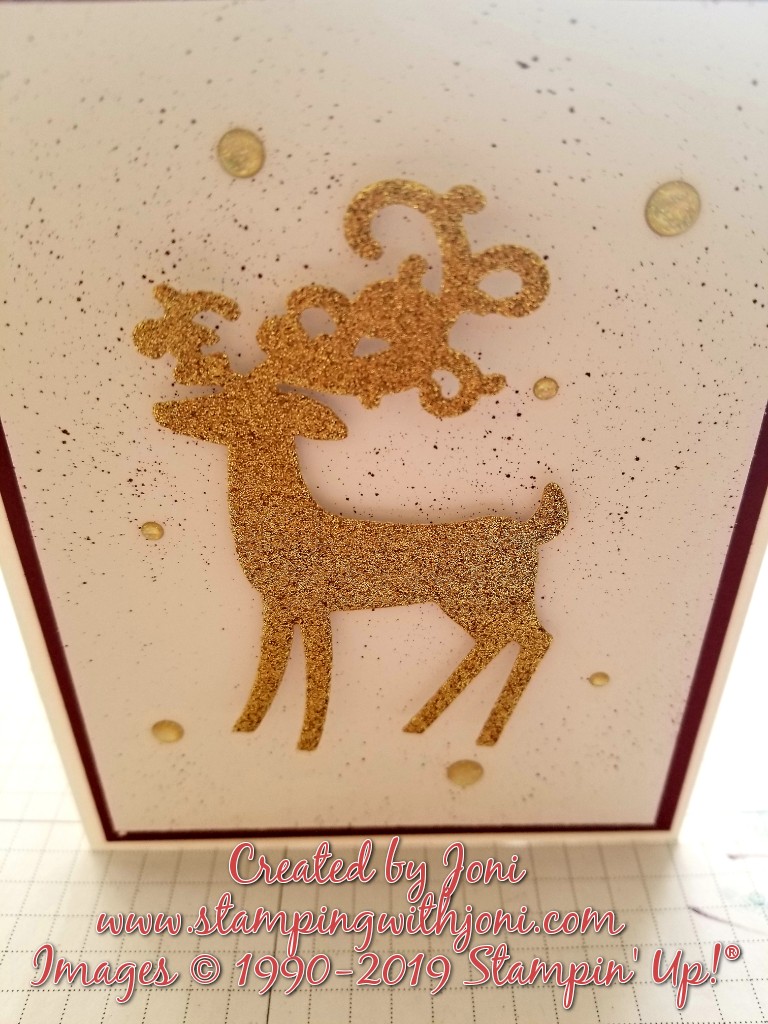
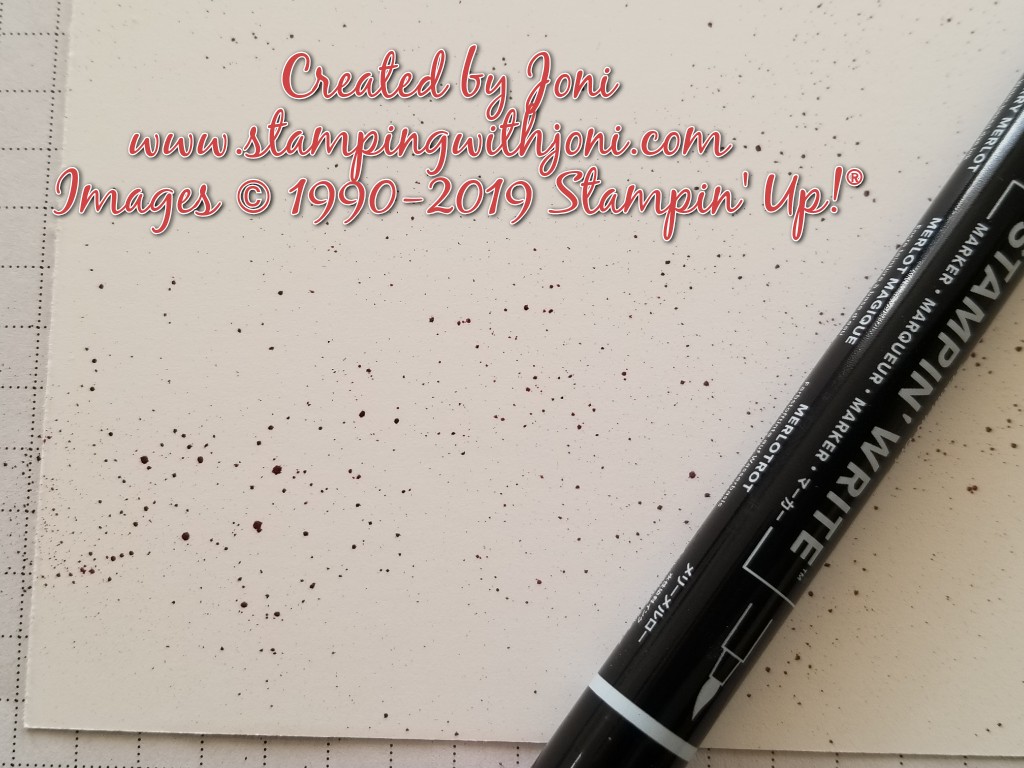
After the paint dries then you can stamp your background. Then you can attach your accent and embellishment.

Happy Crafting!

With inky fingers,

Joni 🙂

P.S. Happy Thanksgiving!

All fixed with a gem.

It’s Wacky Wednesday where a product is used in a way it is not intended! I bet you already know this one. You can use a gem or embellishment to cover up an “oops”.

In this case the “&” didn’t quite come out. So instead I put a gem in its place.

Has this ever happened to you?

Happy Crafting!

With inky fingers,

Joni 🙂

Creating a background with punches.

It’s Technique Tuesday! Today is the day we cut out a bunch of dies or punches to create a background.

I took the focal point of the card which will eventually be a snowman and created an entire background with that in mind. I punched about six from the snowman builder punch. Then I adhered them randomly to create a scattered background.

You can do this with almost any die or punch to create a background.

Happy Crafting!

With inky fingers,

Joni 🙂

Thanksgiving and Christmas all in one week!

It’s Management Monday! This week is a little different since there are holidays involved. I will be open like normal Monday and Tuesday. Wednesday I will close at noon. Thursday I will not be open and Friday I will be available for messages but no drop-ins. I will be decorating to get ready for the Christmas party.

So on Monday drop by to finish a project, ask about a product, or simply come by to say hello.

Please let me know if you are planning on coming for the annual Christmas party.

If you would like to order online please use host code GGVKYJQA through Wednesday at noon. If you prefer to order in person please contact me.

Remember if your order is $50 or more I will give you the choice of real red curly ribbon or shaded spruce and gold striped ribbon for FREE!

Happy Crafting!

With inky fingers,

Joni 🙂

Resting by cooking.

It’s Sabbath Sunday! Today is the day to rest and re-charge. Well, since I didn’t have a class to teach, finals to travel to for marching band, or any other plans football won. USC vs. UCLA was on yesterday. I chose to rest yesterday and cooked one of my favorite dinners. For me I love appetizer dinner. Potato skins, shrimp cocktail, and gourmet olives were on the menu. So today will still be a bit slower but not as much as I would normally do.

My plans for today are to get in to the studio and have some creative time.

What are your plans for today?

Happy Crafting!

With inky fingers,

Joni 🙂

No sales today.

It’s Sale Saturday! It’s weird to say this, but there are no sales today. The Online Extravaganza finished last night so there is not much to talk about for promotions today.

Instead I will say if you place an online order please use host code GGVKYJQA. If you prefer to order in person please contact me. For every $50 or more order I will give you the choice of real red curly ribbon or shaded spruce and gold striped ribbon for FREE! This host code will be good through Wednesday at noon.

And then I will talk about what is coming up this week. I will be open for Open Studio Time on Monday.

This week is a normal work one for me except on Wednesday I will be closing at noon. I will be closed on Thursday and will be decorating on Friday for the Christmas party. I will be answering the phone on Friday and replying to messages but would appreciate no drop-ins. This is all to get ready for the Christmas party on Saturday. Drop in any time from 10-1 on Saturday.

If you would like to create and have a treat please let me know that you are coming!

Happy Crafting!

With inky fingers,

Joni 🙂

Focusing on what I want.

It’s Friendship Friday! This is the day to focus on giving back or paying it forward. Today I want to talk to you about how to rewire your brain or change how you think.

I’ve been doing some research on why I tend to focus on the negative. It’s how I’ve trained my brain. So then I started looking at how to re-train how I view things. There are tons of articles, videos, and podcasts for this one subject. But one video really stood out to me. It stood out because it was short and concise. There wasn’t a ton of science for me to get lost in. So I would encourage you to take a look…https://www.youtube.com/watch?v=1pqPKDu19hU.

So for now I will start with a photo and three things I am grateful for every day. I don’t know about you, but I want to be happier. I want people to see me as uplifting and not someone who complains.

What are you working on today?

Happy Crafting!

With inky fingers,

Joni 🙂

Speckle backgrounds without the mess.

It’s Tutorial Thursday! Today I will show you how to create a speckle background without the mess.

For this card you will need a card base cut at 5 1/2″ X 8 1/2″. On the 8 1/2″ side score at 4 1/4″. The Merry Merlot card stock mat is cut to 5 1/4″ X 4″ and attached with Snail Adhesive. The Whisper White card stock inner mat is cut to 5″ X 3 3/4″ and attached with Snail Adhesive. Before attaching take your Merry Merlot Stampin’ Write Marker and flick the ink on to the background. Then attach.

Cut out the deer from Detailed Deer Dies with Gold Glimmering Paper. Attach with Dimensionals. The Gold Gems are from the Christmastime Suite.

For a complete video please go to https://youtu.be/7h55nYuodUk.

Happy Crafting!

With inky fingers,

Joni 🙂

Using dimensionals to keep ink pads wet.

It’s Wacky Wednesday where a product is used in a way it is not intended! Today we are talking about Dimensionals helping to keep our ink pads wet. No, I have not lost it. Yes, my trip to Vegas was good, but not that “good”.

So especially with the Staz-On ink pads (or anything else that has that inner lid) you can use a Dimensional to keep the outer and inner lids together. This will keep your fingers cleaner and also the seal will be a bit tighter which prevents the pad from drying out as fast.

Happy Crafting!

With inky fingers,

Joni 🙂

Splatter background without embossing.

It’s Technique Tuesday! Last week we talked about embossing by spritzing a piece of card stock and then adding embossing powder. This week we are talking about creating a splatter background without the water or embossing.

Take a Stampin’ Write Marker (not the Blends) and make a flicking motion with the cap against the tip. That motion will release ink to create a splattered background.

If you want to see this technique in motion please plan to join me tomorrow evening at 7 pm for Facebook Live. Here is the link for the page…http://www.facebook.com/StampingWithJoni.

Happy Crafting!

With inky fingers,

Joni 🙂