It’s Sabbath Sunday! This is the day to rest so you can be recharged for the week.
Since I have been regularly exercising I have realized a change. I have more energy during the day but once it’s gone I am really craving going to bed. In the past, before I moved as much, I would crave sweets or chips instead of rest. It’s amazing to me how your body changes after mixing up just a few routines.
I am also reminded of this in simple instructions for electronics. Make sure to not constantly charge. Please ensure that the unit is below 50% before plugging in. And many other similar recommendations.
I guess the same can be said for us too. Make sure to run down your battery before resting. The rest is so much sweeter, deeper, and more beneficial when my battery has been run down.
It’s Friendship Friday! This is the day to focus on giving back or paying it forward.
So I had a challenge to send cards for Operation Gratitude. A few of you participated and 44 cards with envelopes were sent to Operation Gratitude. Thank you for giving back.
I will be doing another mail drop at the end of July for Operation Gratitude. So start gathering your cards again. Thank you for sending in your cards!
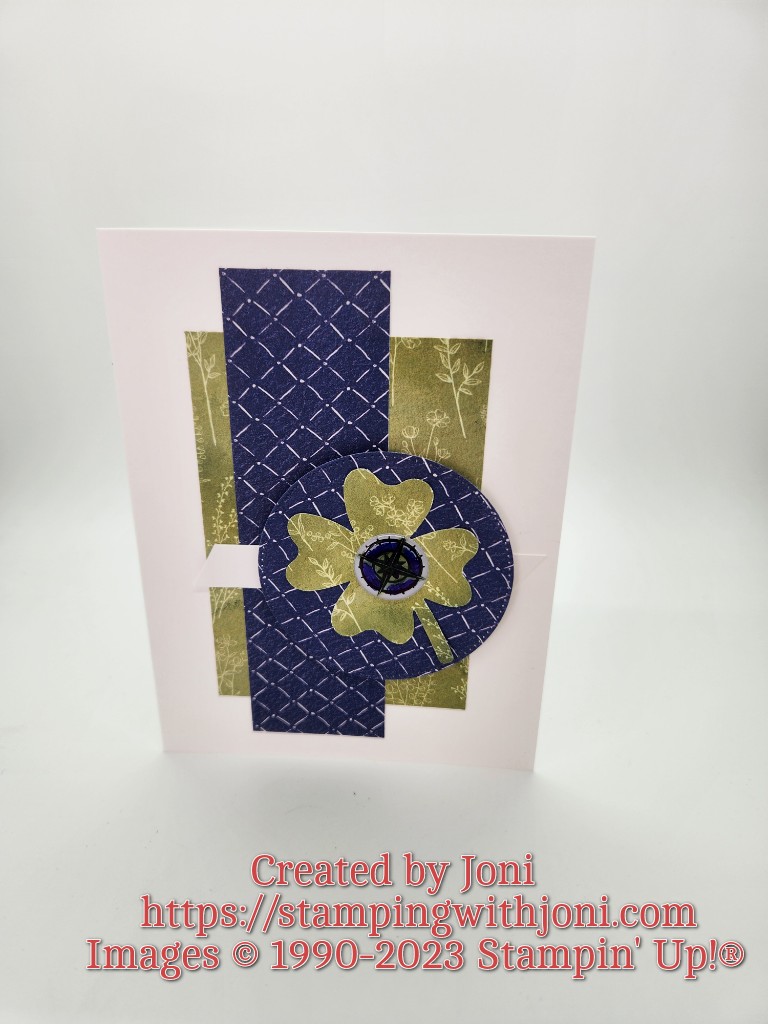
It’s Tutorial Thursday! Today I want to show you how to create these three cards. Enjoy!
Here are the measurements for all of these. Please reference the video for how to put them together.
Triple Tier Slider Card
Cut your card base (Melon Mambo) with the Paper Trimmer to 4 1/2″ X 11 5/8″. On the 11 5/8″ side score at 3 7/8″. Tuck the other side just before the score line. Line up the right hand score line at 1″. Cut from 1/2″ down to 3″. Move the right edge over to the 1″ mark on the right side of the cutter and cut again.
Cut the second tier of Melon Mambo with the Paper Trimmer to 3 1/8″ X 10 1/4″. On the 10 1/4″ side score at 3 3/8″. Tuck the other side just before the score line. Line up the right hand score line at 1″. Cut from 1/4″ down to 2 1/2″. Move the right edge over to the 1″ mark on the right side of the cutter and cut again.
Cut the third tier of Melon Mambo Card Stock to a 3″ square.
The outer mats on all the tiers are a coordinating solid color of card stock.
Large tier is 3 3/4″ X 4 3/8″.
Medium or second tier is 2 1/4″ X 3 1/4″.
Small tier is 2 1/4″ X 2 7/8.
The inner mats on all the tiers are Basic White Card Stock or for the giraffe card it is Like an Animal 12 X 12″ Specialty Designer Series Paper.
Medium tier is 2 1/8″ X 3 1/8″.
Small tier is 2 1/8″ X 2 3/4″.
The Designer Series Paper for the bottom or large tier is 3 5/8″ X 4 1/4″. Also cut two strips from the same paper or scrap that measure 1/2″ X 3 1/4″. If you use scraps make sure it is the same thickness of the Designer Series Paper. Regular weight card stock does not work well for these strips.
For how to put it together please reference the video. (The link is below.)
It’s Wacky Wednesday where a product is used in a way it is not intended!
Did you know that the Stampin’ Blends can color card stock, glass, cork, wood, and more? They can also color embellishments like the Basic Pearls or Rhinestones. But did you know they can also color on plastic? Here is an example with the Enamel Sticker Icons.
It’s Technique Tuesday! Today is more of a tip than a technique.
Have you ever had a hard time getting your plates and platforms to fun through your Stampin’ Cut & Emboss Machine (especially the Mini Machine)? Then stagger your plates to form that of an “E”. By staggering them it is easier for the plates to run through. Just make sure that even though the plates are staggered that the die and card stock is still fully on all plates.
Please let me know if this tip helps you in the comments.
It’s Management Monday! Here’s what’s happening this week and maybe a bit beyond.
YouTube Live
The YouTube Lives have become a mini class of sorts.
On Monday the Live is announced as well as the online shop updated with the DIY Kit. (Here’s a hint…triple tier slider card. The official announcement will be later today.)
Wednesday at 7 pm will be the YouTube Live.
Sunday is the deadline for you to order the DIY Kit.
For this Club from February 16-28 order $50 or more in product with host code ZJVGDRVK or using the link https://www.stampinup.com?hostcode=ZJVGDRVK to qualify. (You can also place your order directly with me but it will not be submitted until March 1.) There is no commitment unlike past Clubs. There is simply a bonus. To read more details about Club please go to https://stampingwithjoni.wordpress.com/cluborderbonus.
Sale-A-Bration Finishes Tomorrow
Tomorrow is the last day for Sale-A-Bration! Don’t miss out on your bonuses with either ordering or signing up.
Career Day
Wish me luck on Friday as I present Stampin’ Up! in Yucca Valley’s Career Day.
29 Palms Farmers’ Market
Come on out and see what’s new for St. Paddy’s Day as well as other occasions! I will be at the Market on Saturday from 8-1! Yes, there will be a raffle too.
Follow the event at https://fb.me/e/InBk0b5S to see what I have for sale, any updates, and for the raffle prize.
Online Shopping
My retired stamp sets as well as finished projects are now available online! If you prefer local pick up then contact me before ordering. There is no deliver option except via shipping. Go to https://stampingwithjoni.wordpress.com/shop/ to take a look.
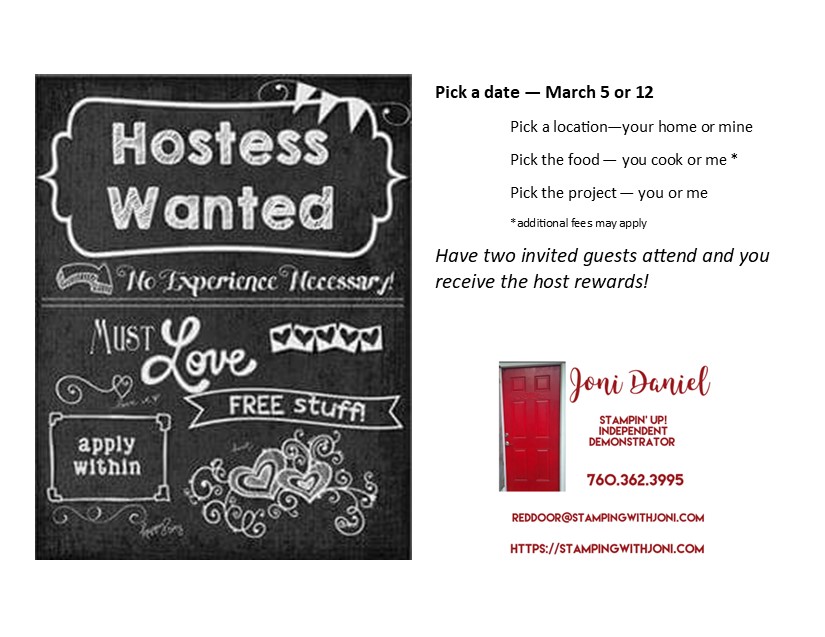
Host Availability
Are you missing in-person classes? Well, now you can choose everything. When you choose to be a host you get to pick exactly what you want: your location, your food, your projects, and your free products.
So let me know where I am going and when. I look forward to what ideas you have to share with me!
It’s Sabbath Sunday! This is the day to rest so you can be recharged for the week.
As some of you may know I started running again at the end of December. And I have to say those times of rest are now so cherished. It’s amazing to me how differently I view rest now. It used to be a time or day to break up the routine. While that is still true, I look forward to a day of not moving quite so much after pounding the pavement.
But I also have to say that everything seems to be more important when you are pushing yourself. The types of food I crave have changed from junk food to burgers, steaks, anything with protein.
And I have also realized that timing is important too. I workout first thing in the morning usually. When I return I clean up and start my day. With this start I get a cup of tea but not always breakfast. The days I don’t eat right away I am in a mental fog for much of the day.
It is so important to not only push your limits, but to also fuel appropriately. By having balance you can push yourself past your known limits to accomplish great things.
I say this to remind you to keep your cup full so you can continue to give. If there is nothing inside then giving is so difficult. Here’s to taking care of ourselves so we can take care each other too.
I am here to announce the winner of the Challenge to send cards by today for Operation Gratitude! Thank you to all that participated! I used the app called “Random Name Picker” to choose.
Diane Lavender!!!
Please comment here to congratulate Diane! I will be mailing your prize out on Monday! Congratulations again!
I will be announcing the winner this afternoon for the Operation Gratitude Card Challenge! The Adorable Owls stamp set will be mailed out on Monday to the winner! Best of luck!
There are additional Sale-A-Bration items now! Please remember all Sale-A-Bration items are while supplies last.