Value Vs. Success

It’s Friendship Friday! This is the day to focus on giving back or paying it forward.

On my last coaching call I was asked how it felt to go back to the basics. I simply replied I am not. I might be going back to hosts (other than myself) for in-person classes but I do not feel like I am back at the starting line. I have 16 years of experience so I am not truly starting over. I value my wisdom from my 16 years of experience. And that is a success.

And this time around I know how to make impact better, faster, and more effectively.

(To be fair…I just got a new coach that is trying to get to know me and is looking at my events history. I am no longer doing as much in the same way as I was about 3 years ago.)

With all of this being said I am reminded of Einstein’s quote, “Strive not to be a success, but rather to be of value”.

How are you bringing value to your life and the lives around you?

Happy Crafting!

With inky fingers,

Joni 🙂

So Much Can Be Done With Thanks a Bunch

It’s Tutorial Thursday! Today I want to give you directions on how to make four cards…FOUR!!! 🙂

They are all easy cards but will make you think twice about all of your stamp sets. Make sure to look at your sets sideways, upside down, and right side up. There’s often surprises waiting for you. Here are the alternate cards I made with the Thanks a Bunch Photopolymer Stamp Set. Now one is more traditional (carrots), but all of the others are not.

Here are the directions for all of these cards.

Carrot Card

  1. Cut Thick White Card Stock with the Paper Trimmer to 5 ½” X 8 ½”. On the 8 ½” side score at 4 ¼”. This is your card base.
  2. Cut Parakeet Party Card Stock with the Paper Trimmer to 5 1/4” X 4”. This is your outer mat.
  3. Cut Starry Sky Card Stock with the Paper Trimmer to 5” X 3 ¾”. Attach to the outer mat with Stampin’ Seal. This is your inner mat.
  4. Cut Basic White to 4 ¾” X 3 ½”. Stamp carrots in Pumpkin Pie Ink, tops in Parakeet Party Ink, and details in Starry Sky Ink.
  5. Cut 1/8” Starry Sky Metallic Woven Ribbon to about 14”. Tie bow and attach with Mini Glue Dots to either side of the sentiment.
  6. Punch out of scrap Basic White Card Stock from the Rectangular Postage Stamp Punch and stamp sentiment in Starry Sky Ink. Attach to accent piece with Dimensionals.

Tree Card

  1. Cut Thick White Card Stock with the Paper Trimmer to 5 ½” X 8 ½”. On the 8 ½” side score at 4 ¼”. This is your card base.
  2. Cut Mossy Meadow Card Stock to 5” X 3 ¾”. Attach to card base with Stampin’ Seal. This is your outer mat.
  3. Cut Basic White Card Stock to 4 ½” X 3 ¼”. Stamp carrots vertically with Mossy Meadow Ink. Stamp sentiment also. Attach to outer mat with Stampin’ Seal.

Bunny Card

  1. Cut Thick White Card Stock with the Paper Trimmer to 5 ½” X 8 ½”. On the 8 ½” side score at 4 ¼”. This is your card base.
  2. Cut Soft Succulents Card Stock to 5 ¼” X 4”. Attach to card base with Stampin’ Seal. This is your outer mat.
  3. Cut Basic White Card Stock to 5” X 3 ¾” and stamp “grass” in Soft Succulents Ink. Stamp sentiment in Polished Pink Ink. Attach to outer mat with Stampin’ Seal. This is your accent piece.
  4. Stamp bunny in Basic Gray Ink and punch out. Color with Polished Pink Stampin’ Blends. Attach to accent piece with Dimensionals.

Landscape Card

  1. Cut Thick White Card Stock with the Paper Trimmer to 5 ½” X 8 ½”. On the 8 ½” side score at 4 ¼”. This is your card base.
  2. Cut Soft Succulents Card Stock to 5” X 3 ¾”. Attach to card base with Stampin’ Seal. This is your outer mat.
  3. Cut Evening Evergreen Card Stock to 4 ½” X 3 ¼”. Attach to outer mat with Stampin’ Seal. This is your inner mat.
  4. Cut Basic White Card Stock to 4” X 2 ¾”. Start at the bottom and stamp “bushes” in Evening Evergreen Ink. Take Blending Brush and color in the area. Stamp with Night of Navy Ink the “water” or “waves”. Take Blending Brush and color in the area with Tahitian Tide Ink. Stamp the “mountains” with Evening Evergreen Ink. Stamp the “birds” with Night of Navy Ink. Take Blending Brush and create sky with Pale Papaya Ink and Calypso Coral Ink. Attach to inner mat with Stampin’ Seal.

To order the DIY Kit please go to https://stampingwithjoni.wordpress.com/diykits/ by Sunday at midnight.

To see the video please go to https://www.youtube.com/live/MV9I3mkfZ6U?feature=share.

Happy Crafting!

With inky fingers,

Joni 🙂

When Carrots Become Trees

It’s Wacky Wednesday where a product is used in a way it is not intended!

Unlike last week that carrots became grass, this week they are becoming trees.

I also see an entire landscape with this set. Tune in tonight at 7 pm at https://www.youtube.com/live/MV9I3mkfZ6U?feature=share to see all of these wacky cards created.

When you use any of these crazy ideas please post a photo of your finished project on my page, https://facebook.com/StampingWithJoni.

Happy Crafting!

With inky fingers,

Joni 🙂

Adding Color

It’s Technique Tuesday! If you feel that there is not enough contrast with an embossing folder then color it.

In this case I simply took the Night of Navy Ink Pad and pounced it on to the Seashells 3D Embossing Folder. Then to clean simply rinse off and pat dry with a paper towel or a lint-free cloth towel.

When you use this technique please post a photo of your finished project on my page, https://facebook.com/StampingWithJoni.

Happy Crafting!

With inky fingers,

Joni 🙂

29 Palms Farmers’ Market

It’s Management Monday! Here’s what’s happening this week and maybe a bit beyond.

YouTube Live

The YouTube Lives have become a mini class of sorts.

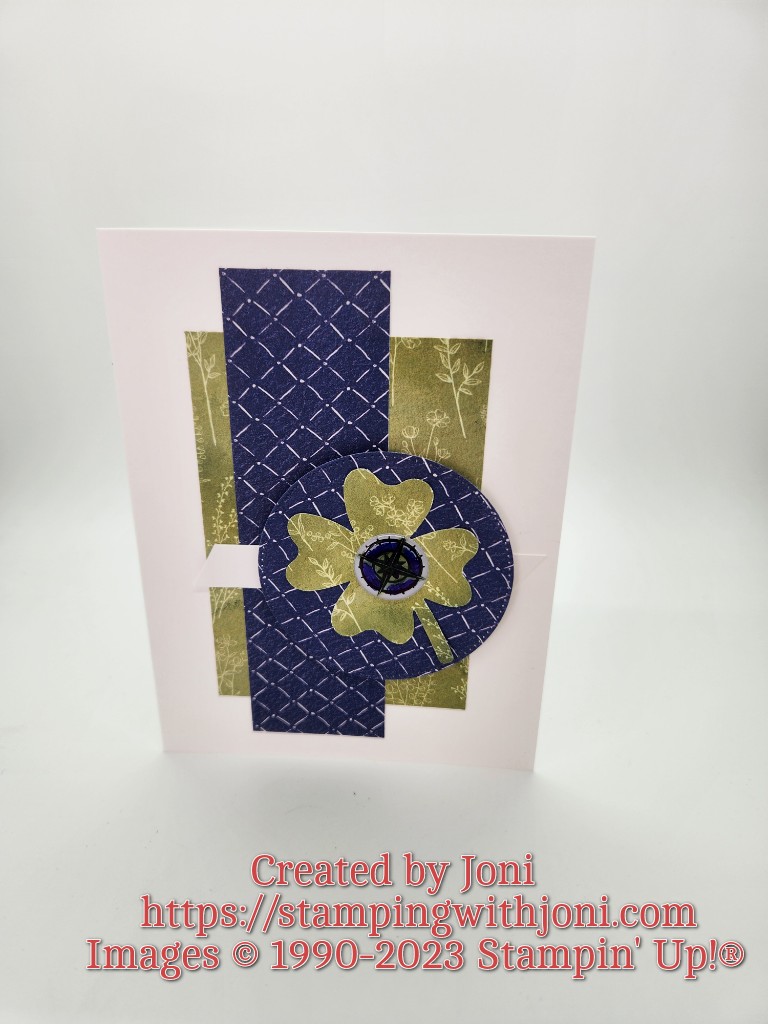
  • On Monday the Live is announced as well as the online shop updated with the DIY Kit.
  • Wednesday at 7 pm will be the YouTube Live.
  • Sunday is the deadline for you to order the DIY Kit.

For more details please go to https://stampingwithjoni.wordpress.com/diykits/. If you have questions please just ask.

Club Order Bonus

For this Club from January 16-31 order $50 or more in product with host code 744TXBYQ or using the link https://www.stampinup.com?hostcode=744TXBYQ to qualify. (You can also place your order directly with me but it will not be submitted until January 16.) There is no commitment unlike past Clubs. There is simply a bonus. To read more details about Club please go to https://stampingwithjoni.wordpress.com/cluborderbonus.

29 Palms Farmers’ Market

Come on out this Saturday, February 4 from 8-1 at the Farmers’ Market! Enter for a chance to win the raffle prize. Follow the event for all the details at https://fb.me/e/49wo81QnZ.

Online Shopping

My retired stamp sets as well as finished projects are now available online! There is not an option for local pick up except during the Open Day Session. Go to https://stampingwithjoni.wordpress.com/shop/ to take a look.

Host Availability

Are you missing in-person classes? Well, now you can choose everything. When you choose to be a host you get to pick exactly what you want: your location, your food, your projects, and your free products.

So let me know where I am going and when. I look forward to what ideas you have to share with me!

Happy Crafting!

With inky fingers,

Joni 🙂

Relax

It’s Sabbath Sunday! This is the day to rest so you can be recharged for the week.

Sometimes you have to break your routine and just relax. Often we think this requires a road trip, massage, or something else that might be a bit out of our budget. Instead here are some simple ways to relax without having to break the piggy bank open.

  • Take a break. (Often when I find myself having trouble concentrating I run an errand or change my four walls. It’s amazing what a couple of minutes of fresh air can do.)
  • Listen to music.
  • Make time for a hobby.
  • Get active.
  • Turn off your technology.

To read the entire article please go to https://www.hypnotherapy-directory.org.uk/blog/2017/04/25/10-simple-ways-to-relax-every-day#accept-cookies.

Happy Crafting!

With inky fingers,

Joni 🙂

Pearl Bonus Finishes Tuesday!

It’s Sale Saturday!

To read about the details for the Club Order that requires no commitment please go to https://stampingwithjoni.wordpress.com/cluborderbonus/. This bonus finishes THIS Tuesday!

The New Mini Catalog and Sale-A-Bration Brochure are live! Make sure to get what you want before the end of February (when Sale-A-Bration finishes).

I offer concierge services for your orders. Don’t get frustrated with technology. Just contact me to order.

Happy Crafting!

With inky fingers,

Joni 🙂

All By Myself

It’s Friendship Friday! This is the day to focus on giving back or paying it forward.

Today I have a favor to ask you. If you have an extra minute and an extra card could you send some happy mail to my daughter? I am so proud of her. She moved into her own place with no roommates. She has real furniture and is now learning how to keep a house. If you would like to mail her a quick card simply comment and I will get you her mailing address.

Thank you so much for being a part of this Crafty Family!

Happy Crafting!

With inky fingers,

Joni 🙂

Taco Fiesta Cards

It’s Tutorial Thursday! Today I want to show you how to create three cards all from the Taco Fiesta Photopolymer Stamp Set.

For these cards here are the instructions…

Holy Guacamole Card

  1. Cut Thick White Card Stock with the Paper Trimmer to 5 ½” X 8 ½”. On the 8 ½” side score at 4 ¼”. This is your card base.
  2. Cut Old Olive Card Stock with the Paper Trimmer to 5” X 3 ¾”. Stamp with Old Olive Ink the party favors from Taco Fiesta Photopolymer Stamp Set. Do not attach yet. This is your mat.
  3. Cut Early Espresso Card Stock with the Paper Trimmer to 2 ½” X 7”. On the 7” side score at 3 ½”. Attach to the back of the mat with Stampin’ Seal. Now attach the mat with flap attached to the mat.
  4. Cut Basic White to 2 ¼” X 3 ½”. Stamp avocado and guacamole bowl in Old Olive Ink. Stamp sentiment and mustache in Early Espresso Ink. Attach to the front flap.
  5. Attach Rustic Metallic Adhesive-Backed Dots.

Cacti Card

  1. Cut Thick White Card Stock with the Paper Trimmer to 5 ½” X 8 ½”. On the 8 ½” side score at 4 ¼”. This is your card base.
  2. Cut Design a Daydream 12” X 12” Host Designer Series Paper with the Paper Trimmer to 3 ½” X 5”. Attach to card base with Stampin’ Seal. This is your outer mat.
  3. Cut Design a Daydream 12” X 12” Host Designer Series Paper with the Paper Trimmer to 3” X 5”. Attach to outer mat with Stampin’ Seal. This is your inner mat.
  4. Cut Basic White Card Stock with the Paper Trimmer to 2 ½” X 5”. Stamp the cacti across using the Coastal Cabana Ink. (Tip: Grab a thin piece of post-it note to cover the top of the cactus while inking so the sombrero fits properly. Make sure to take the strip off when stamping.) Stamp the sombreros in Coastal Cabana Ink as well. Stamp the chili in Crushed Curry Ink. Stamp the sentiment in Coastal Cabana Ink. Color with Stampin’ Blends (Coastal Cabana light, Cherry Cobbler light, Tahitian Tide light, Daffodil Delight dark, and Evening Evergreen dark used). Attach to inner mat with Stampin’ Seal.

Piñata Card

  1. Cut Thick White Card Stock with the Paper Trimmer to 5 ½” X 8 ½”. On the 8 ½” side score at 4 ¼”. This is your card base.
  2. Cut strips of bright colored card stock (Calypso Coral, Parakeet Party, Rich Razzleberry, and Pumpkin Pie) with the Paper Trimmer to 1 ½” X 3 7/8” each. Then take your Snips and create fringe leaving at least ½” not cut so it can be glued. Attach to the card base with Stampin’ Seal starting at the bottom.
  3. Take a scrap piece of Basic White Card Stock and stamp the horse in Basic Gray Ink. Color with bright Stampin’ Blends (Polished Pink light, Tahitian Tide light, Daffodil Delight dark). Cut out with Snips.
  4. Cut a piece of twine from the Three Twine Combo Pack with Snips approximately 3”. Put a Mini Glue Dot on either end to attach to the pinata and under the first layer of fringes. Place a Stampin’ Dimensional behind the pinata and attach.

To order the DIY Kit please go to https://stampingwithjoni.wordpress.com/diykits/ by Sunday at midnight.

To see the video please go to https://youtu.be/Nt8Rmb9s5b8.

Happy Crafting!

With inky fingers,

Joni 🙂

When Carrots Become Grass

It’s Wacky Wednesday where a product is used in a way it is not intended! Today I want to show you how carrots become grass.

In the Thanks a Bunch Photopolymer Stamp Set there is a stamp that is supposed to be used to add texture to a carrot. It’s the second stamp from the left on the bottom.

But instead I am going to use that carrot texture to create grass.

When you create using this same technique please post your finished project on my page, https://facebook.com/StampingWithJoni.

Happy Crafting!

With inky fingers,

Joni 🙂