It’s Sabbath Sunday! This is the day to rest so you can be recharged for the week.
Today I want to talk to you about letting go. (Do you hear the song?) Let go of what you can’t control. And as I get older I realize that almost everything is out of my control.
When I pay attention I realize that most of my stress comes from me trying to control what I cannot.
So here’s to letting go.
What are you going to release today to have a more peaceful life?
Just a reminder that the Last Chance List is available. If you need a copy please comment or contact me. Please remember…the discounts are not available until Tuesday, April 4th.
There’s a new link and bonus for this rotation of the Club Order Bonus! Yes, the Last Chance List qualifies for the Club Order Bonus as long as you put the host code in during checkout.
It’s Friendship Friday! This is the day to focus on giving back or paying it forward.
As I am cleaning out my retiring supplies with the announcement of the Last Chance List I am letting my mind wander. If someone comes to mind while I am cleaning I will create a beginner’s stamping kit so they can begin to craft as well.
So as you’re cleaning out for the Rubber Rummage Sale does anyone come to mind for you to help in being creative?
Think about it. Is there someone that can benefit from a creative connection?
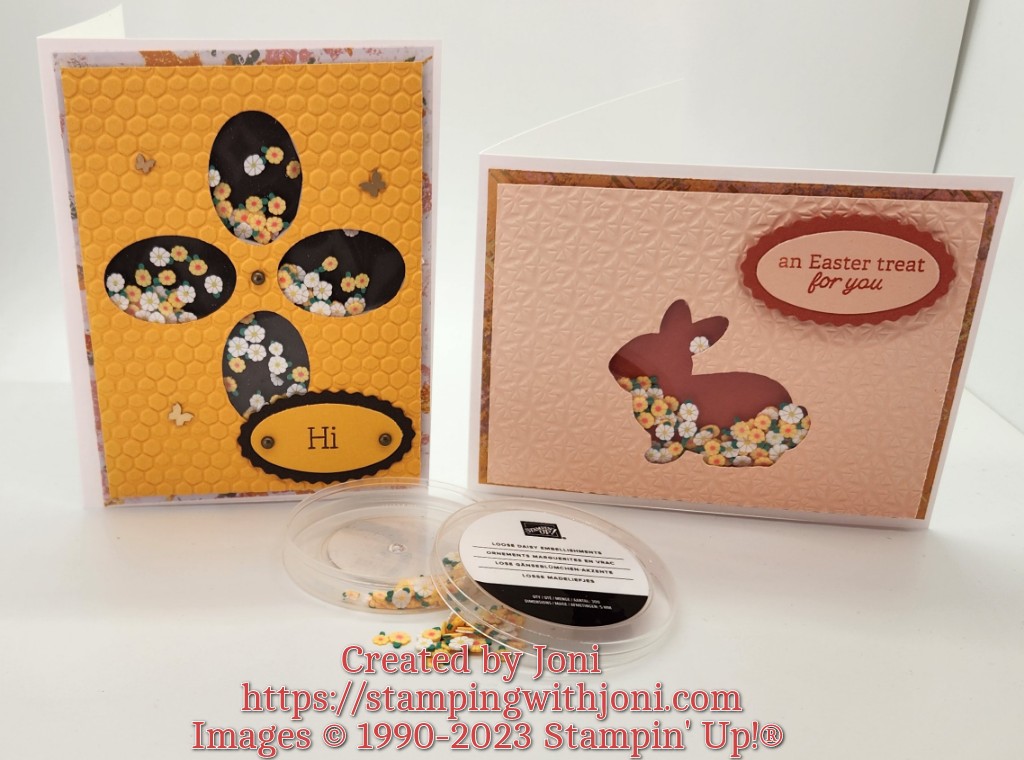
It’s Tutorial Thursday! Here’s how to make shaker cards with strange shapes.
So I should probably explain myself…strange shapes means not a circle, square, triangle. Something that has curves and weird points like a bunny or a flower.
Here is what the underneath looks like after placing the Foam Adhesive Strips.
Here are the measurements for both cards.
Bunny Shaker Card
Cut a piece of Thick White Card Stock with the Paper Trimmer to 4 ¼” X 11”. On the 11” side score at 5 ½”. This is your card base.
Cut a piece of Texture Chic 12” X 12” Specialty Designer Series Paper to 5 ¼” X 4”. Attach to the card base with Stampin’ Seal. This is your outer mat.
Cut a piece of Petal Pink Card Stock to 5” X 3 ¾”. Emboss with the coordinating folder from the Basics 3D Embossing Folders. Then punch out the bunny from the Easter Bunny Punch.
Cut a piece of Calypso Coral Card Stock and another of Window Sheet to 5 1/8” X 3 7/8” each.
Attach the Window Sheet to the embossed pink card stock with Mini Glue Dots.
Then outline the image with Foam Adhesive Strips to create the pocket.
Fill in the pocket with some Loose Daisy Embellishments.
Peel the backing off the Foam Adhesive Strips and glue down the Calypso Coral piece.
Then place Stampin’ Seal on the back of the Calypso Coral and glue to the outer mat.
Punch out the Calypso Coral Card Stock with the scalloped oval from the Double Oval Punch. Then punch out with the smooth-edged oval in Petal Pink Card Stock. Stamp image in Calypso Coral Ink from the Easter Bunny Photopolymer Stamp Set. Attach to card front.
Flower Shaker Card
Cut a piece of Thick White Card Stock with the Paper Trimmer to 5 1/2” X 8 1/2”. On the 8 1/2” side score at 4 1/4”. This is your card base.
Cut a piece of Texture Chic 12” X 12” Specialty Designer Series Paper to 5 ¼” X 4”. Attach to the card base with Stampin’ Seal. This is your outer mat.
Cut a piece of Mango Melody Card Stock to 5” X 3 ¾”. Cut out the flower petals from the Mini Pocket Envelope Dies. Emboss with the Hive 3D Embossing Folder.
Cut a piece of Early Espresso Card Stock and another of Window Sheet to 5 1/8” X 3 7/8” each.
Attach the Window Sheet to the embossed yellow card stock with Mini Glue Dots.
Then outline the images with Foam Adhesive Strips to create the pocket.
Fill in the pockets with some Loose Daisy Embellishments.
Peel the backing off the Foam Adhesive Strips and glue down the Early Espresso piece.
Then place Stampin’ Seal on the back of the Early Espresso and glue to the outer mat.
Punch out the Early Espresso Card Stock with the scalloped oval from the Double Oval Punch. Then punch out with the smooth-edged oval in Mango Melody Card Stock. Stamp image in Early Espresso Ink from the Easter Bunny Photopolymer Stamp Set. Attach to card front.
This is just a quick reminder that we are not limited to card stock. Remember that we have the Staz-On inks that can be stamped on glass, metal, wood, cork, etc. This means you can even stamp on mugs. But remember that you need a straight side if you are stamping.
For this Club from March 16-31 order $50 or more in product with host code UPWYJGVG or using the link https://www.stampinup.com?hostcode=UPWYJGVG. (You can also place your order directly with me but it will not be submitted until April 1.) There is no commitment unlike past Clubs. There is simply a bonus. To read more details about Club please go to https://stampingwithjoni.wordpress.com/cluborderbonus.
29 Palms Farmers’ Market
Come on out on Saturday from 8-1 to get Easter goodies, see what’s new, get the Deal of the Day, or to enter the raffle! Follow along for updates on the event at https://fb.me/e/2p1tGy7Fx.
29 Palms Elks’ Craft Fair
Come on out on Sunday from 9-3 to get Easter goodies, see what’s new, get the Deal of the Day, or to enter the raffle! Follow along for updates on the event at https://fb.me/e/11GKGIL6l.
Online Shopping
My retired stamp sets as well as finished projects are now available online! If you prefer local pick up then contact me before ordering. There is no deliver option except via shipping. Go to https://stampingwithjoni.wordpress.com/shop/ to take a look.
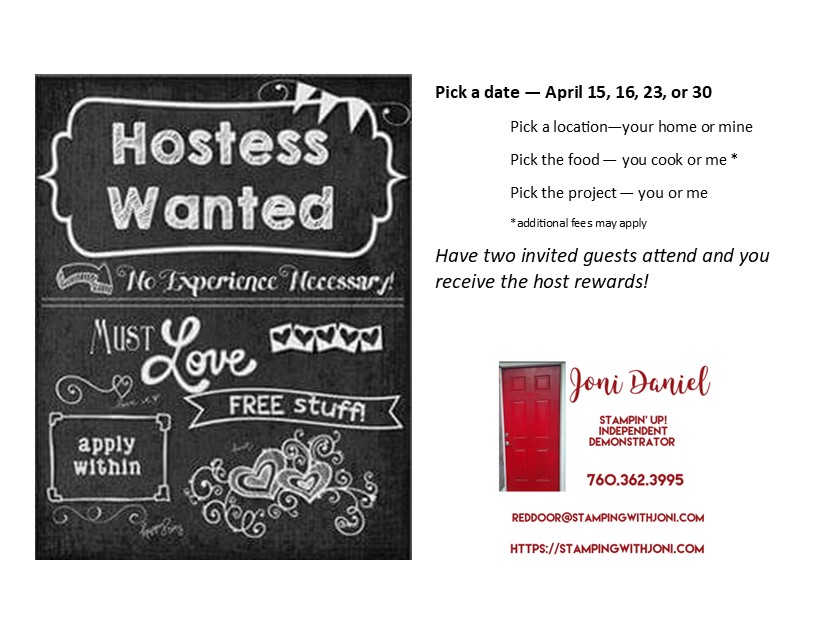
Host Availability
Are you missing in-person classes? Well, now you can choose everything. When you choose to be a host you get to pick exactly what you want: your location, your food, your projects, and your free products.
So let me know where I am going and when. I look forward to what ideas you have to share with me!
It’s Sabbath Sunday! Today is the day to rest so you can be recharged for the week.
I don’t know about you but when I am focused or stressed about something I tend to tighten up. So I found this list of things to do to regain your calm quickly.
Just a reminder that the Last Chance List will go live on Wednesday, March 29. But before this, please pay attention as some items are on low inventory, such as many of the In Colors that are going out, and will be gone forever. This may occur even before the Last Chance List is out.