Ready or not, here the events come! There are some great classes on their way!
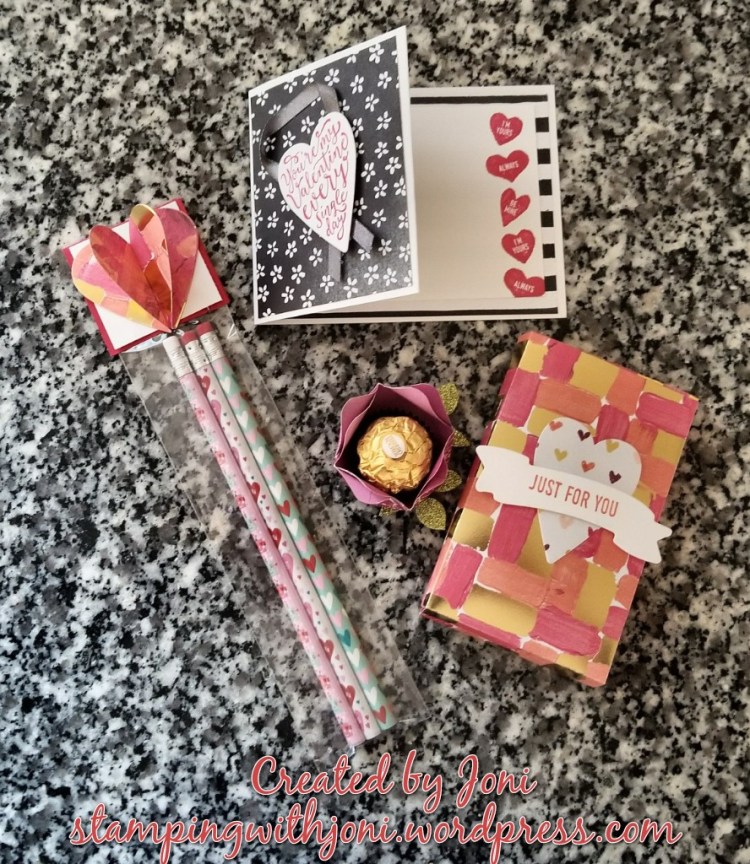
Serina’s Valentine Favors Class — Come on out on Thursday, February 1st from 5:30-8 pm! We will be creating 4 Valentine’s Day treats! There will be alternate greetings available, especially for the card. Cost for the class is $10. There will be dinner provided by Serina. No hubbies, no kids, and no mess to clean up. Please RSVP by Tuesday, January 30th to Serina or me. See you on the 1st!
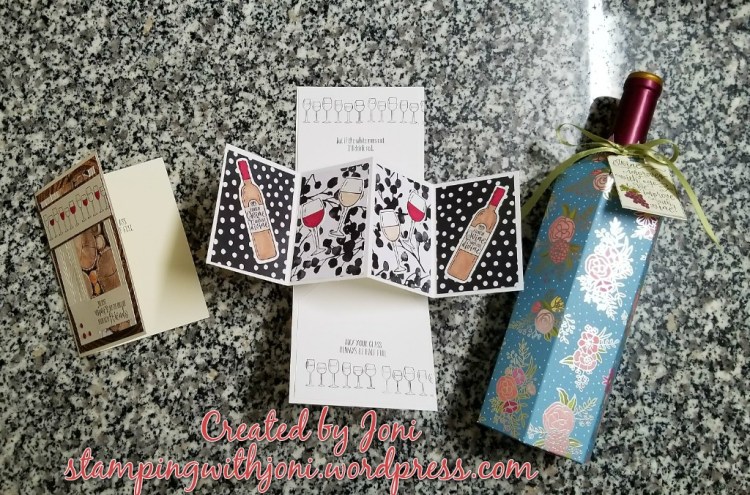
Lisa’s Half Full Class — Come on out to create a wine bottle holder, pop and twist card, and a wood textured card on Saturday, February 3rd from 10-1.
This class is a little bit different because you get to keep the stamp set! You order the stamp set Half Full and the class is included. All of the pre-orders count towards helping Lisa earn FREE product!
If you order the wood mount stamp the class is $40 and for clear-mount $30. When you RSVP please specify wood or clear-mount. (If you already have the Half Full stamp set please contact me for alternate options.)
Lisa is providing the food and I will have the projects ready for you! Please RSVP before Thursday, January 25th at noon. See you on the 3rd!
And last, but not least, the next Card Class will be on February 6, 8, or 10 so save the date!
I hope that’s enough to get your week off to a great start!
Happy Crafting!
With inky fingers,
Joni 🙂