It’s Wacky Wednesday where a product is used in a way it is not intended! Did you realize that there is a little heart on the Dog Builder Punch? That little heart we have used to create paw prints, collar emblems, and backgrounds. Do you know that the little heart also punches out the little hearts in the From My Heart Specialty Designer Series Paper just perfectly?
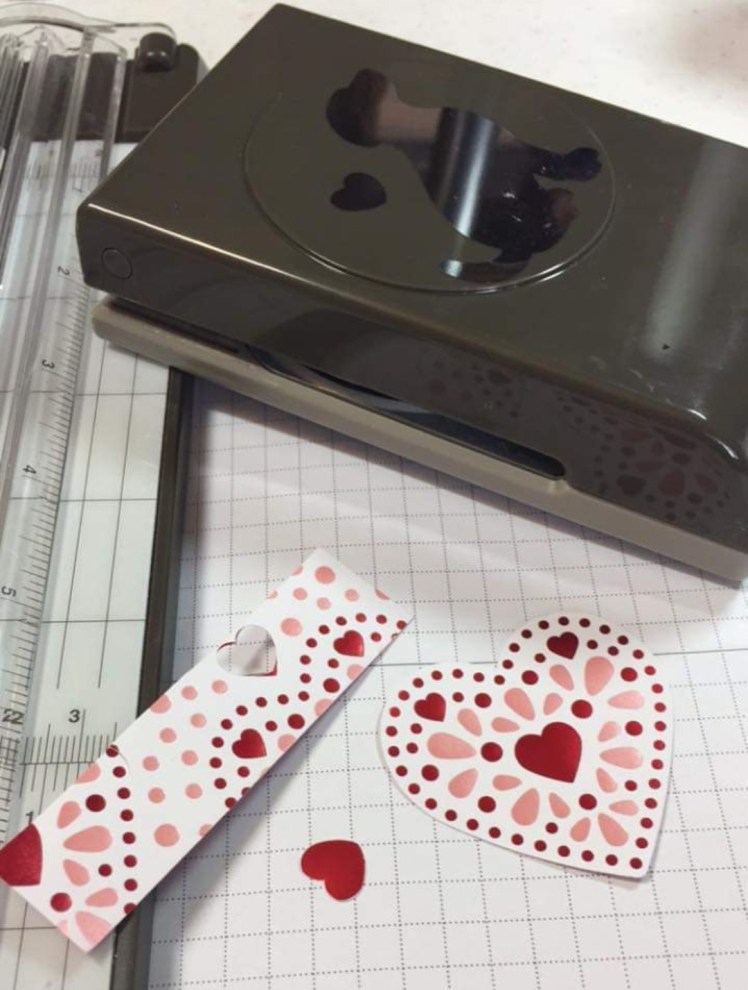
Here is a look at the From My Heart Specialty Designer Series Paper. Of course it is better in person! Stop by to take a peek or order it so you don’t have to travel.
Happy Crafting!
With inky fingers,
Joni 🙂