It’s Technique Tuesday! Today’s technique is more of a tip.
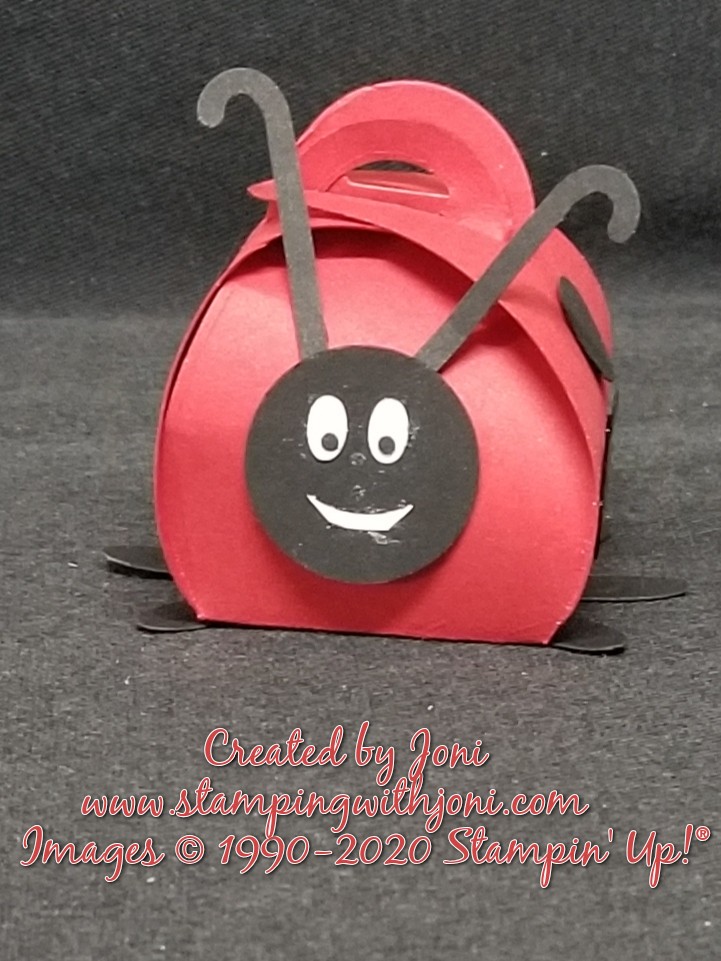
When gluing on little bits you may want to bring the glue to it and not the other way around. In this case I was gluing on little tiny pupils for eyes on the ladybug. I brought the Multipurpose Glue down to where the little black dot was instead of trying to pick it up with tweezers, the Take Your Pick Tool, or even my fingers. It was going to get lost otherwise. Then after getting some glue to it I took it off with my fingers and placed it on my project.
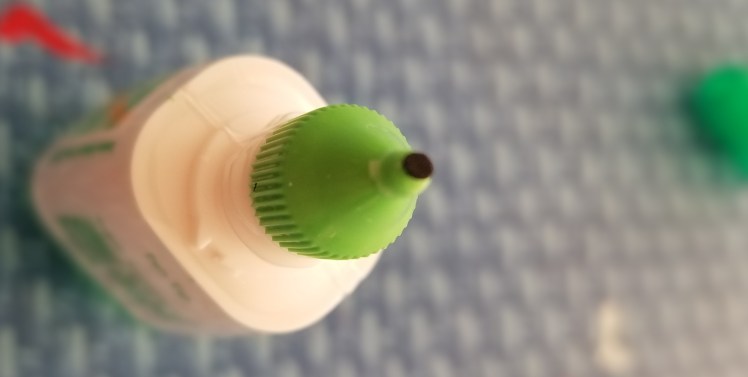
Here’s what this looks like.
If you would like to create this lady bug, a frog, and two cards then please reserve your seat for Heidi’s class.

Happy Crafting!
With inky fingers,
Joni 🙂