
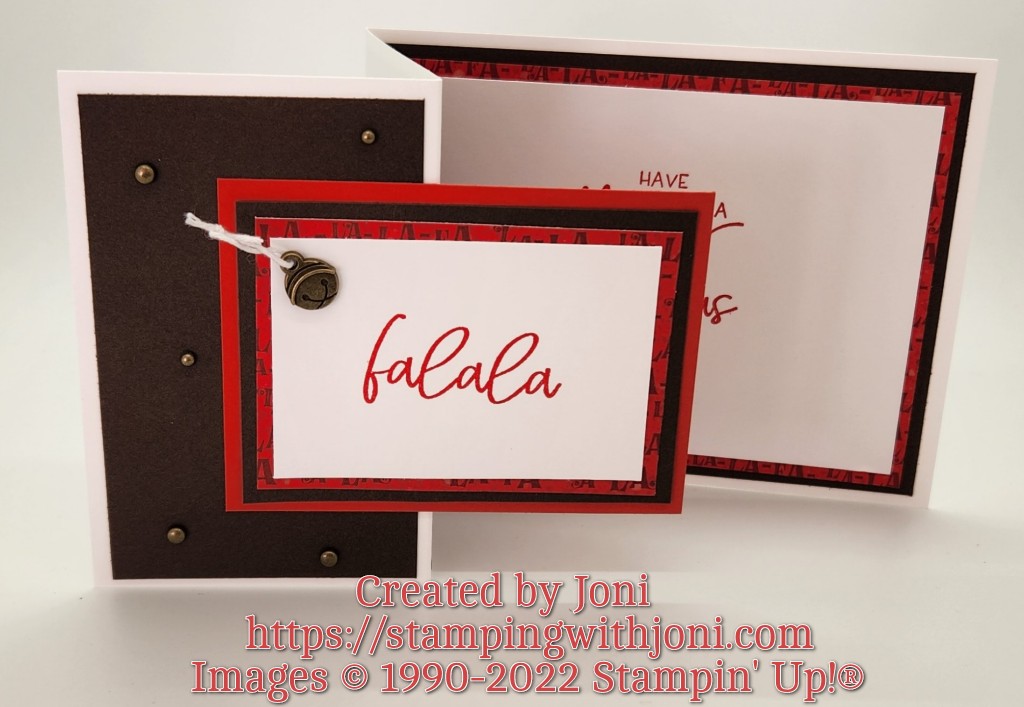
It’s Tutorial Thursday! Today I want to give you the measurements for three similar cards. They all have some sort of “z-fold” to them.
The first card I am calling the regular z-fold.
- For the card base you will need to cut a piece of card stock with the Paper Trimmer to 8 ½” X 5 ½”. On the 8 1/2″ side the card stock will be scored at 4 ¼” and 2 1/8″.
- The Snowflake Vellum will be cut to 4″ X 5 ¼” and 2″ X 5 ¼”.
- Basic White Card Stock will be cut to 3″ x 4 ½”.
- Matching card stock needs to be cut to 2 1/2″ x 3 1/8″.
For complete instructions please see the video at https://youtu.be/nZfUFjuCxCI.
The second card is called a skinny z-fold.
- The base is cut to 4 ¼” X 11″ with the Paper Trimmer. On the 11″ side score at 5 ½” and 2 ¾”.
- The mats need to be cut at 5 1/4″ X 4″, 2 1/2″ X 4″ (you will need 2), and 3 1/2″ X 2 ½”.
- The Designer Series Paper needs to be cut at 5″ x 3 ¾” and 3 1/4″ x 2 ¼”.
- The accent piece needs to be cut at 3 ¾” X 2 ¾”.
- And finally the Basic White Card Stock needs to be cut at 3″ x 2″ and at 4 3/4″ X 3 ½”.
And last, but not least, is the double z-fold card.
- The base needs to be cut to 4 1/4″ X 11″. On the 11″ side score at 2 ¾” and at 5 ½”.
- The second base is cut to 3 1/4″ x 9 ¾”. On the 9 3/4″ side score at 3 ¼” and at 6 ½”.
- Then there needs to be two Basic White Card Stock squares measuring 3”.
- Cut Designer Series Paper to fit and mat.
For full directions please go to https://youtu.be/nZfUFjuCxCI and to also see all three cards.
When you create with this technique please post your finished projects to my page at https://facebook.com/StampingWithJoni.
Happy Crafting!
With inky fingers,
Joni 🙂
