
It’s Tutorial Thursday! Today I want to show you how to tile and wood burn without grout or any kind of heat tool.
For this project you will need:
- Card base of Thick Basic White Card Stock cut to 4 1/4″ X 11″. On the 11″ side score at 5 1/2″.
- Cut the Cajun Craze Card Stock to 5 1/4″ X 4″. This is your outer mat that you attach to the card base with Stampin’ Seal.
- Cut the Basic White Card Stock (not thick) to 5″ X 3 3/4″. This will eventually be attached to the outer mat but not just yet. This is your inner mat.
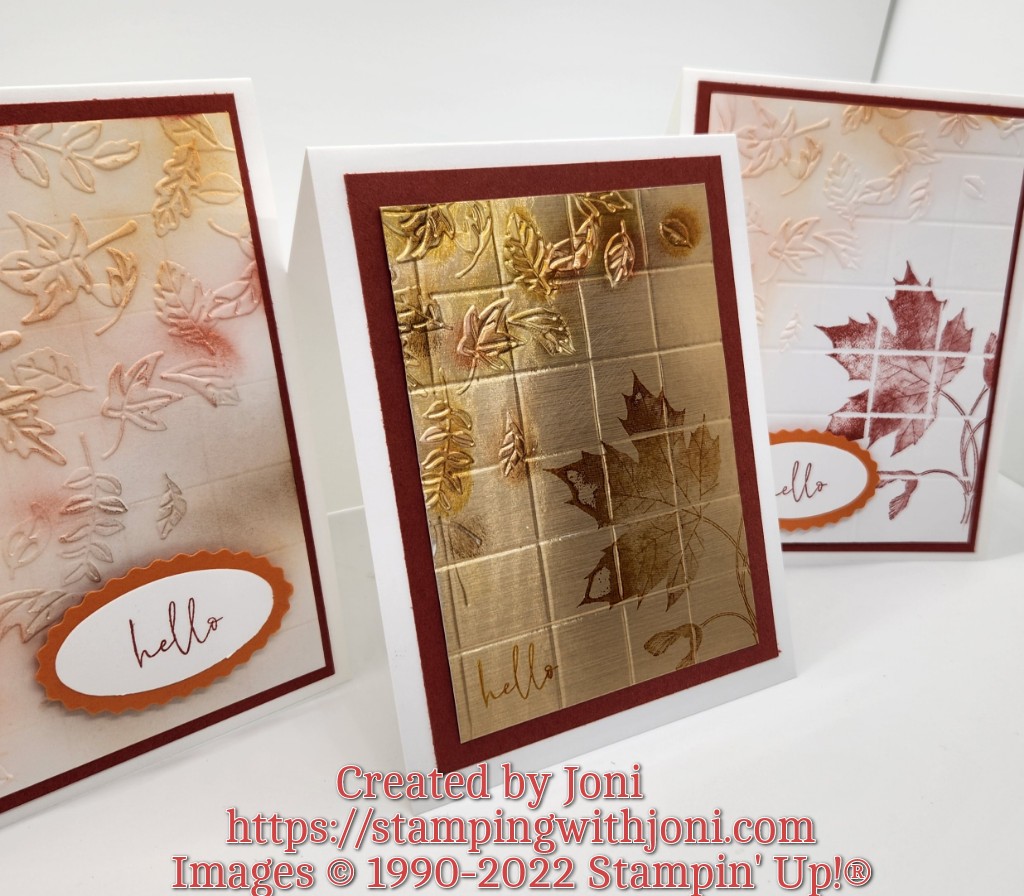
- Run this piece through the Stampin’ Cut & Emboss Machine with the Leaf Fall 3D Embossing Folder. Make sure there is quite a bit of space left on the card front.
- Then take this piece and place on the Simply Scored Scoring Tool. Take the stylus and score evenly to create a tiled look. For the sample I spaced the “tiles” every 3/4″.
- Now I stamped the large leaf from Soft Seedlings Cling Stamp Set.
- I then used the Blending Brush with Pumpkin Pie and then Cajun Craze Inks.
- Last, but not least, to get the wood burned look I took a Sponge Dauber to fill in some of the edges and lines (grout) with Early Espresso.
- Tip: Try coloring on the concave side to have it look more wood burned.
For two more cards and full instructions please go to the video at https://youtu.be/xQCMmtJEhf0.
Happy Crafting!
With inky fingers,
Joni 🙂
