
It’s Tutorial Thursday! Today I want to show you how to create a Flip Flap Card as well as the new Fitting Florets Collection that you can order starting November 1. (I know that sounds so far away but that is next Tuesday. Or tell me you want it and I’ll either remind you or place your order on the 1st.)
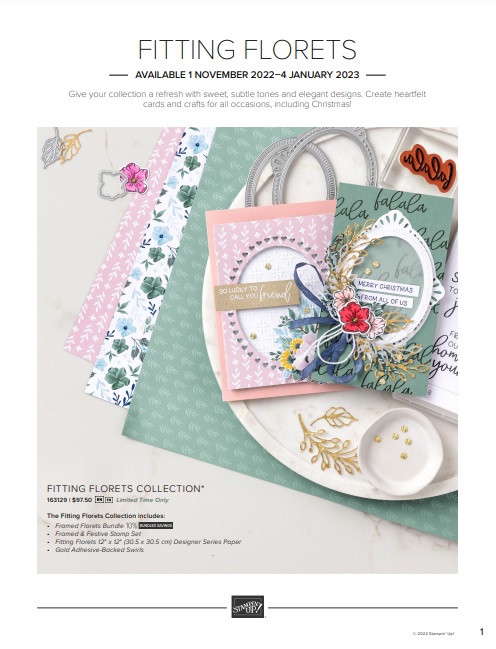
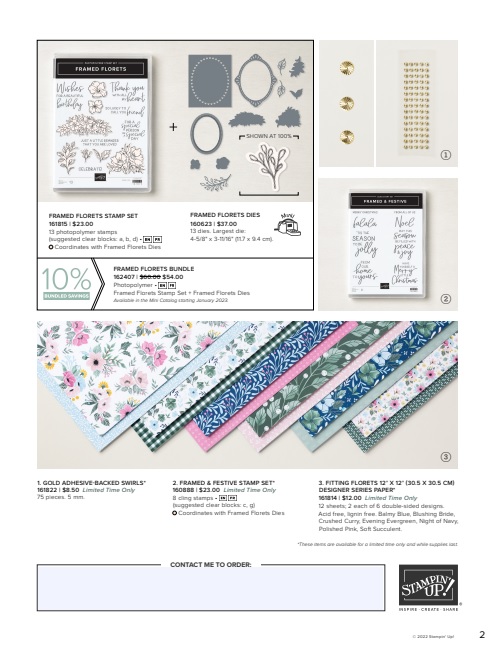
Here is the flyer for the new collection.
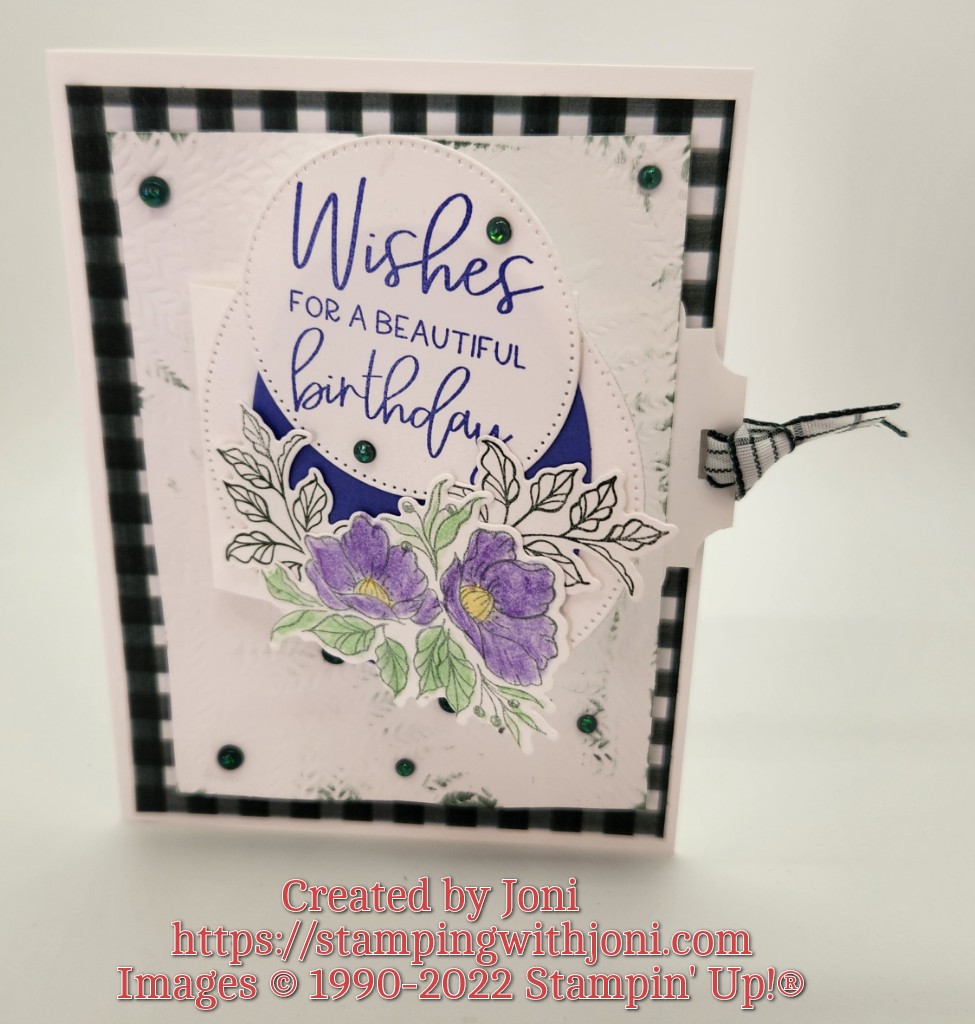
Now on to the most important part…the tutorial. 🙂
For the card base you will need a piece of Thick Basic White Card Stock cut at 5 1/2″ X 8 1/2″. On the 8 1/2″ side score at 4 1/4″.
For the outer mat cut a piece of the gingham from the Fitting Florets 12″ X 12″ Designer Series Paper.
For the panel cut a piece of Basic White Card Stock at 4 ¾” X 3 ½”. Use the Fern 3D Embossing Folder to add texture. Punch a hole in the panel with the Cracker & Treat Box Dies. (You will want to mark 1 3/4″ from the bottom and you will want the hole to be 2″ long.)
The flap arm or mechanism is from Basic White Card Stock as well and is cut at 2” X 6”. On the 6″ side score at 2″ and 2 1/2″. You will need the Very Best Trio Punch to create the tag at one end. Tip: Make sure to flip your card stock when doing the corners so you have a right and a left side.
Attach Tear & Tape to other end after sliding through tab (glue down after sliding through and have tag end at edge of card). Please see video for more details.
Attach smaller image to first score line.
Attach larger image to left side only at second score line. (big enough to cover middle one)(cannot cross score line or won’t open).
Place Tear & Tape on the edge of the inside and position and attach. (Please see video for details.)
For mat place Dimensionals and attach to outer mat. Make sure to keep Dimensionals away from mechanism.
Attach outer mat to card base with Stampin’ Seal.
Then place gems on card making sure to not interfere with the moving parts. (2021-2023 In Color Opal Rounds used here.)
To see all of the collection, a few more cards, the dies cut out, and a double scrapbook page please go to https://youtu.be/E-2WVX4HsRw.
Happy Crafting!
With inky fingers,
Joni 🙂
