
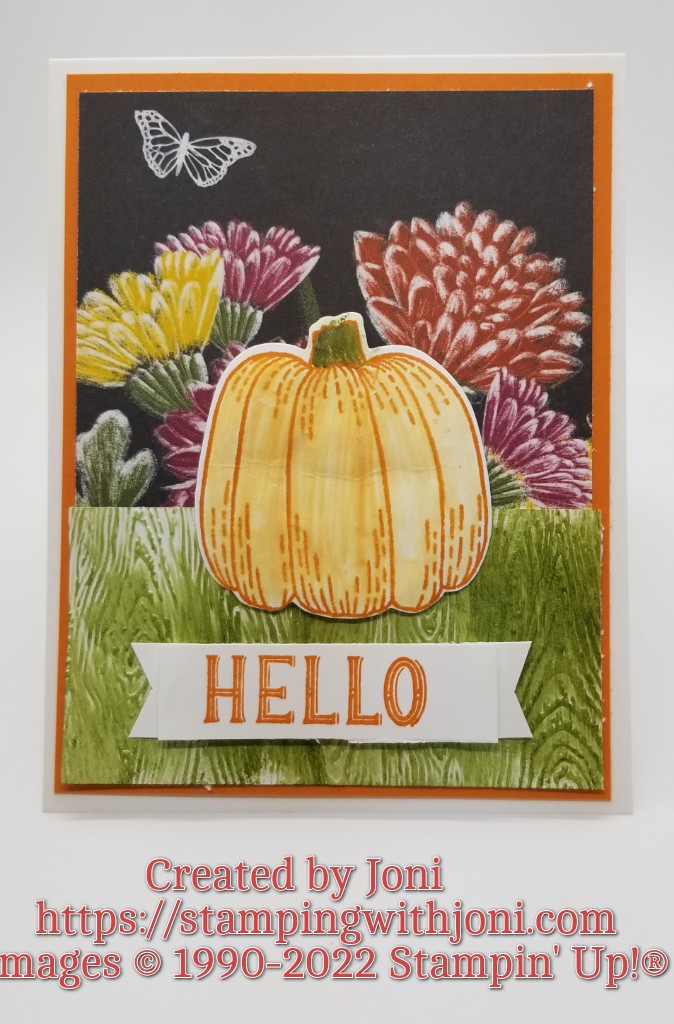
It’s Tutorial Thursday! Today I want to show you how to use the Pearlized Enamel Effects to make Pearlized Paper.
For this project you will need:
- Thick Basic White or Very Vanilla Card Stock (Annual Catalog page 140)
- Pumpkin Pie Card Stock (Annual Catalog page 123)
- Rustic Harvest 12” X 12” Designer Series Paper (Mini Catalog page 49)
- Basic White Card Stock (Annual Catalog page 123)
- Pumpkin Pie Ink Pad (Annual Catalog page 123)
- Mossy Meadow Ink Refill (Annual Catalog page 123)
- White Pearlized Enamel Effects Basics (Mini Catalog page 59)
- Blender Pen (Annual Catalog page 129)
- Sponge Dauber (Annual Catalog page 128)
- Paper Trimmer (Annual Catalog page 155)
- Hello Harvest Cling Stamp Set (Mini Catalog page 49)
- Rustic Pumpkin Dies (Mini Catalog page 49)
- Timber 3D Embossing Folder (Annual Catalog page 177)
- Stampin’ Cut & Emboss Machine (Annual Catalog page 157)
- Snips (Annual Catalog page 155)
- Stampin’ Seal (Annual Catalog page 127)
- Mini Glue Dots (Annual Catalog page 127)
- Dimensionals (Annual Catalog page 127)
- Waxed Paper
To order the materials please go to https://stampingwithjoni.wordpress.com/facebooklivematerials/. You will need to order by Saturday at midnight.
Here is what you will get from me for the materials. To see what else you need then please go to the link above.

For the complete instructions and to see this card created please go to the video at https://youtu.be/NDPKkc_jaI4.
Happy Crafting!
With inky fingers,
Joni 🙂
