It’s Technique Tuesday! Today I want to remind you to trim around the edges.
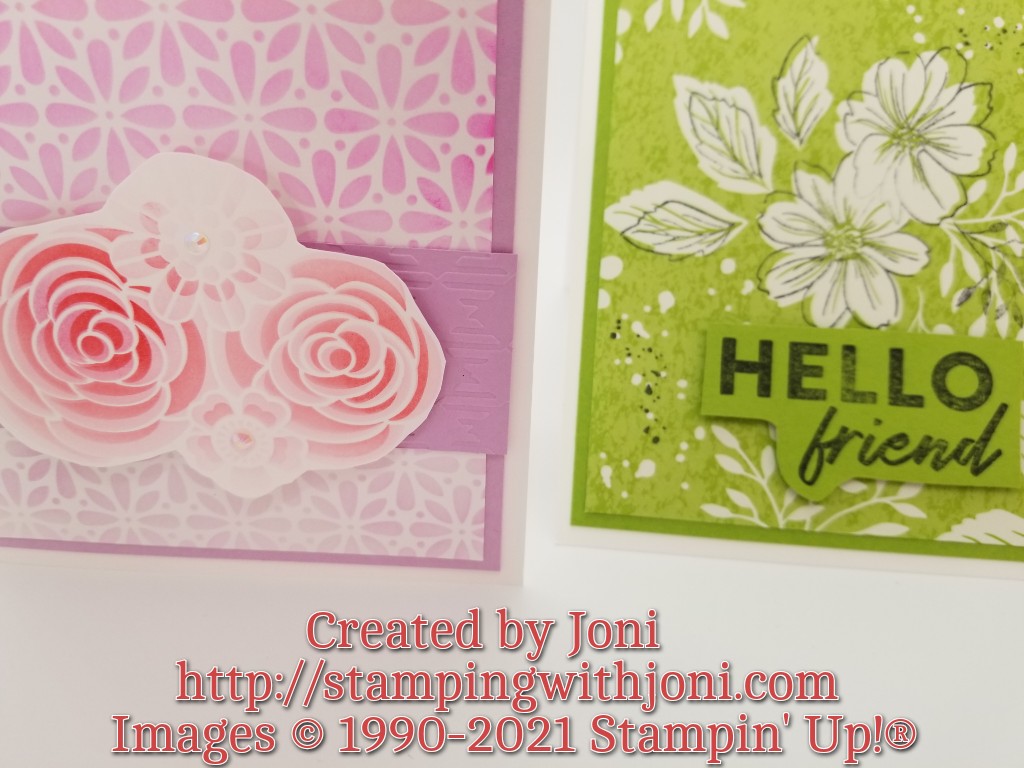
Have you created a project and too much of the Designer Series Paper is covered up? Or you have a beautiful background that you don’t want to take a back seat? Then don’t cover them. It’s that simple.
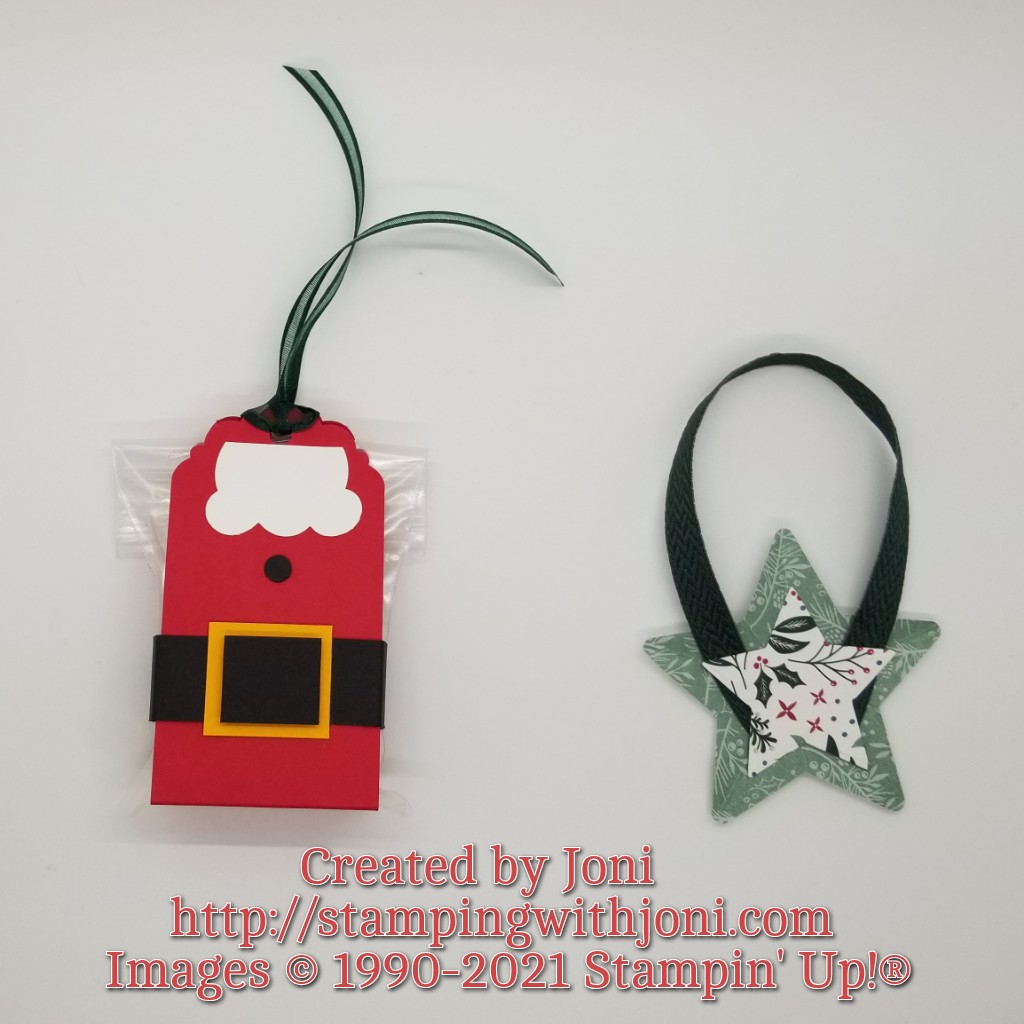
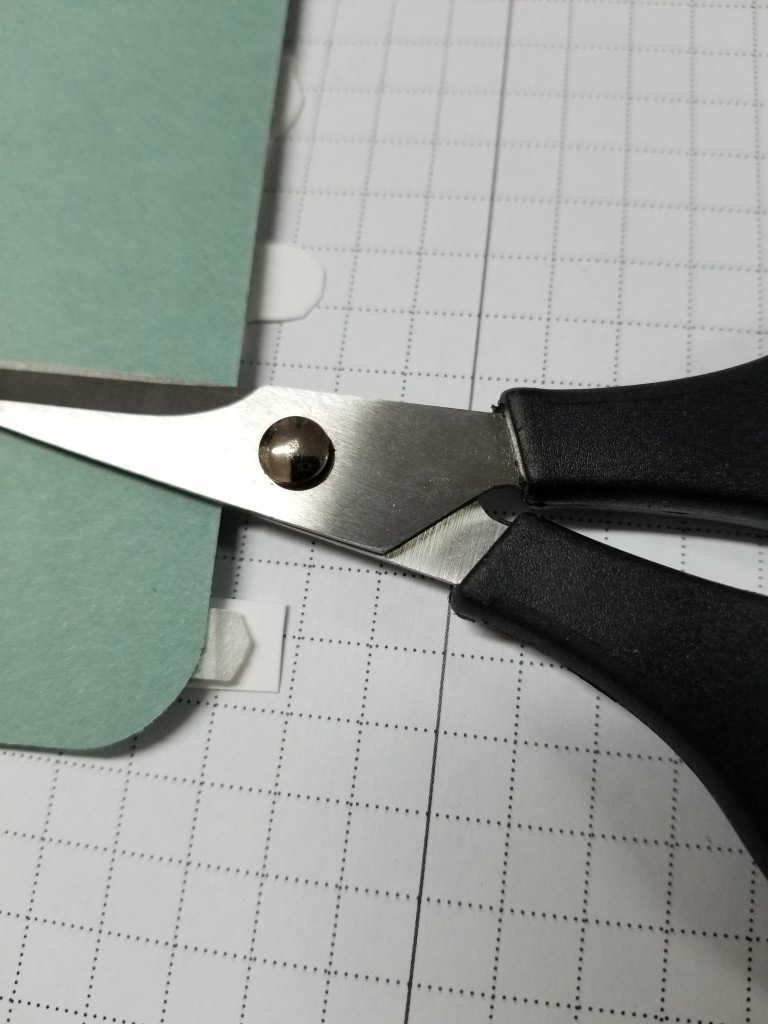
Take your Snips, Paper Trimmer, or Die and cut that front accent down to size. In this case I took my Snips and simply trimmed around to give the accent a unique shape so it stands out. But by cutting some of the excess off with my Snips I was able to show off more of the background.
Happy Crafting!
With inky fingers,
Joni 🙂