It’s Sabbath Sunday! This is the day to focus on resting so you can be recharged for the week.
Have you noticed that the sun is often the answer for health?
If you need a break you go to the beach or the mountains often and enjoy the fresh air and sunlight.
When you relax at the pool you enjoy soaking up the sun even if it is just for a bit.
My Mom used to say when I had a cold to go outside and get my vitamin D.
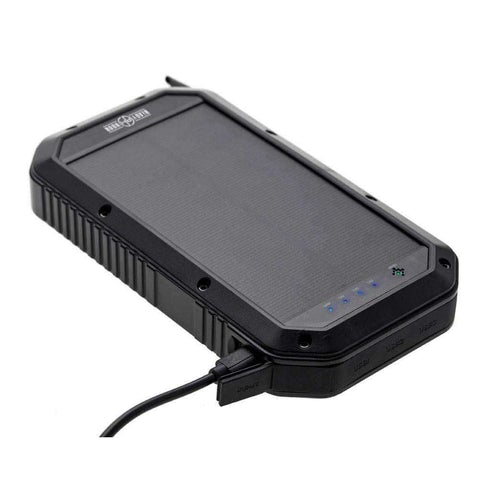
Recently I purchased a new back up battery for my cell phone and guess what it had with it? A solar pack. So to keep the battery fully charged it needs the sun too.
Are you seeing the pattern? So if you are feeling a bit off center maybe you need a break and go catch a little bit of sunshine.
Happy Crafting!
With inky fingers,
Joni 🙂