
Here are the answers you have been waiting for! The answers to all the riddles from the last 10 days!
I hope these were fun for you!
Happy Crafting!
With inky fingers,
Joni 🙂
Here are the answers you have been waiting for! The answers to all the riddles from the last 10 days!
I hope these were fun for you!
Happy Crafting!
With inky fingers,
Joni 🙂
Just in time for the new catalog there is also a new kit coming out called the A Million Thanks Kit! This kit sells for $21 and you can create 9 cards with extras to spare!
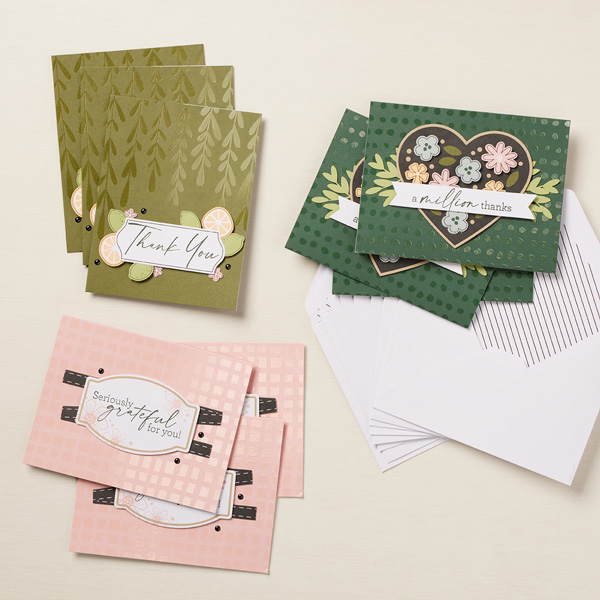
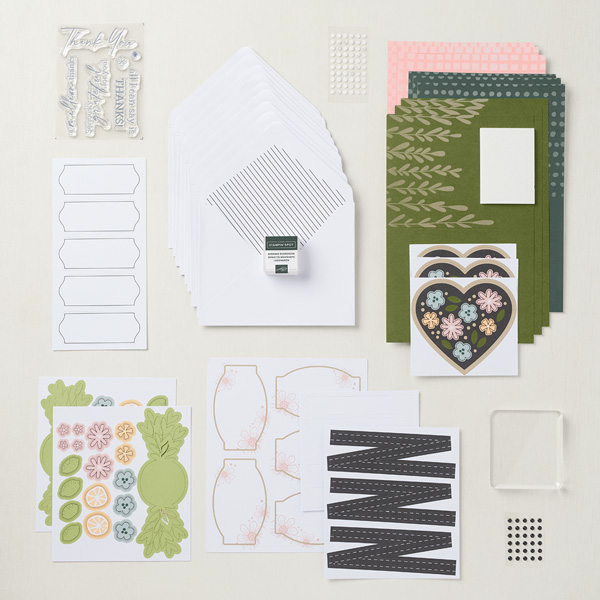
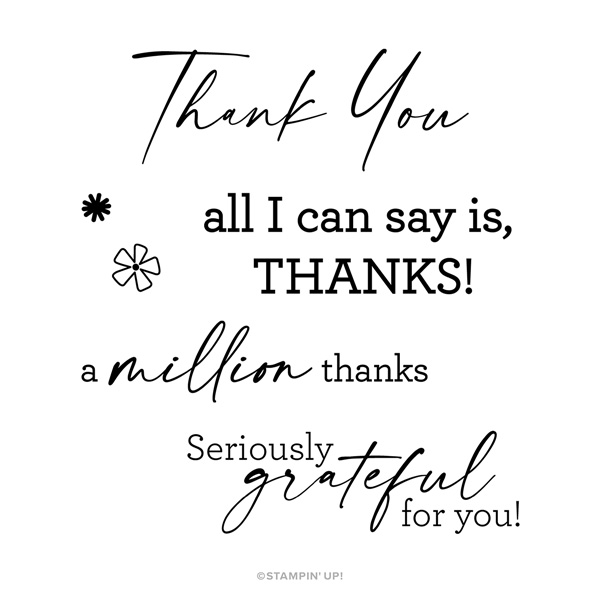
You can order this kit online starting tomorrow or contact me to order!

Happy Crafting!
With inky fingers,
Joni 🙂
Drumroll please! And the winner for the five In Color Ink Pads is…Penny Baumann! I will contact you to coordinate delivery! Congratulations!!!

Happy Crafting!
With inky fingers,
Joni 🙂
It’s Management Monday! Here’s what’s happening this week and maybe a bit beyond.
If you would like a catalog please contact me!
For those of you participating in the BOGO sale the guidelines can be found at https://mailchi.mp/05caa16b4388/bogo-guidelines.
When you would like to order please consider qualifying for the Club order. For this Club from May 1-15 order $50 or more in product with host code NC3M32MN or using the link https://www.stampinup.com?hostcode=NC3M32MN to qualify. (You can also place your order directly with me but it will not be submitted until May 15.) There is no commitment unlike past Clubs. There is simply a bonus.
Please remember that some items will increase in price starting tomorrow.

I am open today for Open Day sessions.

And Saturday I will be at the 29 Palms Farmers Market from 8-1! Come see what’s new and get your voucher for $5 off any class.

And if you didn’t know, this is the start of the new year for you! This is when the Open House has just finished, all the VIP’s have been recognized, and now it’s time to start over. So would you like to be a VIP?
Here’s what this means…extra gifts during the Open House, first call for BOGO, priority shopping for the Rubber Rummage Sale, and more!
So how do you become a VIP? Glad you asked.
Let me know what version of VIP looks like for you!
Happy Crafting!
With inky fingers,
Joni 🙂
There are exactly 10 days before the new Paper Pumpkin Kit is no longer available for sign up!
Did you know that you have a chance to win a golden voucher worth a $25 order for FREE? You get it by signing up for the kit this month.

Contact me for your pre-paid codes or go to https://www.paperpumpkin.com/en-us/sign-up/?demoid=2008407 to get your subscription.
Happy Crafting!
With inky fingers,
Joni 🙂
It’s Sabbath Sunday! This is the day to rest so you can be recharged for the week.
Sometimes resting requires a reset. Truly giving your mind some rest. So how do you find peace? Do you hike, read a book, simply turn your phone off.
Here are 7 tips to help reset your mind.
For more details on each point please go read the article at https://why-girls-are-weird.com/2019/03/7-ways-to-give-your-mind-a-rest.html.
Happy Crafting!
With inky fingers,
Joni 🙂
Thank you to all that came out yesterday for the Operation Gratitude Re-Rummage Sale!

You helped raise $140 for Operation Gratitude that was donated this morning!

Thank you so much!
Have a great Sunday!
Happy Crafting!
With inky fingers,
Joni 🙂
It’s Sale Saturday!
The Last Chance List is out and there is just through Monday left to order! To view the list please go to https://jonidaniel.stampinup.net/ and click on shop now. Please remember that all items are while supplies last.
If you would like to order online please use the link https://www.stampinup.com?hostcode=CDY4KJRK. This is the link to qualify for the Club order. This link expires Saturday, April 30. The new link will be emailed out and posted on Sunday, May 1.

To read about the details for the Club Order that requires no commitment please go to https://stampingwithjoni.wordpress.com/rewards/.
There is a new promotion that starts May 3 and runs through May 31. If your wish list is long (over $99) then this is an awesome bonus for you! Order $125 worth of product and get another $66.50 for FREE! You pay no shipping, just tax. This is a great way to get nearly $200 of product for just over $100.

So what’s the catch? No risk, no credit checks, and no shows. To stay active you must purchase or sell $300 per quarter. There is no penalty for dropping. And you get a minimum of 20% off all of your orders. To read more about this please go to https://stampingwithjoni.wordpress.com/benefits-to-being-a-part-of-the-team/.
Happy Crafting!
With inky fingers,
Joni 🙂
The Natural Tones Stampin’ Blends Collection is back in stock!
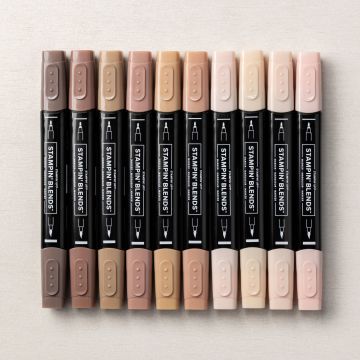
Contact me to order or with any questions.
To order online please use the link https://www.stampinup.com?hostcode=NC3M32MN to qualify for the Club Order Bonus that runs from now until May 15.
Happy Crafting! (and coloring)
With inky fingers,
Joni 🙂
It’s Friendship Friday! This is the day to focus on giving back or paying it forward.
Recently I was skimming through the news and treading through the usual bad news. This actress is suing so and so. Flooding here. War. Politics. Blah, blah. Bad news. Bad news. And then a bright light. An actual feel good story. Finally. Something different.
So the short of the story goes like this. An older lady was attempting to pay for her groceries and it wasn’t going well. She was in tears. The guy behind couldn’t understand why she was in tears. Her bill wasn’t even $20. There had to be more to it. There was, lots more. So he paid the bill, gave her some encouraging words, his contact information, and where he worked. He was a server at Applebee’s. He encouraged her to come in for a coffee or dessert on him if she needed someone to talk to.
Well, the next night the family came in and ordered the cheapest thing on the menu. Then they asked for the bill to be split. And he received a nice note with a tip of a lifetime.
To read the entire article please go to https://yourdailysportfix.com/after-paying-for-a-strangers-y0/?utm_source=gemini-y0&utm_campaign=y0-us-d-yds-elderen-r1730&utm_content={37800643705}&utm_medium=425504161_HOMEPAGE_US&utm_term=c_yahoo.com#15. Trust me that the article gives the story much more detail.
So why am I saying this? To remind you that it’s the little things. Do the little things. I can’t guarantee you will be rewarded like this gentleman was, but it’s the little things that matter.
Happy Crafting!
With inky fingers,
Joni 🙂
