
Here’s a video you might enjoy for this month’s Paper Pumpkin Kit! There are also some alternates to create. Here’s the link for you, https://youtu.be/eIXviA-tfKI.
Happy Crafting!
With inky fingers,
Joni 🙂
Here’s a video you might enjoy for this month’s Paper Pumpkin Kit! There are also some alternates to create. Here’s the link for you, https://youtu.be/eIXviA-tfKI.
Happy Crafting!
With inky fingers,
Joni 🙂
It’s Management Monday! Here’s what’s happening this week and maybe a bit beyond.
FREE Shipping on Tuesday!!!
Even if your order doesn’t come to $75 please contact me to save!
This is on any order through Stampin’ Up!

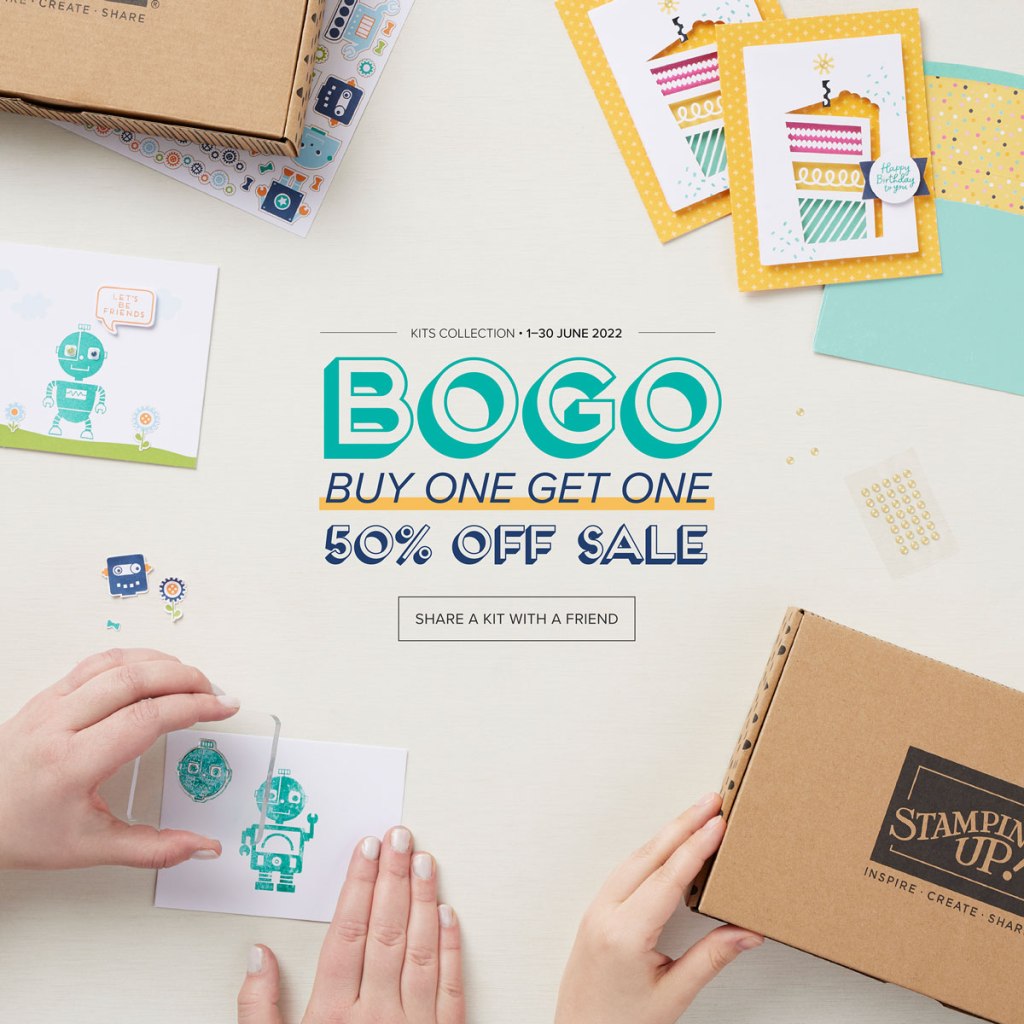
BOGO Sale for Kits
Check out the kits that are buy one get another for 50% off this month!
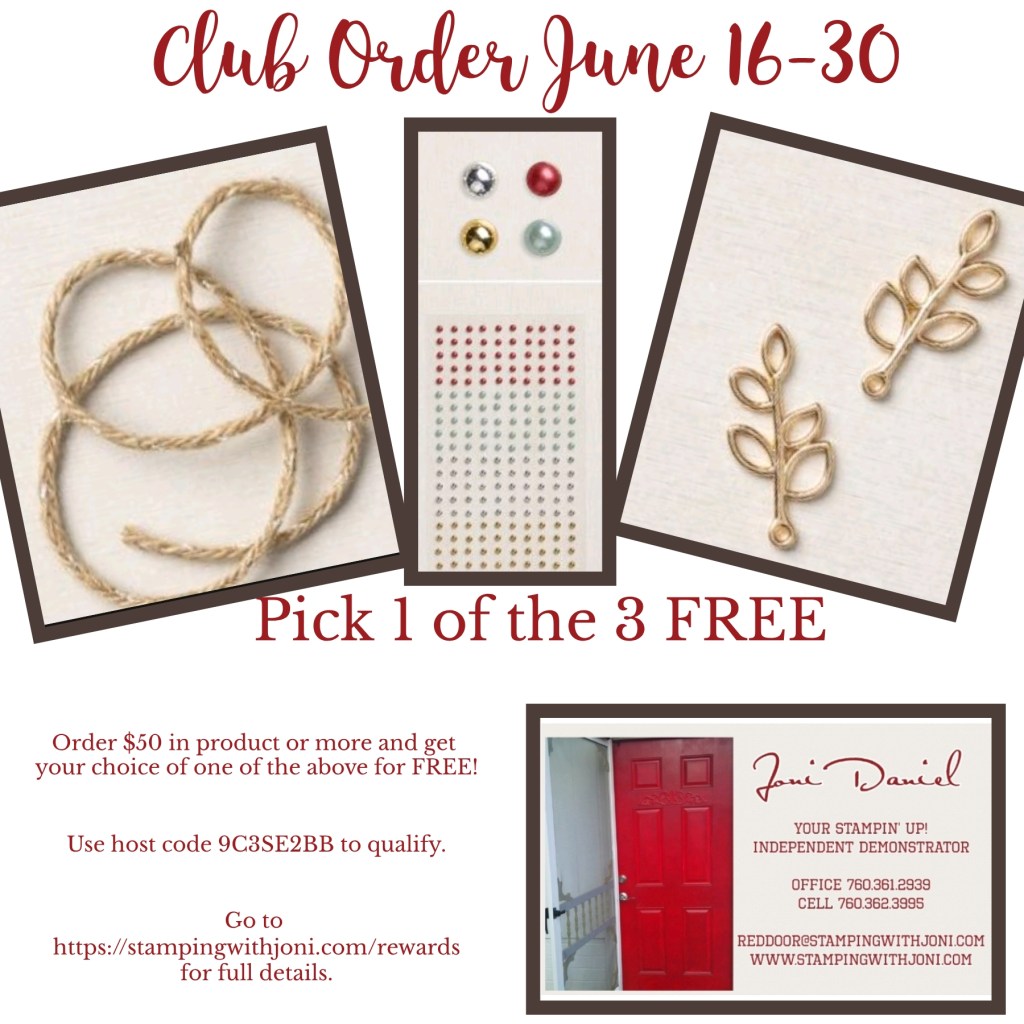
Club Order Bonus
When you would like to order please consider qualifying for the Club order. For this Club from June 16-30 order $50 or more in product with host code 9C3SE2BB or using the link https://www.stampinup.com?hostcode=9C3SE2BB to qualify. (You can also place your order directly with me but it will not be submitted until July 1.) There is no commitment unlike past Clubs. There is simply a bonus. To read more details about Club please go to https://stampingwithjoni.wordpress.com/rewards/.
Open Day Sessions
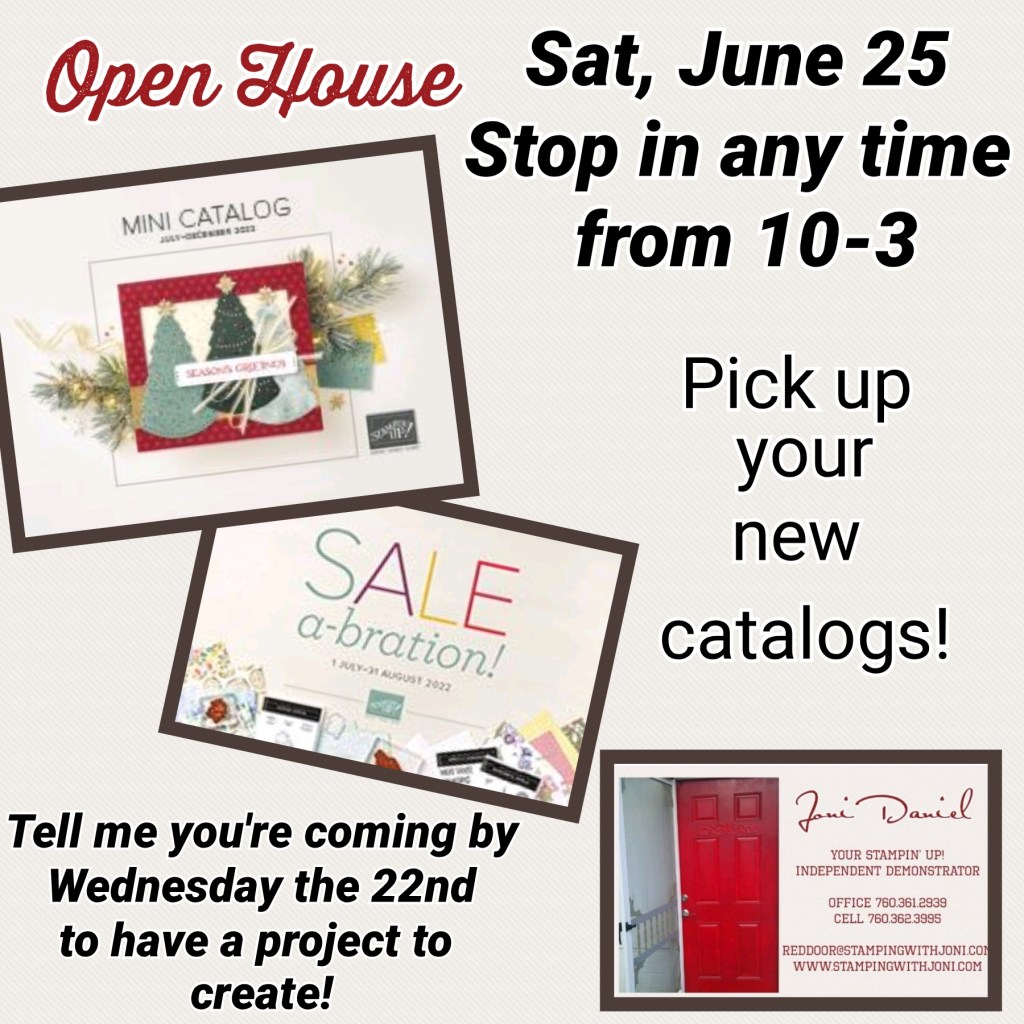
The next Open Day Session will be on Saturday, June 25 any time from 10-3. This will be in conjunction with the New Mini Catalog Open House.
So come pick up your catalog, work on one of your projects, or simply stop by to say hello. I will have a project for you to create for the Open House but you must tell me by this Wednesday the 22nd that you are coming so I can cut for you.
Host Availability
Are you missing in-person classes? Well, now you can choose everything. When you choose to be a host you get to pick exactly what you want: your location, your food, your projects, and your free products.
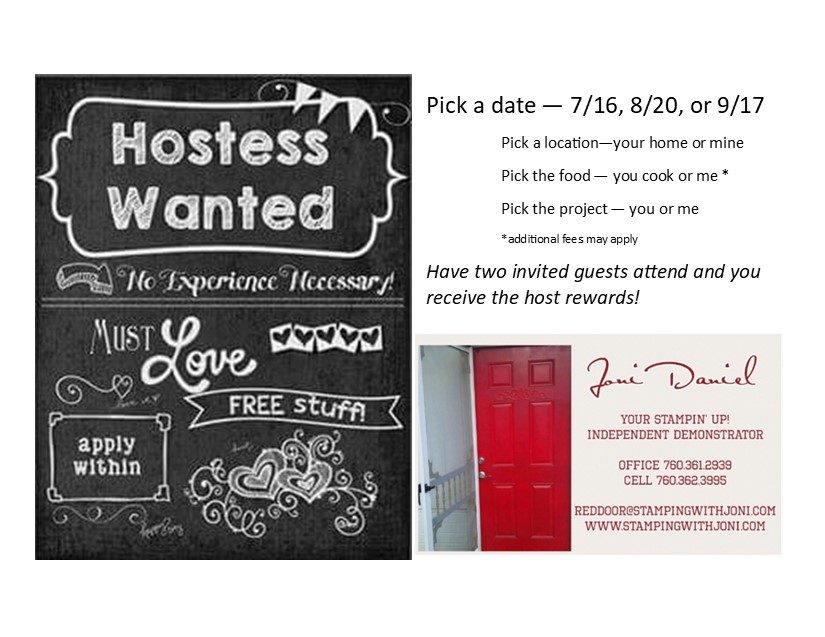
So let me know where I am going and when. I look forward to what ideas you have to share with me!
Happy Crafting!
With inky fingers,
Joni 🙂
This is through Stampin’ Up! and is good for any products you order, not classes. This is only this Tuesday!
If you order with the host code for the July Craft Class or the Club Order Bonus you can save at least $7.95.
Even if you are not spending $75 please message me to see how you can save.
Contact me for more information!
Happy Crafting!
With inky fingers,
Joni 🙂
This is through Stampin’ Up! and is good for any products you order, not classes. This is only this Tuesday!
If you order with the host code for the July Craft Class or the Club Order Bonus you can save at least $7.95.
Even if you are not spending $75 please message me to see how you can save.
Contact me for more information!
Happy Crafting!
With inky fingers,
Joni 🙂
I was challenged to share my why from Stampin’ Up! So here’s my answer, https://youtu.be/a8DrS5i2cyI. What’s yours?
Happy Crafting!
With inky fingers,
Joni 🙂
It’s Sabbath Sunday! This is the day to rest so you can be recharged for the rest of the week.
I have learned that there is definitely a reward for not procrastinating, putting in the work, and hitting your goals. The harder I work the sweeter the rest or play is.
Rest doesn’t seem like much of a change if you haven’t put the work in. And since you haven’t hit the deadlines you are now having to play catch up.
I know for me, after going to the gym and doing what I am supposed to, I am much more at peace. I am also able to appreciate the rest as it is not only needed but wanted too.
So don’t forget to put the work in so you can play and rest even better.
Happy Crafting!
With inky fingers,
Joni 🙂
It’s Sale Saturday!
There is a BOGO Sale going on right now for the kits! For every kit you order you will get the second one at 50% off.
If you would like to order online please use the link https://www.stampinup.com?hostcode=9C3SE2BB. This is the link to qualify for the Club order. This link expires Thursday, June 30.
To read about the details for the Club Order that requires no commitment please go to https://stampingwithjoni.wordpress.com/rewards/.
The Last Chance List is out and there are many discounts on it! If you need a copy of the list please check out https://mailchi.mp/dc56fea47349/last-chance-list.

Happy Crafting!
With inky fingers,
Joni 🙂
It’s Friendship Friday! This is the day to focus on giving back or paying it forward.
Life has been a bit crazy here. Not bad but definitely chaotic. There’s been a bunch of moving parts. My daughter moved out of her first apartment, is going on tour with a drum corps group this summer, and decided to sell her truck. So what does that mean for my husband and I. That means be there for the inspection since we are co-signers, help get her ready for tour, and sell her truck since the title is under hubby’s name. On top of her stuff is all of the normal and us trying to sell our RV as well. Put in a few business decisions that change things and you are one busy person.
So why do I say all of this? Because not once have I heard my hubby say this is too much. I’ve heard I can’t do this right now but later today I can. But not one complaint. Even after I thought I had lost the title to her truck and had him go to Riverside to find it in storage. By the way it was right here in 29 Palms. He didn’t say a word.
Thank you for teaching me that complaining doesn’t get the job done nor does it help anyone. What a great lesson in just getting it done. Thank you for showing me grace.
Now I want to encourage you to be grateful. Aim to not complain and see what a difference it makes.
Happy Crafting!
With inky fingers,
Joni 🙂
Just a quick reminder to check your email for all the details of the brand new Online Craft Class for July!
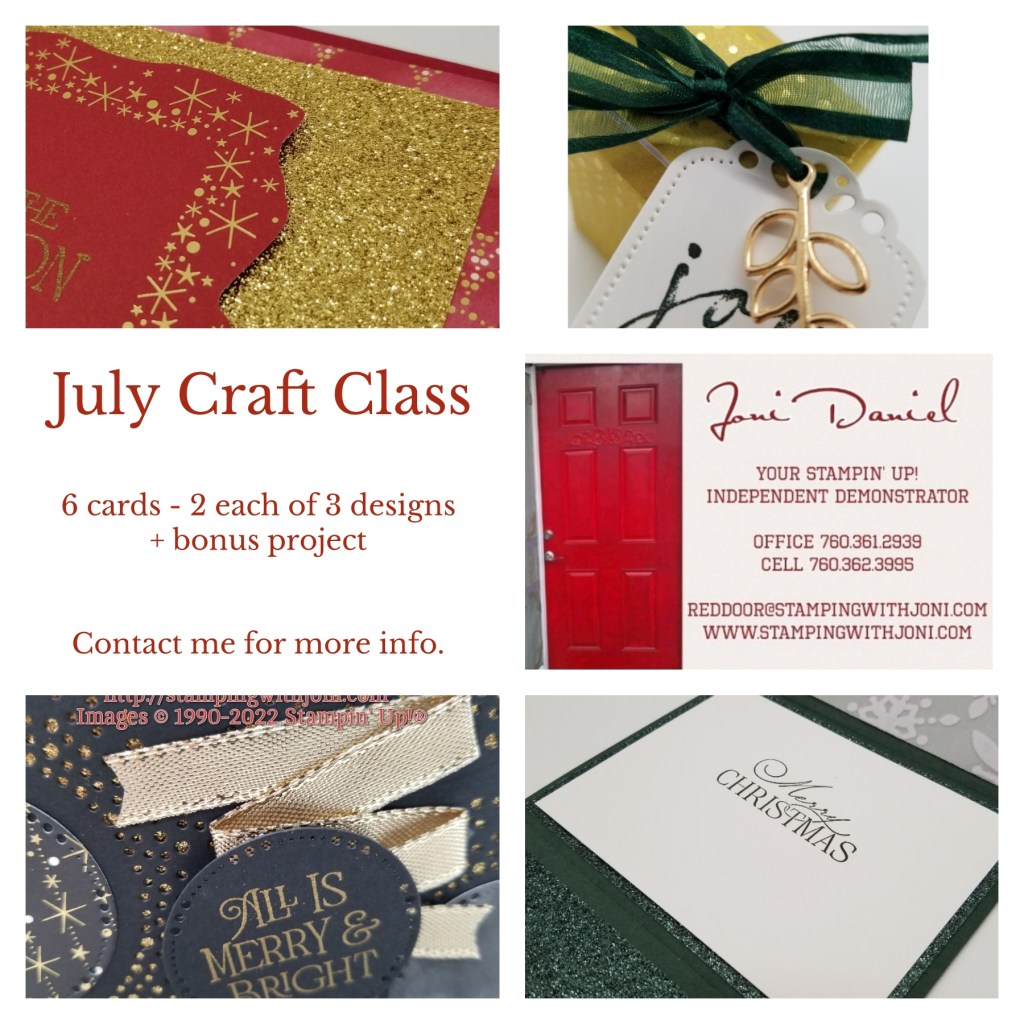
If you didn’t get it just let me know. I’ll resend it.
Happy Crafting!
With inky fingers,
Joni 🙂
It’s Tutorial Thursday! Today I want to show you how to stamp with water. Yes, water. You put the ink on the background and instead you stamp with water to take out or dilute the inked background.
For this card you need:
To see both cards and the video please go to https://youtu.be/bNbkmI0-3U8.
Happy Crafting!
With inky fingers,
Joni 🙂
Have a WordPress.com account? Log in now.

