It’s Friendship Friday! This is the day to focus on giving back or paying it forward.
Recently my daughter was down with that stomach bug at her place. She is fortunate to have some close friends that dropped off saltines, ginger ale, medicine, and the like for her. When things get serious I am fortunate to have a close circle of friends to count on as well.
So who do you count on? Maybe send a card or give a call to say that you appreciate them.
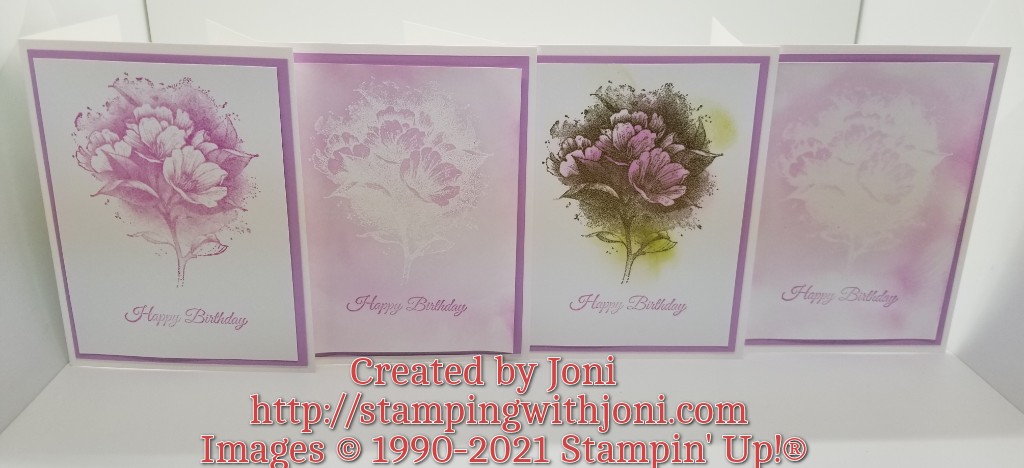
It’s Tutorial Thursday! Today I want to show you how to create an ombre emboss resist card from the Calming Camellia Stamp Set. The Calming Camellia Stamp Set is a host set that you get FREE as a bonus with any group orders totaling over $300 in product.
For the card:
Take a piece of Thick Basic White Card Stock cut with the Paper Trimmer to 4 ¼” X 11”. Score it on the 11” side at 5 ½”. This is your card base.
Take a piece of Fresh Freesia Card Stock cut with the Paper Trimmer to 3 ¾” X 5”. Attach to the card base with Stampin’ Seal. This is your outer mat.
Take a piece of Basic White Card Stock cut with the Paper Trimmer to 3 ½” X 4 ½”. Stamp with the large flower from Calming Camellia (host set for free with $300 in orders) first in Versamark Ink and then the color of your choice. Sprinkle with Clear Embossing Powder and heat with Heat Tool. Tip: If wanting to do a watercolor wash and use a gold, silver, black, or white powder instead you might want to use the Watercolor Paper instead of the White. Attach to outer mat with Stampin’ Seal.
Tip: For ombre card stamp the lightest color of ink first, then the middle hue, and finally the darkest.
It’s Wacky Wednesday where a product is used in a way it is not intended!
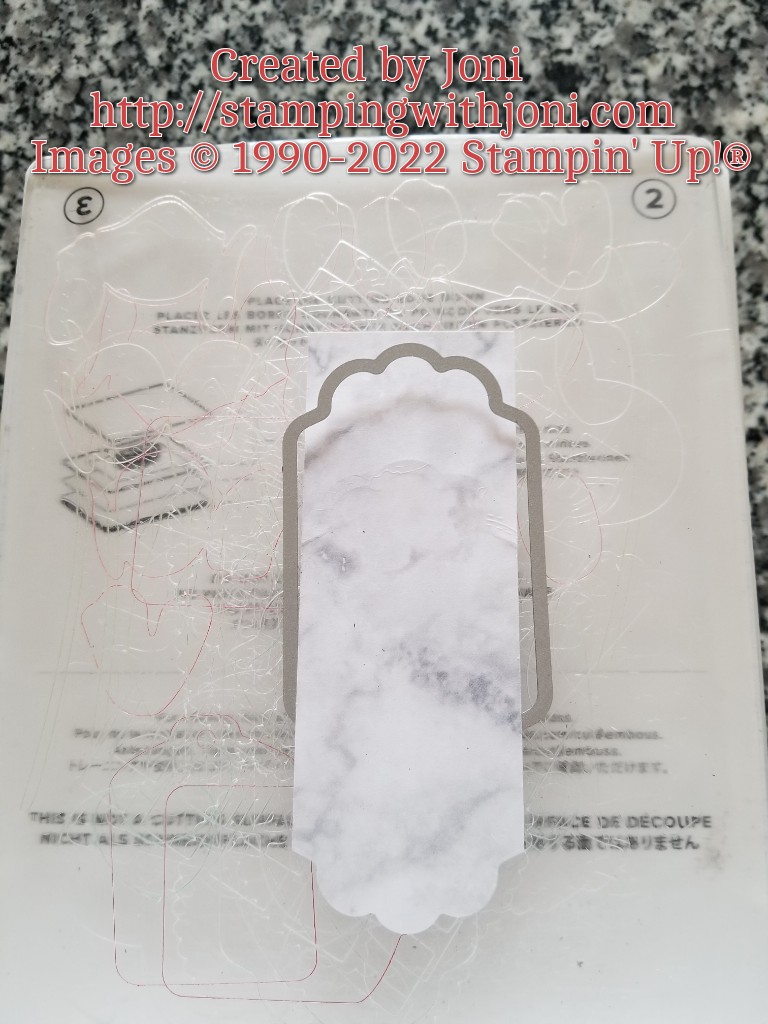
In the past I have talked about how to stretch a punch, but today I want to show you how to stretch a die. Cut your card stock just a sixteenth of an inch more narrow than the die. That way you can slide your card stock or paper through and up as shown below.
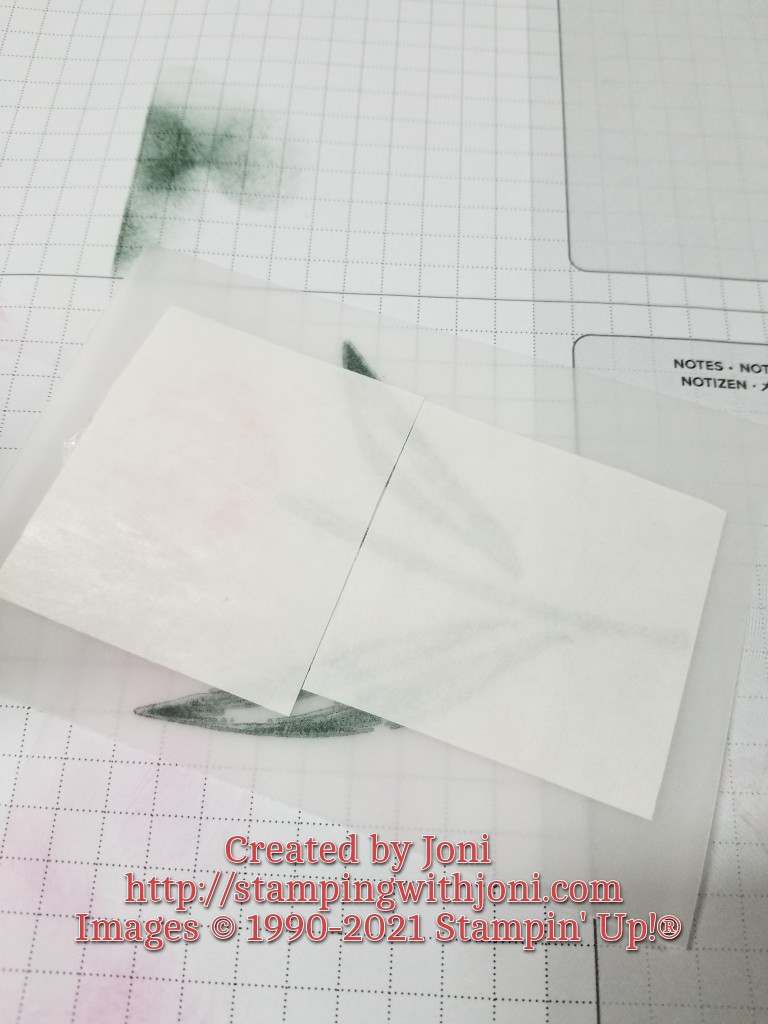
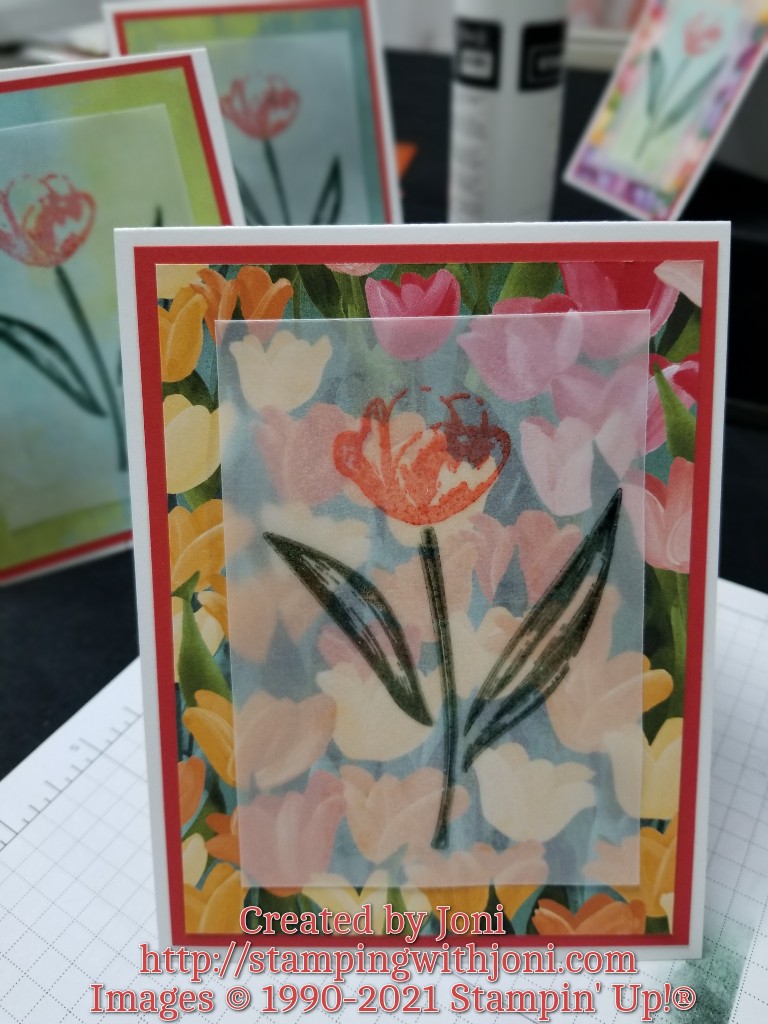
It’s Technique Tuesday! Today I want to show you how well our Adhesive Sheets work on the Vellum Card Stock.
Take a piece of Vellum and stamp, emboss, whatever on it. When you are done and want to adhere it to your project then use the Adhesive Sheets. You can barely see them. It’s amazing. Just remember to peel again so they stick.
And after I peeled the back off.
If you are curious I embossed the stem, leaves, and flower by stamping in Versamark Ink, then either Evening Evergreen or Poppy Parade Ink, sprinkle Clear Embossing Powder from the Basics Embossing Powder Set, heat with Heat Tool, adhere Adhesive Sheet, peel, and stick.
If you would like to order please consider qualifying for the new Club order. For this Club from January 1-15 order $50 or more in product with host code KSUXQMRQ or using the link https://www.stampinup.com?hostcode=KSUXQMRQ to qualify. (You can also place your order directly with me but it will not be submitted until January 16.)
I am here and ready for you during Open Day Sessions only in the morning! Please note that I will be closed for the evening one.
Please plan on attending the Team Gathering on Wednesday, January 5 at 5:30 pm on the Team group.
If you would like first chance to get some of the newly retired products at discounted prices then plan on coming out for the 2nd Saturday Craft Fair at Belfield Hall in Landers on January 8 from 10-2.
And lastly, save the date for the new Craft Class on Thursday, January 13 or Saturday, January 15.
It’s Sabbath Sunday! This is the day to rest so you can be recharged for the week.
Today I am resting by planning. I am planning out some meals, classes, events, dates with the hubby, and more. I am determined to not be running at the last minute unless it is an emergency. The more planning ahead I can do the better. Then I am not stressing about something getting here in time, what to do the night before, and hopefully no lost sleep.
As for you, here’s what I can do to help. I can help you to plan projects, show you where you can cut corners, and how best to take advantage of the promotions. So the next time you feel like the cartoon below contact me so I can help you do some planning.
It’s Friendship Friday! This is the day to focus on giving back or paying it forward.
In this last week one of our beloved crafters has passed away. As her husband called for me to help give updates I realized that it is so important to pour life into people. As you pour into someone else you often are rewarded tenfold.
Jan was one to always be there. Always. If she was upright and healthy she was there. She supported by not only participating but by telling me when I messed up. The mess ups could be anything from how a class was organized down to putting beans in the salad. She wasn’t much of a hugger but she was always welcoming. And, if nothing else, she could connect with you and understand you like no one else.
For those of you that knew Jan, she passed away this last Wednesday. If you would like to pay your respects there is time on Monday from 2-3 pm to do just that at Weifels in Yucca Valley. She has requested instead of sending flowers to please donate to Palms ‘N’ Paws Animal Shelter in 29 Palms.
If you have any questions please feel free to contact me.
It’s Tutorial Thursday! Today I want to share with you how to create a New Year’s Card using the Brilliant Rainbow Dies as well as a popper.
For the New Year’s Card here are the instructions:
Take a sheet of Thick Basic White Card Stock and cut with Paper Trimmer to 4 ¼” X 11”. On the 11” side score at 5 ½”. This is your card base.
Take a sheet of Ever Eden 12X12 Specialty Designer Series Paper and cut with Paper Trimmer to 4” X 5 ¼”. Attach with Stampin’ Seal to card base. This is your outer mat.
Take a sheet of Gold Foil as well as Basic White Card Stock and cut to 3 ¾” X 5” each. The Gold Foil is then cut with the Stampin’ Cut & Emboss Machine and the Brilliant Rainbow Dies. Tip: For extra texture emboss with a folder as well. On the video the Hive 3D Embossing Folder was used. The Gingham Embossing Folder was an option but not used. Sponge a coordinating ink to the white with the Blending Brush. Then glue all down.
Take a piece of scratch Ever Eden Designer Series Paper and place an Adhesive Sheet to the back of it. Run through the Machine with the Word Wishes Dies. Peel and stick.
For the popper here are the instructions:
Take a sheet of the Ever Eden 12X12 Specialty Designer Series Paper and cut with the Paper Trimmer to 8” X 8 ½”. On the 8 ½” side score at 2”, 4”, 6”, and 8”. On the 8” side score at 2” and 6”.
Fold ends down and trim with Snips about one third of the way down. Tip: Make sure to leave a little bit of a flat edge at the top of the triangle.
Take tabs and place Tear & Tape Adhesive on them and then attach to form the popper.