It’s Management Monday! Here’s what’s happening this week and maybe a bit beyond.
Just a quick reminder that I am closed today for the holiday.
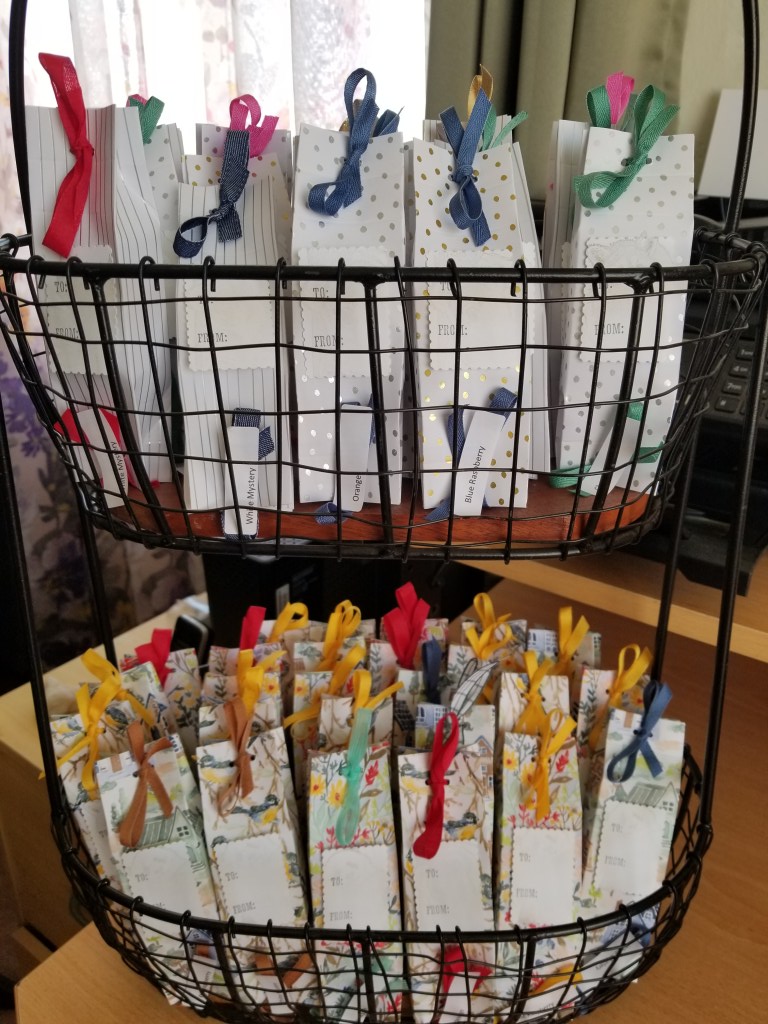
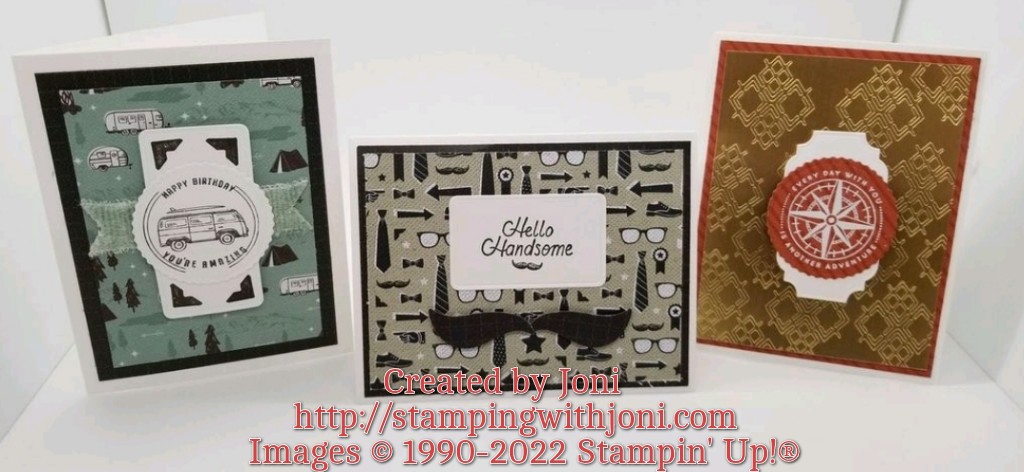
September Online Craft Class
The class for September is up! Create two fun fold cards, a sliding pocket with filling, and a layered tag with gift card pocket. Let me know if you want to join in!

Club Order Bonus
For this Club from September 1-15 order $50 or more in product with host code K3FQXGT9 or using the link https://www.stampinup.com?hostcode=K3FQXGT9 to qualify. (You can also place your order directly with me but it will not be submitted until September 16.) There is no commitment unlike past Clubs. There is simply a bonus. To read more details about Club please go to https://stampingwithjoni.wordpress.com/cluborderbonus.

Landers 2nd Saturday Craft Fair
Come on out on Saturday, September 10 from 10-2 to see what’s new, enter the raffle, and catch the Deal of the Day! To keep up with this event please go to https://fb.me/e/4NVN9JnnE and click going to get notifications.

Host Availability
Are you missing in-person classes? Well, now you can choose everything. When you choose to be a host you get to pick exactly what you want: your location, your food, your projects, and your free products. These are the only two weekends I have available but I do have weekdays open.
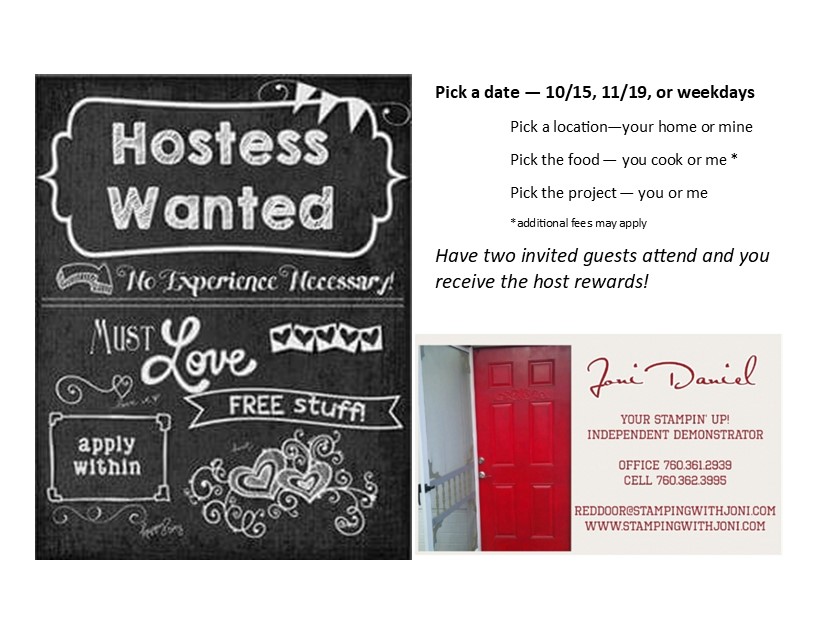
So let me know where I am going and when. I look forward to what ideas you have to share with me!
Happy Crafting!
With inky fingers,
Joni 🙂