
It’s Tutorial Thursday! Today I want to show you how to accent with vellum easily and without the adhesive showing through.
So let’s run through the supplies and some instructions, shall we?
- Take a piece of Thick White Card Stock and with a Paper Trimmer cut to 5 1/2″ X 8 1/2″. On the 8 1/2″ side score at 4 1/4″.
- Cut the All Together 6″ X 6″ Designer Series Paper with the Paper Trimmer to 5″ X 3 3/4″. Attach with Stampin’ Seal.
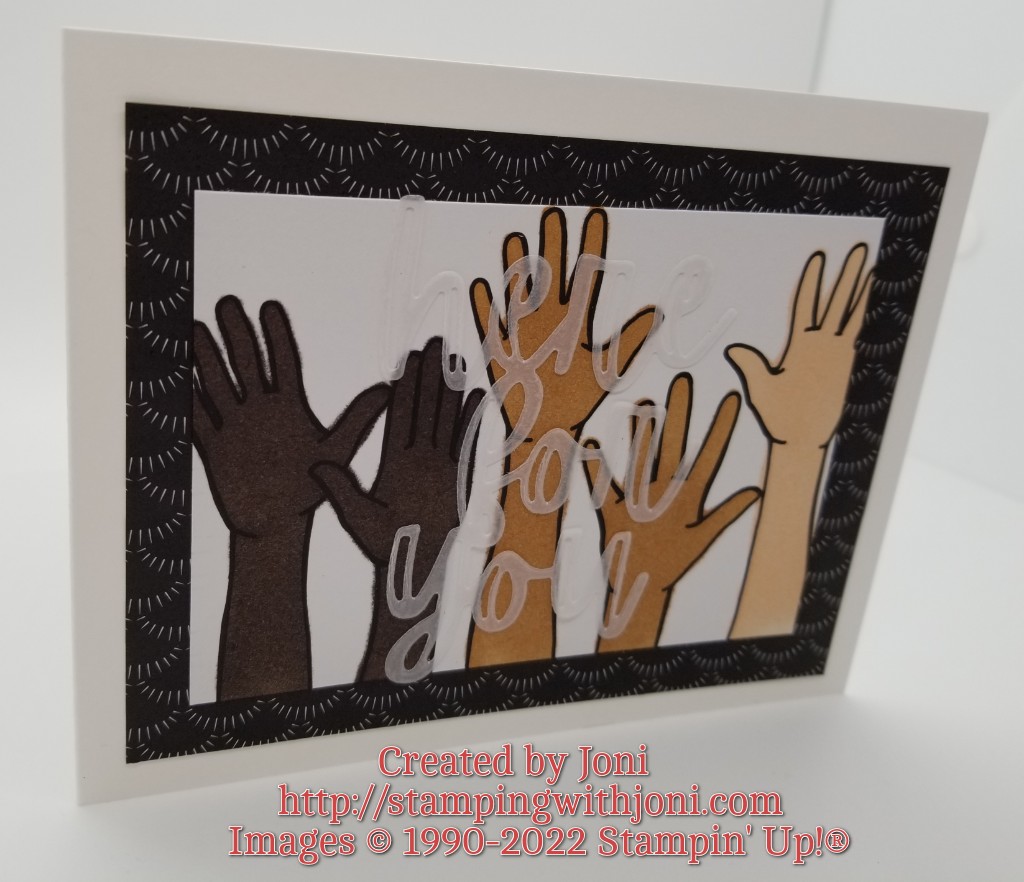
- Cut the All Together 6″ X 6″ Designer Series Paper with the Paper Trimmer to 4 1/2″ X 3 1/4″. Color with the Natural Tones Stampin’ Blends Collection. Let dry for a minute or two, depending on how heavy you colored. Then attach with Stampin’ Seal.
- Take coordinating die from Here for You Dies and cut with Stampin’ Cut & Emboss Machine. Before cutting the Vellum Card Stock make sure to attach the Adhesive Sheet to the back. After die cutting then simply peel off the back like a sticker and attach.
To see the rest of the products as well as a color chart then please go to the video at https://youtu.be/1Op6NrV7oiU.
Happy Crafting!
With inky fingers,
Joni 🙂
P.S. Just a reminder that I will be closing at noon today to celebrate our 26th Wedding Anniversary.
