
It’s Tutorial Thursday! For today’s post you will get a bonus of two projects (and also next week).
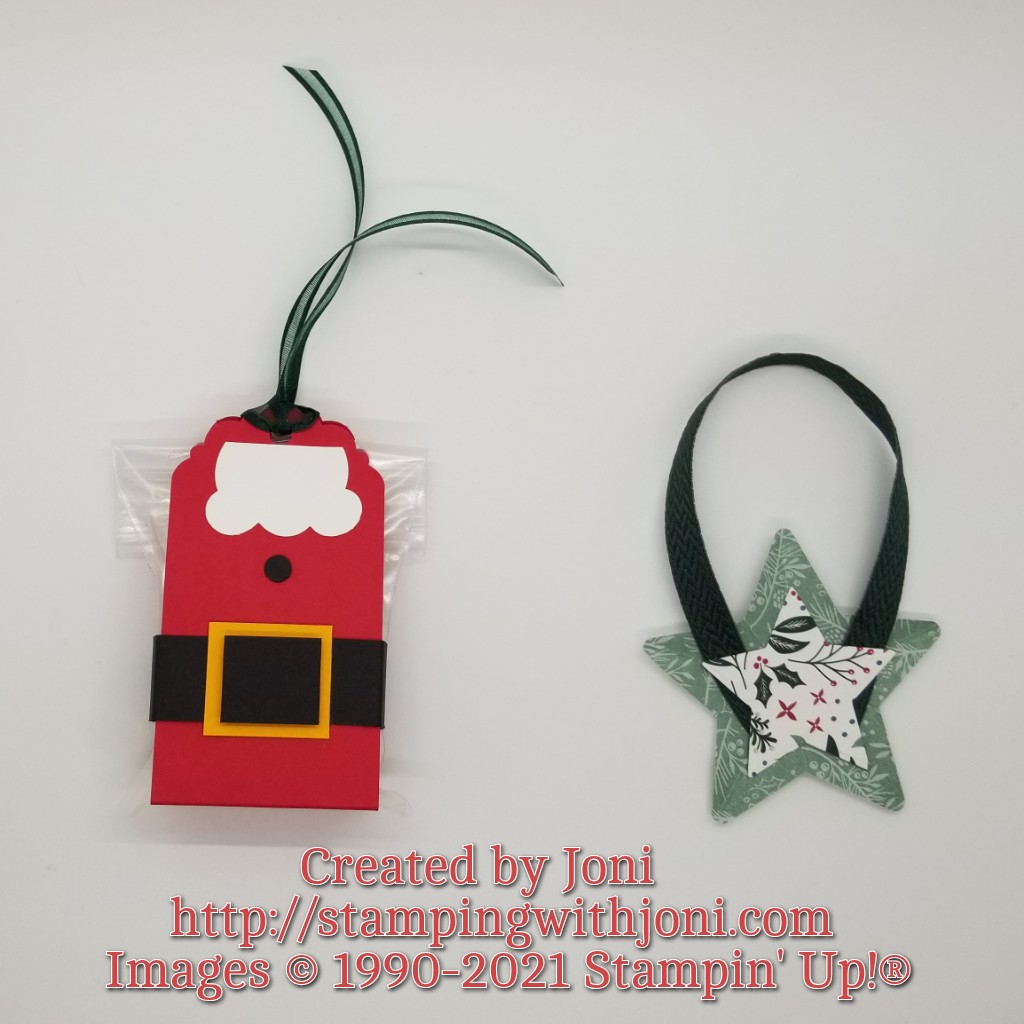
The first project is a 3D Star Ornament.
- Take a piece of Tidings of Christmas 6X6 Designer Series Paper and cut out the smaller and larger plain stars with the Stampin’ Cut & Emboss Machine. The stars can be found in the Christmas Trimmings Dies.
- Take the larger star only and score each point straight across to the other side.
- Fold each score line at the point of the star. Do not fold all the way across at once.
- Cut about 8 inches of 3/8″ Evening Evergreen Chevron Weave Ribbon. Attach with Mini Glue Dots on either side of the center of the star.
- Attach smaller star with Stampin’ Dimensionals in the center of the larger star. Tip: This will cover up the ribbon ends.
The second project is the Santa Tag Treat.
- Take a piece of Real Red Card Stock and cut with the Paper Trimmer to 2″ X 8 1/2″. On the 8 1/2″ side score at 3 3/4″ and at 4 3/4″. Then punch the ends with the Detailed Tag Topper Punch.
- Then cut a piece of Basic Black Card Stock with the Paper Trimmer to 3/4″ X 6″. On the 6″ side score at 1″, 2″, 4″, and 5″. Place Tear & Tape on both ends and in the middle. Attach to the red piece about three quarters of the way down. This is your belt.
- Cut a piece of Mango Melody Card Stock to 1 1/8″ X 1″. This is the bottom of the buckle. Attach to the middle of the belt to hide the seam with Stampin’ Seal.
- Cut a piece of Basic Black Card Stock with the Paper Trimmer to 7/8″ X 3/4″. This is your buckle on your belt. Attach to the bottom of the buckle with Stampin’ Dimensionals.
- For the beard you can either use a small scalloped circle from the Layering Circles Dies or you can use the Ice Cream Builder Punch. Punch out one ice cream scoop or beard with Basic White Card Stock. Attach with Stampin’ Seal to the top just under the hole for the ribbon. Tip: Cut the top of the circle flat with the Snips so it fits better.
- Cut a piece of 3/8″ Evening Evergreen Open Weave Ribbon to about 5″. Tie a slip knot, bow, or simple knot.
- Punch a 1/4″ circle from the Basic Black Card Stock using a standard single notebook punch. This is your button. Attach with Mini Glue Dot.
To see the video please go to https://youtu.be/NgD0arwhCjo.
Happy Crafting!
With inky fingers,
Joni 🙂
