
It’s Tutorial Thursday! Today I want to show you how to stamp on your Designer Series Paper.
For this project you will need:
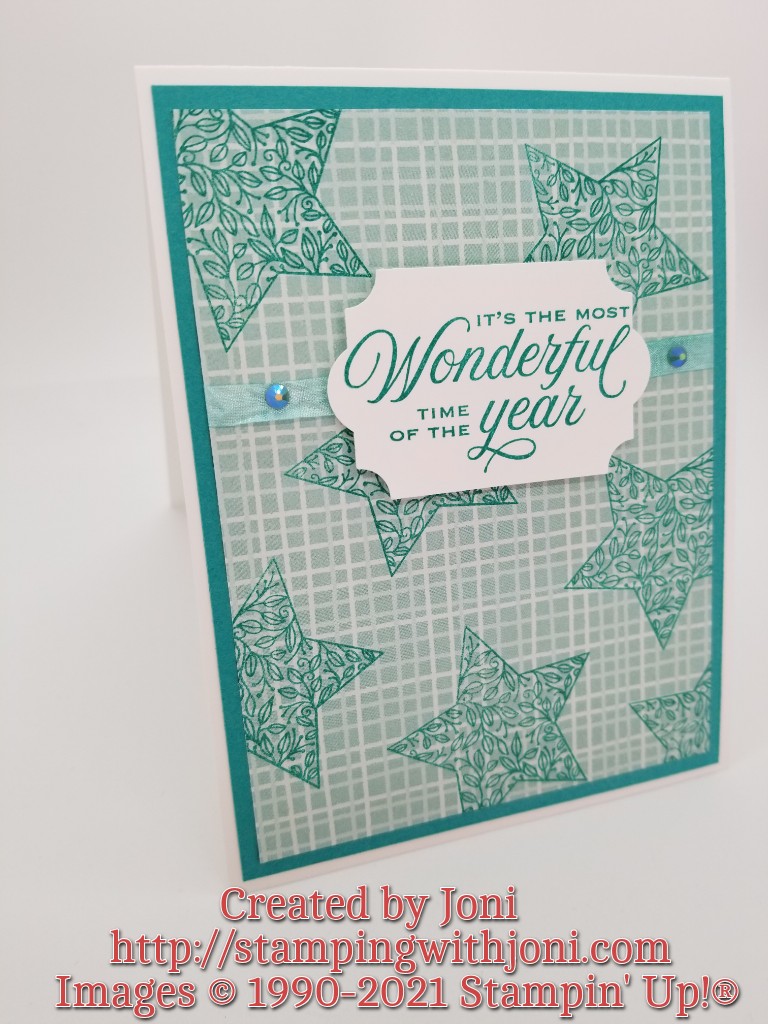
- a card base measuring 4 1/4″ X 11″ scored at 5 1/2″ on the 11″ side
- an outer mat of Bermuda Bay Card Stock measuring 5 1/4″ X 4″
- an inner mat of Sweet Stockings Designer Series Paper measuring 5″ X 3 3/4″ stamped with stars from Tidings & Trimmings Photopolymer Stamp Set in Bermuda Bay Ink.
- punched accent in Basic White Card Stock from the Everyday Label Punch stamped with a sentiment from the Tidings & Trimmings Photopolymer Stamp Set in Bermuda Bay Ink.
- White Crinkle Seam Binding that is colored with a Blending Brush and Bermuda Bay Ink. My tip would be to leave a tiny section unlinked so you can hold on to the ribbon without getting tons of ink on your fingers.
- and last, but not least, attach the Blue Adhesive-Backed Gems.
To watch the video and a bonus unboxing of new products for January please go to https://youtu.be/kOPw7cvCwkk.
Happy Crafting!
With inky fingers,
Joni:)
